After procrastinating picking one up for months, I finally caved and picked up a front lip for the WRX. After seeing how big of a difference the OEM 2018 lip makes to the front end of the WRX it was a no brainer. However, I didn't feel like forking over $300+ for a piece of polyeurethane that might just get ripped off by a snowbank some day.
Fortunately, Bayson R makes a quality replica of the OEM 2018 lip (they called it their "V-Limited Style Front Lip") at a fraction of the cost (~$150 shipped). So I took a chance and picked one up from eBay!
A few days later I arrived home to a massive box on my doorstep!

After unpacking everything, I left the lip out in the sun for a few hours to give it time to reset its shape from shipping. While I knew a lot of folks had mounted up the lip unpainted, I wasn't a fan of the raw eurethane look. This left two options:
- Wrap it
- Paint it
A wrap would be ideal, as it'd be easily replaceable and probably more durable than any paintjob. Unfortunately, I didn't have a ton of experience with wrapping, so I checked with a few local wrap shops to see what it would cost to have it done professionally. Much to my dismay they all said they didn't want to take on the headache of wrapping a piece as big and complex as the lip. While this didn't make a ton of sense to me (I've seen a lot more complicated shapes vinyl wrapped), I took their word for it. Spray paint here we come!
Mockup and Prep
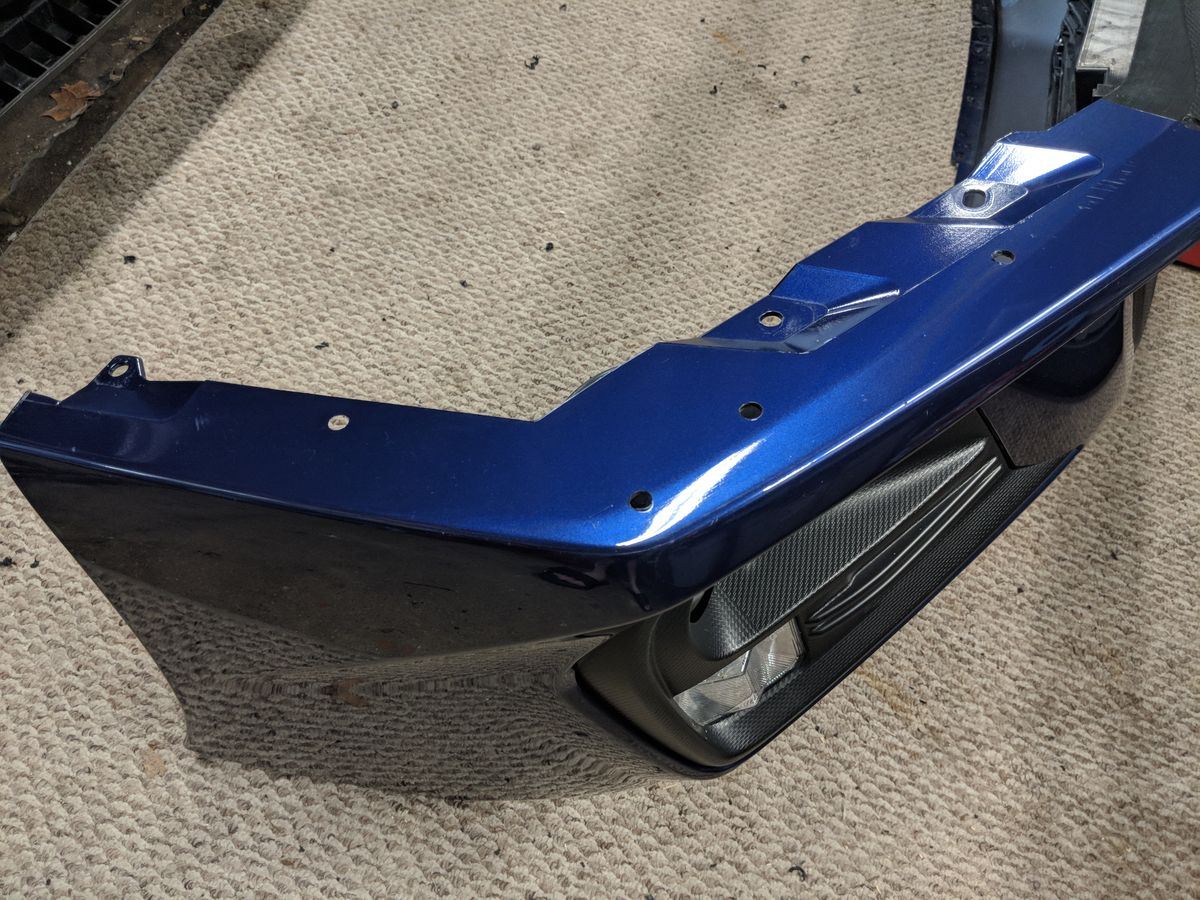
Before laying any paint, I mocked up the placement with the front bumper removed to get an idea if any encouragement would be needed to form the lip. Thankfully the fitment was pretty spot on!

That being said, I did have to create a few extra mounting holes to close up any gaps between the lip and bumper.

I decided to forgo most of the included self-tapping screws and other hardware and tried out some rubber "rivnuts". These came at the recommendation of a friend and are pretty sweet little units! They act like a traditional rivet, but allow you to use machine screws to secure them making them much easier to remove later on.


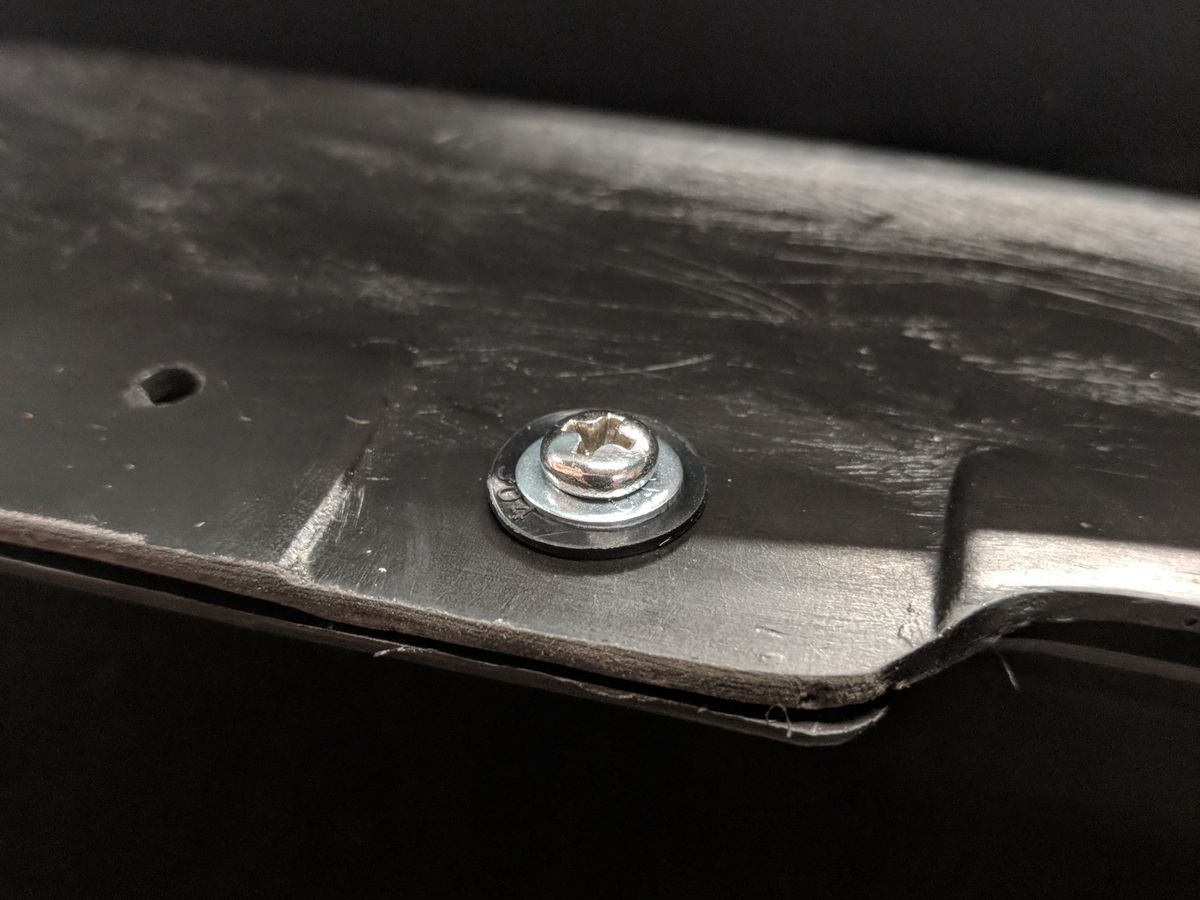
Unfortunately, I had some issues later getting the rivnuts to stay secured. In some areas (particularly the front corners), there was just too much tension trying to pull the lip and bumper apart.

I remedied the issue by picking up some heavier duty nuts, bolts, and washers.


In total I used about a dozen holes across the lower side of the bumper to secure the lip.


On the corners I used the included brackets to maintain proper spacing and the included pop clips for a stealthy look in the wheelwells (where chrome hardware would be easily visible).

Paint and Clear
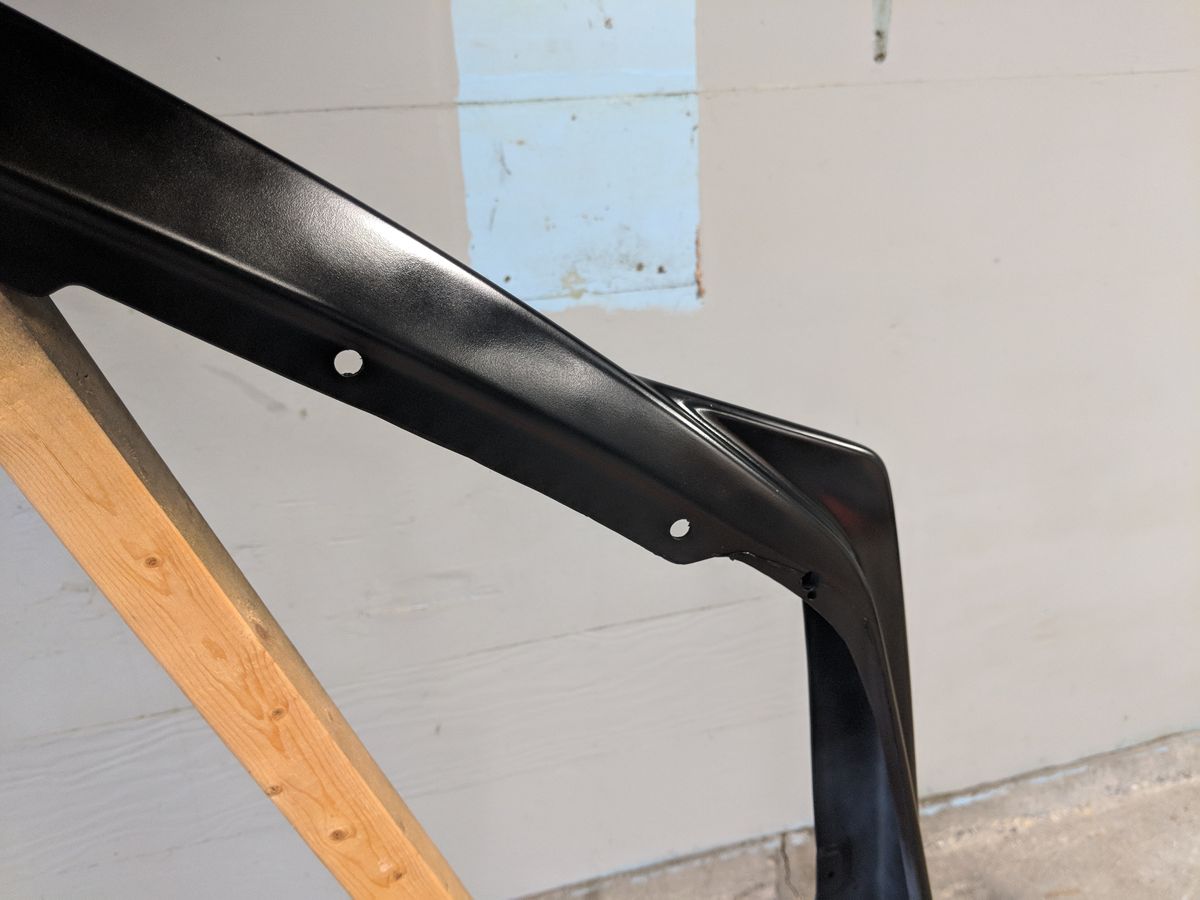
With everything mocked up and ready for paint, I made sure to prep the eurethane by roughing up the surface with some progressively finer sandpaper. This helps remove any residual chemicals leftover from the molding process and creates a nice even surface for the everything to adhere to.
With the surface sanded and wiped down with an IPA solution, I laid a few layers of the satin black spray paint I had leftover from my headlight project and left it to dry overnight.

The next day I inspected the finish for defects and hit it with some 2000 grit to smooth out any imperfections and add some extra roughness for the clear coat.
Deciding what clear coat to use was a tricky process since I knew I wanted something more durable than normal rattle can clear from the hardware store. The lip would be taking a beating after all!
After some research, I decided a 2k (or two-stage) clear coat would be the best option. I went with a USC Spraymax Matte Clearcoat from Amazon. At ~$25/can, a 2k clear is much more expensive than a traditional clear coat, but its superior scratch, chip, and UV resistance make it worth the investment.
![]()
Spraying the 2k clear coat is pretty straightforward: simply remove the included secondary cap and place it on the bottom of the can. Smacking this cap releases the second, inner (hence the 2 in 2k) component which mixes with the clear coat to provide the extra durability. If doing this yourself, be sure to heed the gigantic warning labels and wear a mask - you don't want this stuff making its way into your lungs...
![]()
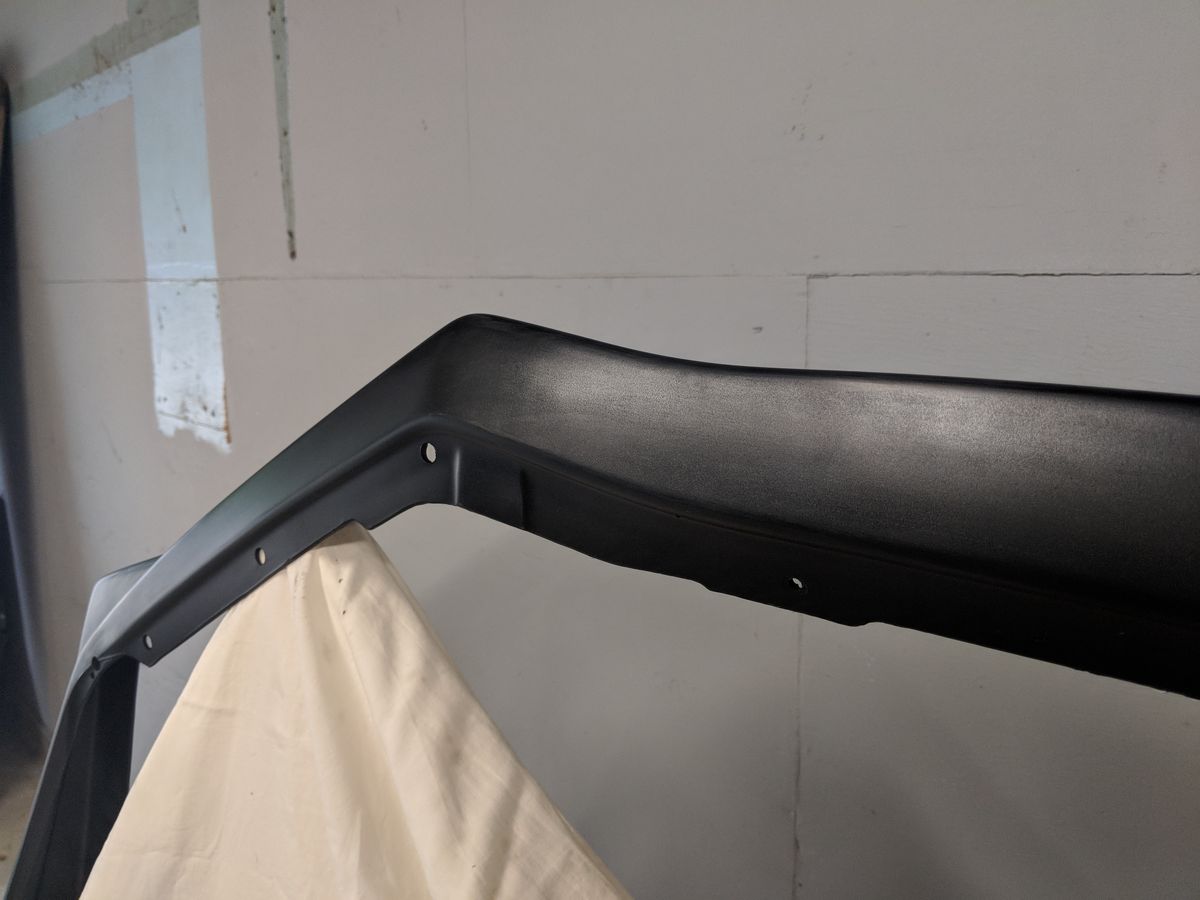
After a few coats of the clear (I used as much of the can as possible since it's basically a one shot deal), I hung the lip in the garage to cure for a few days.
![]()
![]()
![]()
Installation and Closing Thoughts
Since I had already mocked everything up and drilled the holes, installation was a breeze.
Overall I am really impressed with the finished product! I was able to replicate the look of the OEM lip for about half the cost.


Not only is the fitment of the Bayson R lip impressive (considering the price), but the 2k clear coat creates a remarkably durable finish. I've had the lip installed for a few weeks now and haven't noticed a single chip or blemish. We'll have to see how it holds up through a Wisconsin winter, but the good news is I can always just respray it come spring!
Appearance-wise, the lip really finished off the front end of the WRX nicely. Seeing a WRX without one now it definitely looks like something's missing!
Have any questions about the lip or the install? Feel free to leave a comment below or shoot me an email at [email protected]! Thanks for reading!
Subscribe For More Like This!
Enjoying this post? Get added to the mailing list and I'll let you know whenever I post new content!
Support
If you enjoyed this post, please consider supporting the blog by buying me a virtual coffee!
As a Software Engineer by day and dad by night, this blog is maintained in my free time. Your support is greatly appreciated and helps keep this site 100% ad-free!