

I’ve never been a fan of chrome on cars. It’s often way overused and really cheapens the look of an otherwise nice looking vehicle. With this in mind, one of the first things I knew I wanted to do with the WRX is black out the exterior emblems.
Being that Lapis Blue Pearl is a relatively rare color for the WRX, I had trouble finding pictures of other cars with blacked out emblems. However, after a bit of messing around with Photoshop, I decided it was worth the effort.
Initially I looked into painting the OEM emblems, but considering the amount of effort required to do this, I elected to spend a few extra bucks and just bought them in black instead.
NOTE: If you’d like to black out your own badges, I’ve included links to everything in the paragraphs below.
Front and Rear Ovals
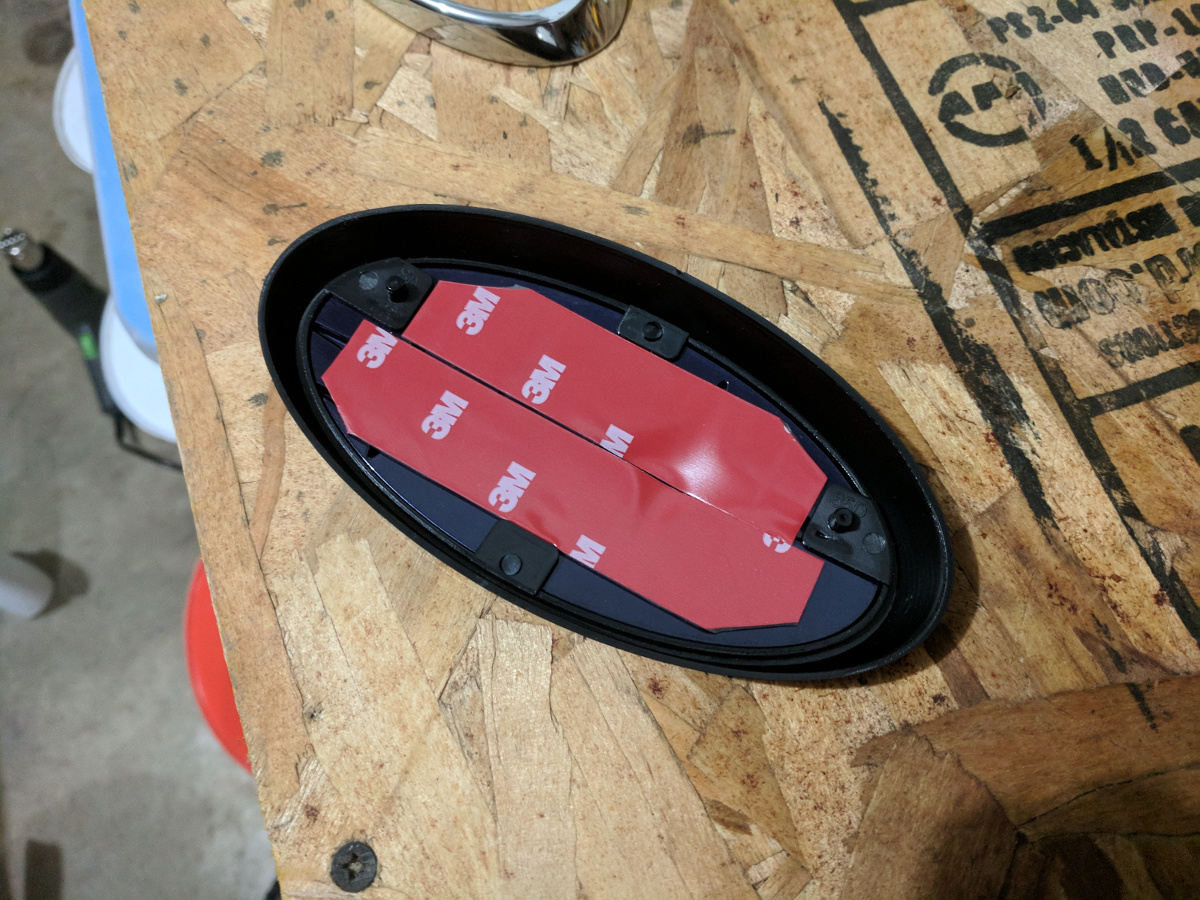
I ordered the front and rear Subaru oval rings from Subispeed, as they were really the only place I could find them.
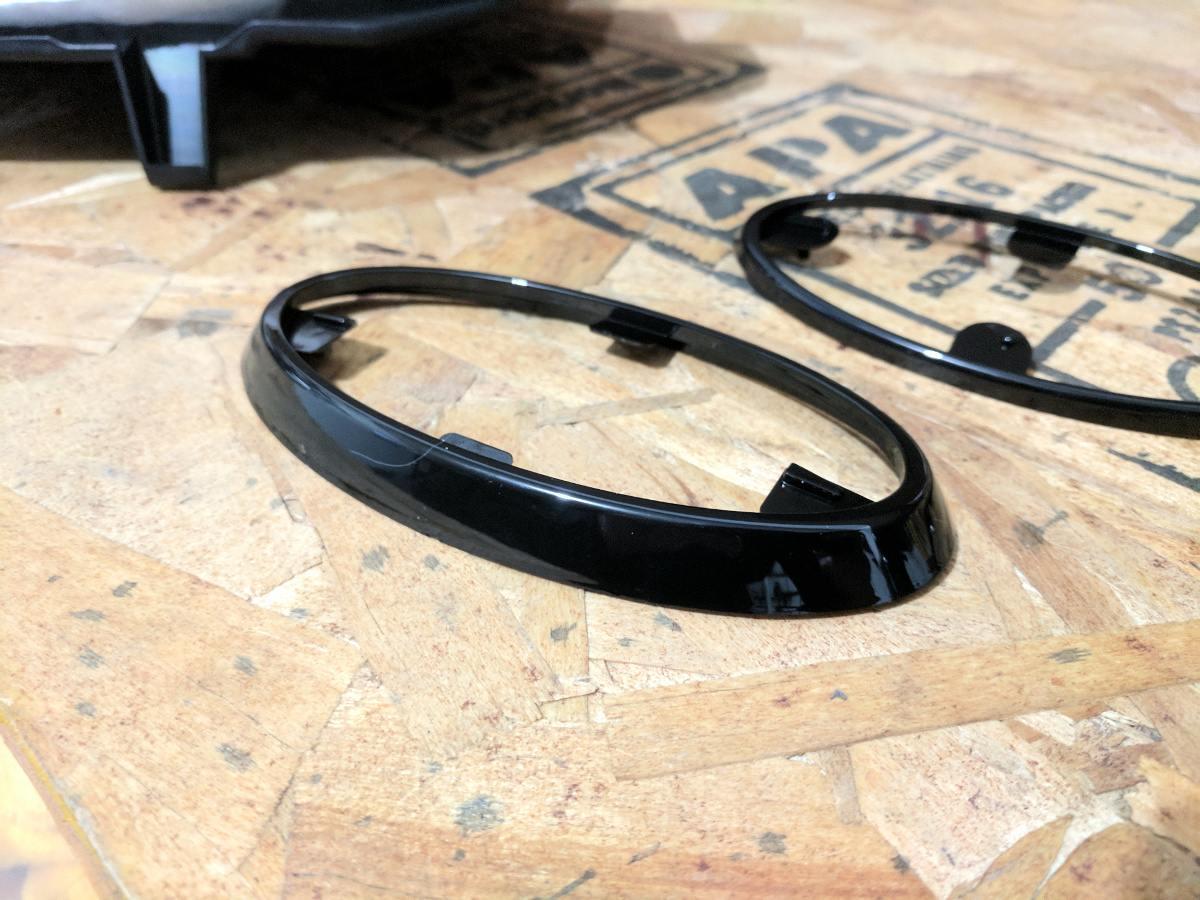
Getting the OEM rings off proved to be more difficult than I expected. But with a little encouragement from a heat gun and plastic trim tools they peeled right off.
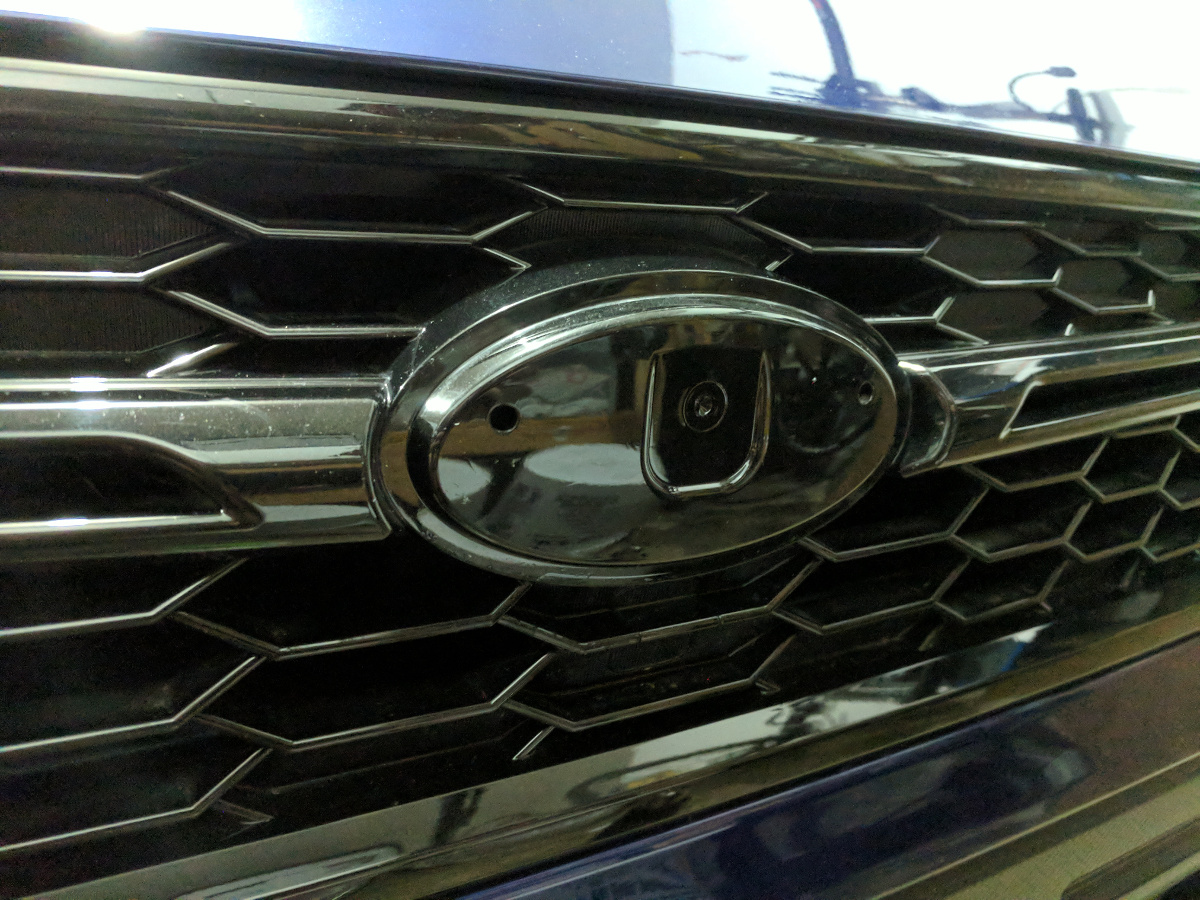
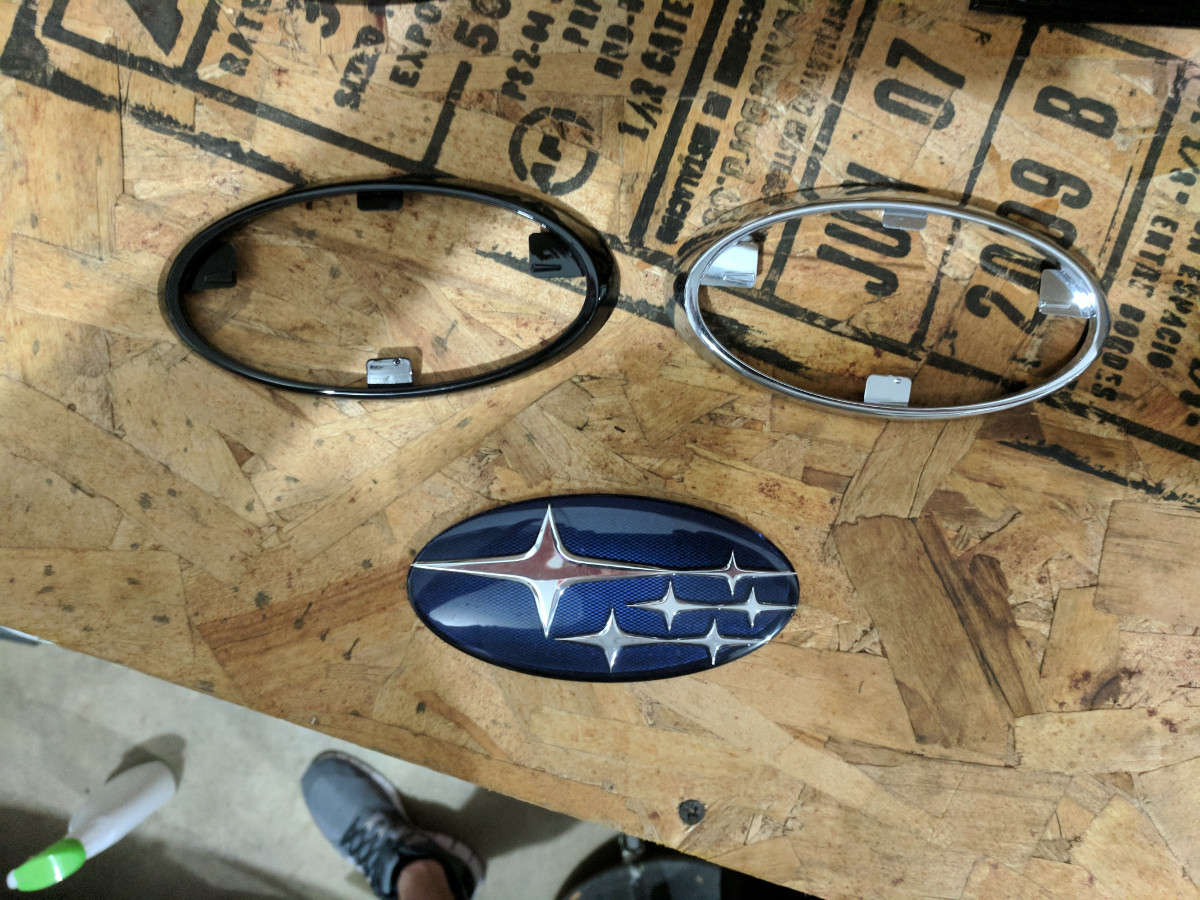
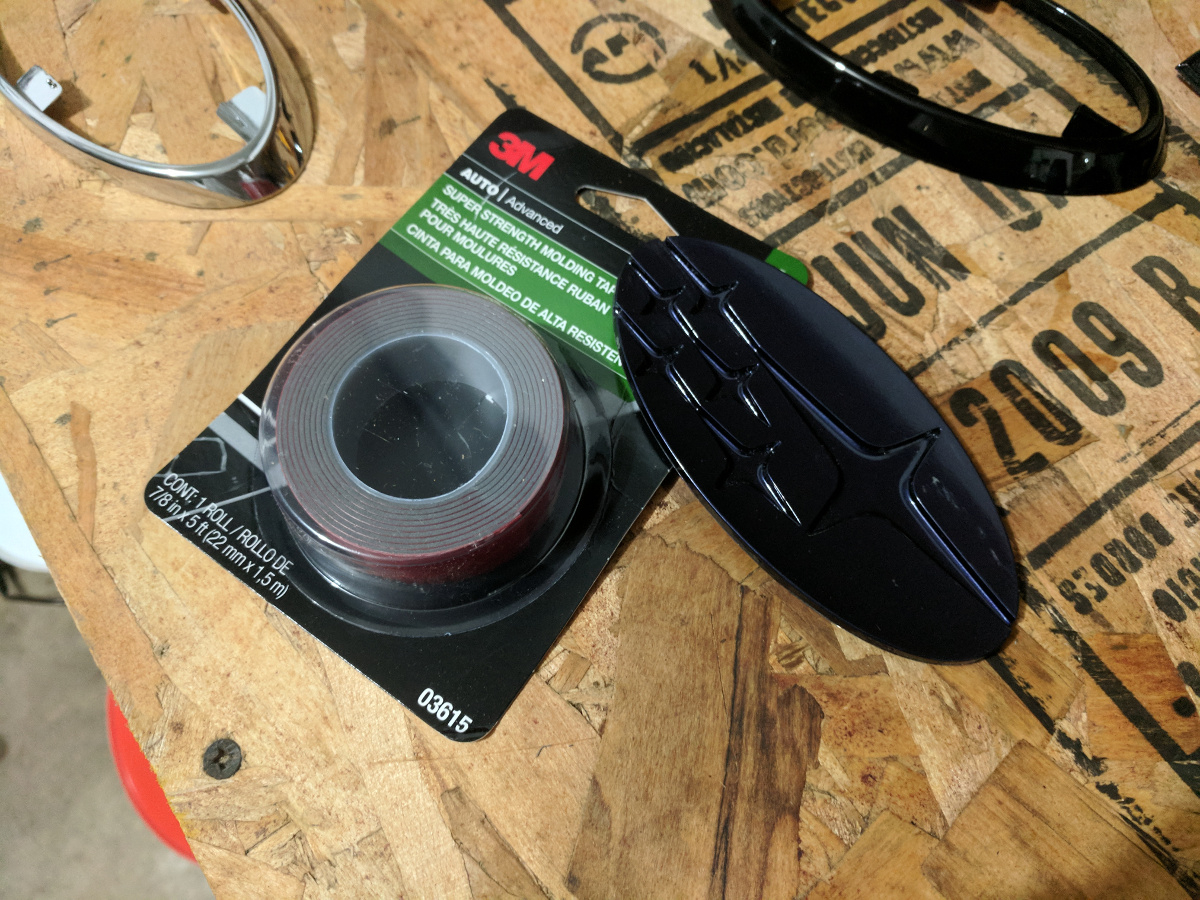
Since the rings themselves aren’t secured to the grille or trunk, double sided tape needed to be re-applied to the back of the badge. For this, I ordered up a roll of 3M Automotive Molding Tape and cut a few pieces to size. Then, before sticking the badges back on, I peeled the adhesive off the tape and hit them with the heat gun for a few seconds to soften them up.
Fender Badges
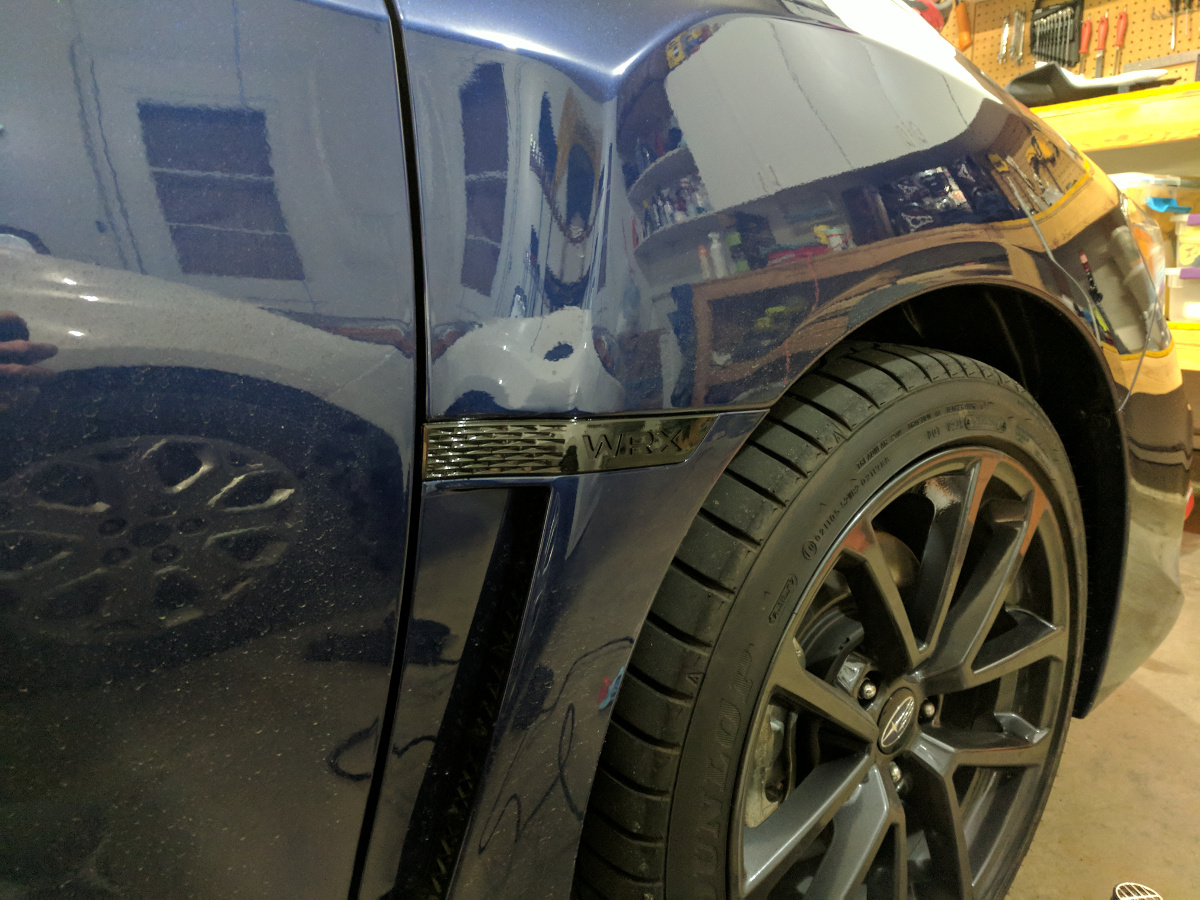
The gloss black fender badges I got from Amazon for a great price. I was a bit worried about the quality, but having looked them over carefully before installing, I noticed no major defects or flaws. They even came with 3M adhesive pre-installed!
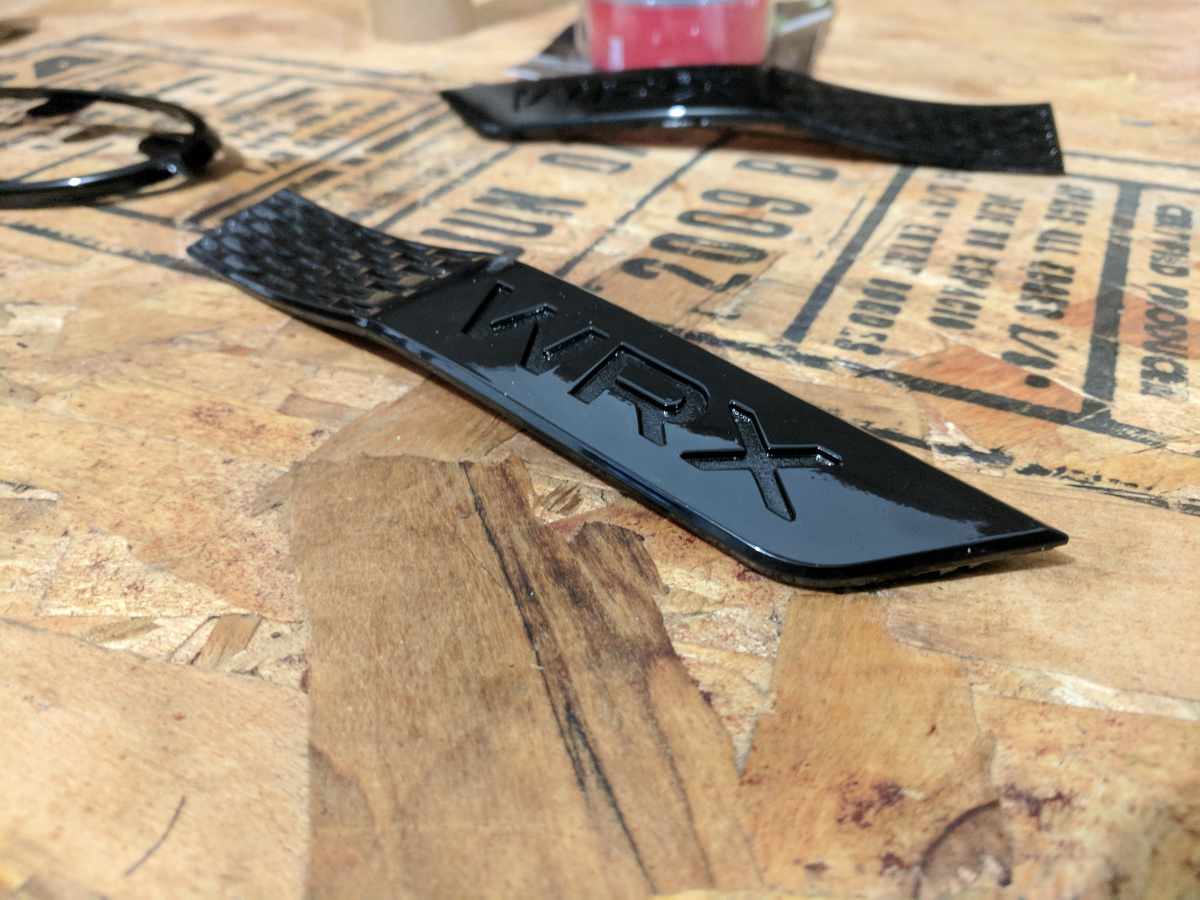
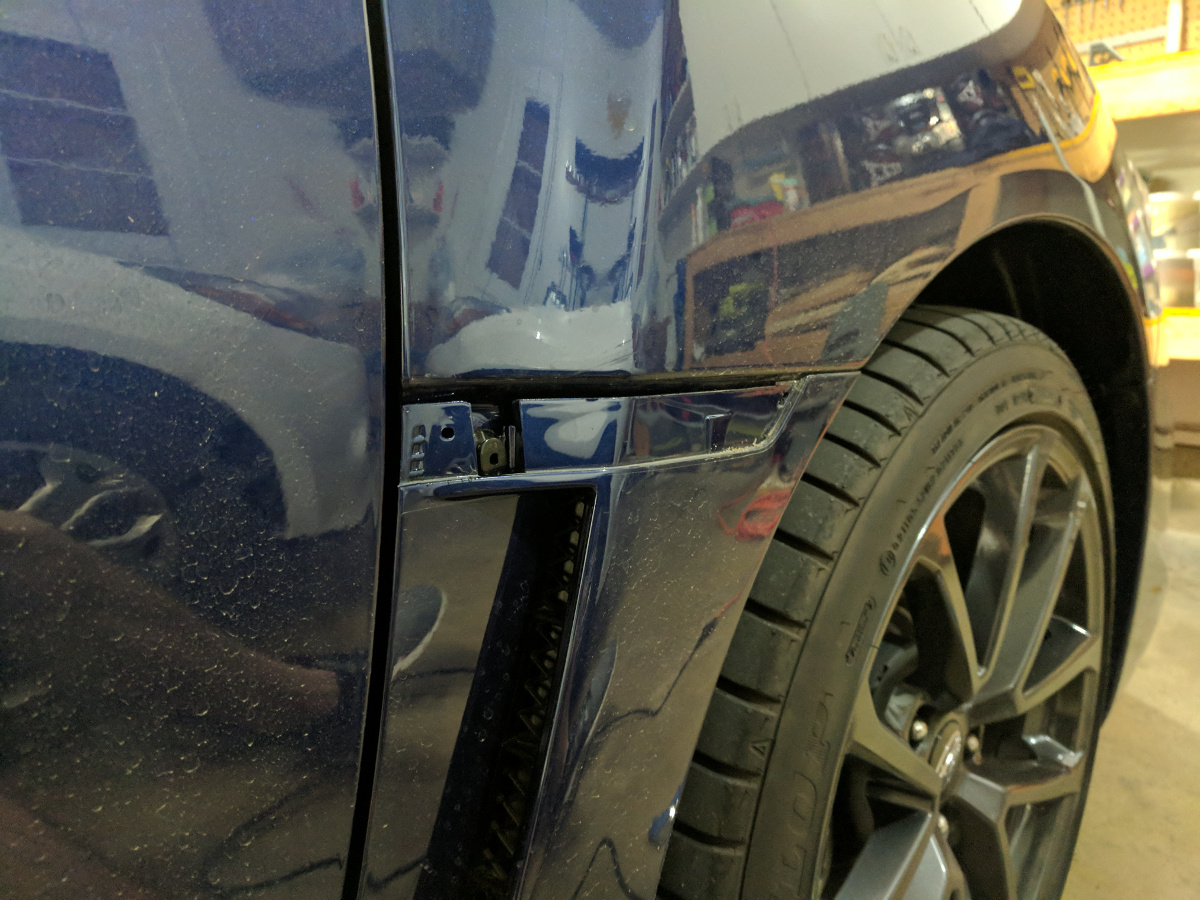
Getting the original badges off was pretty straightforward; the heat gun and trim tool combo worked perfectly here too. I did have a bit of a scare when I got overzealous with prying and accidentally popped the fender clip out, but everything easily pushed back into place.
Trunk Badges
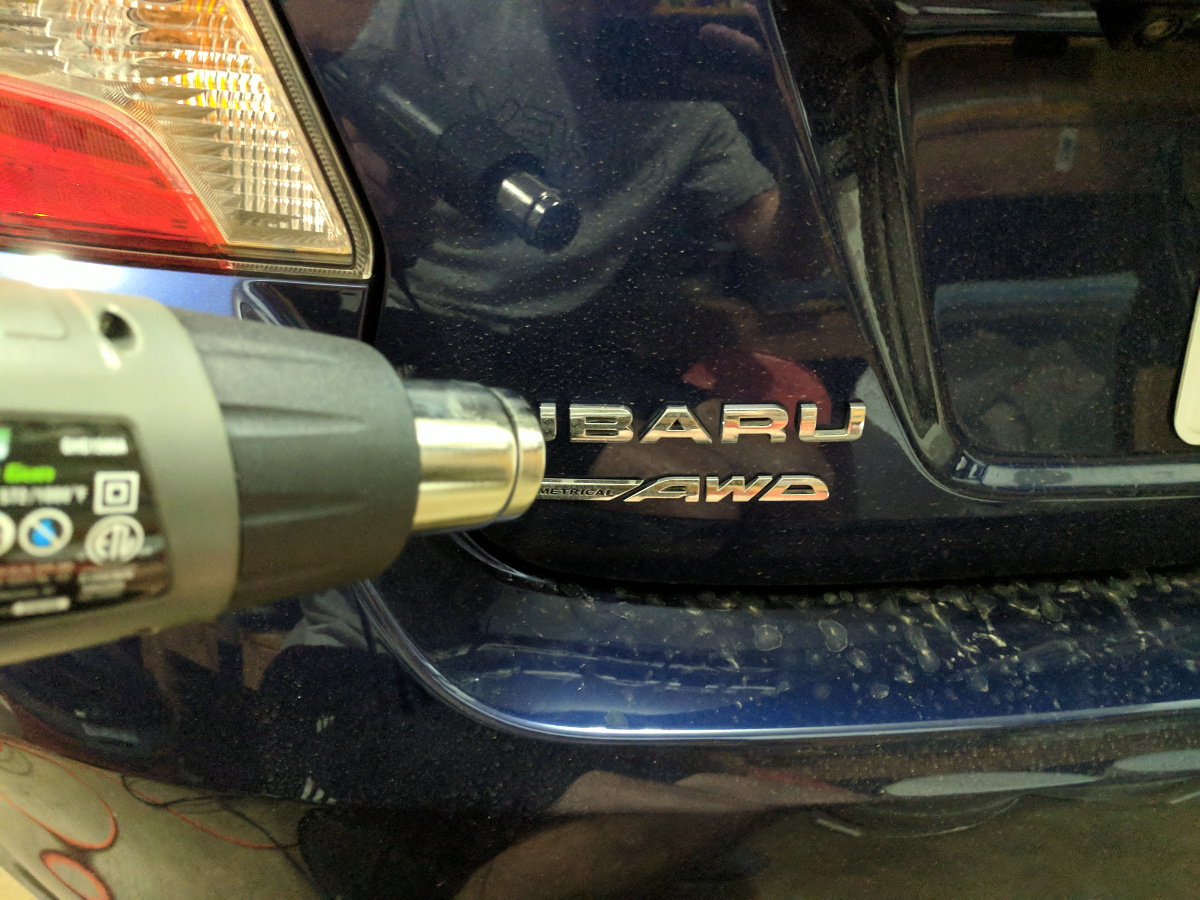
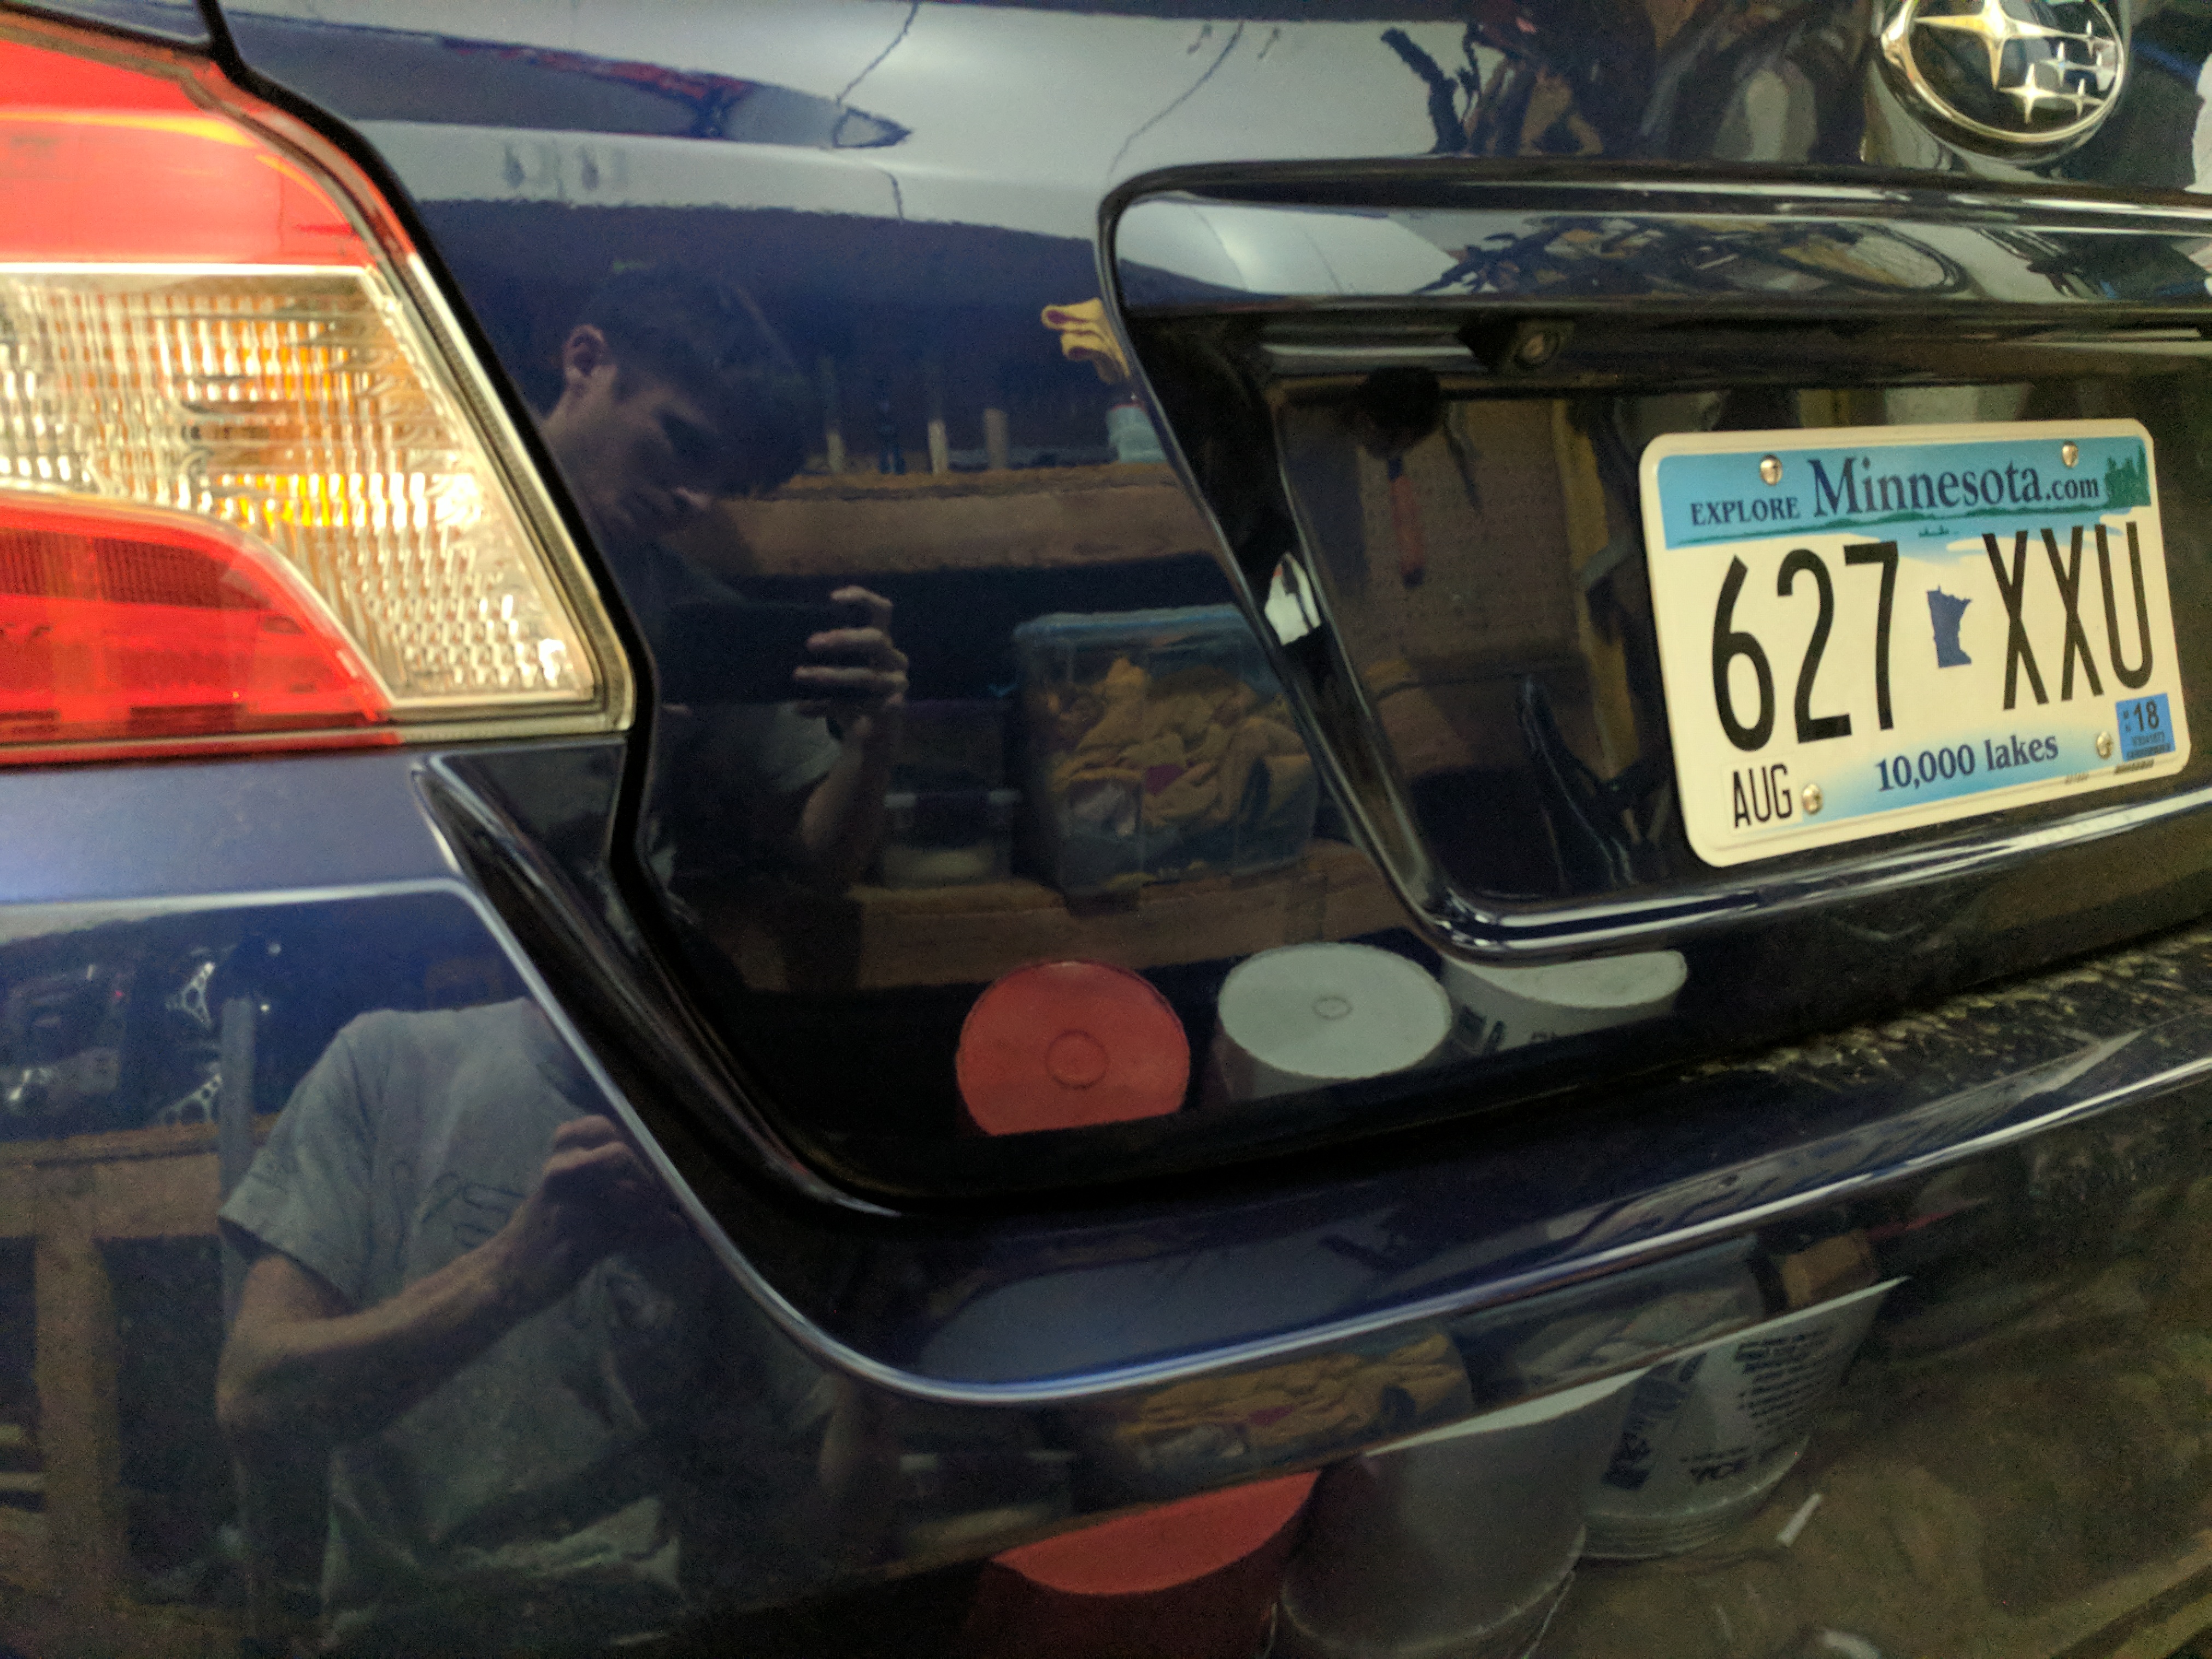
Next, I decided to debadge the driver’s side of the trunk as well as swap the chrome WRX logo with a gloss black replacement (purchased from Subiebros; I tried ordering two from Amazon but both were broken or bent in transit) to match the rest of the trim pieces. This was super straightforward as all of the trunk badge lettering popped off cleanly after some encouragement from the heat gun.
![]()
![]()
![]()
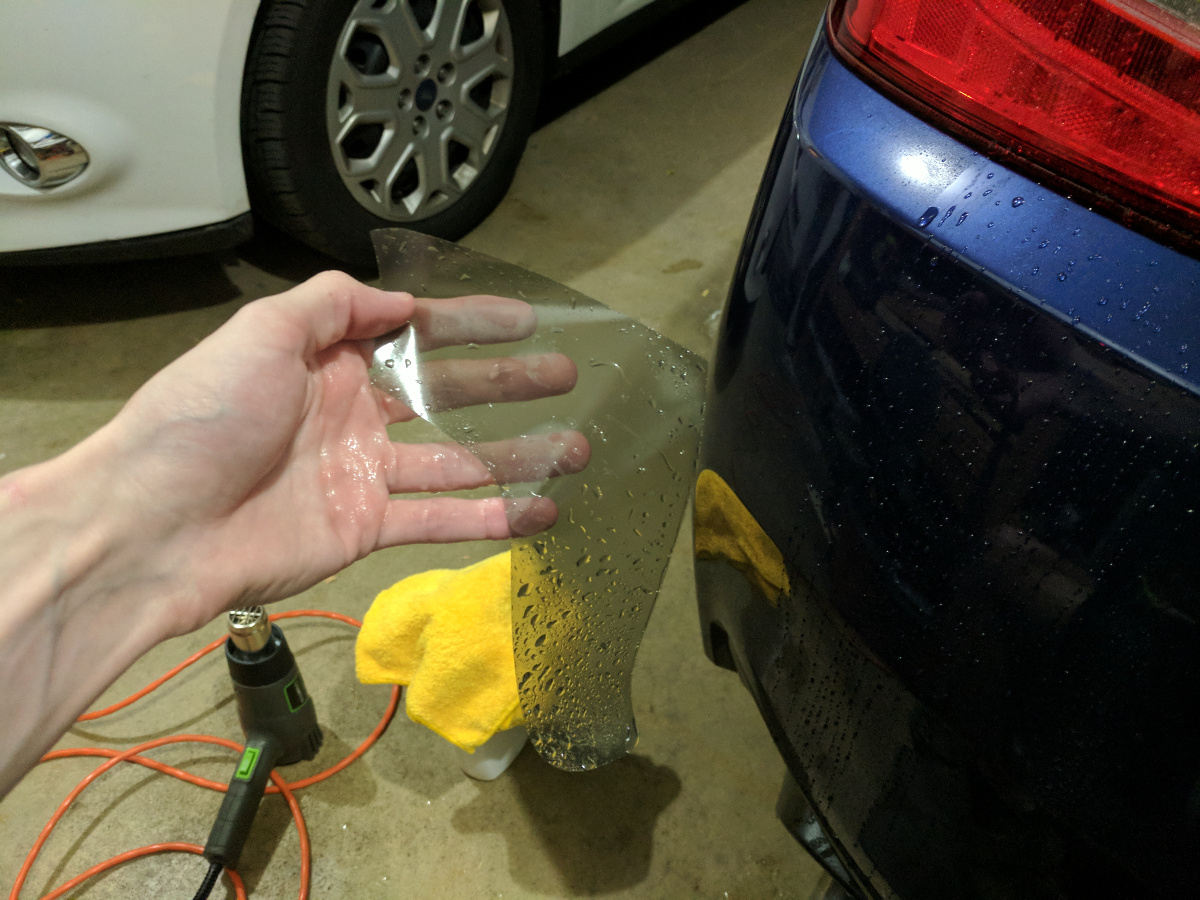
Taillight Tint
Finally, after going back and forth on the taillight tint color, I picked up a set of Subispeed’s light smoke taillight overlays.
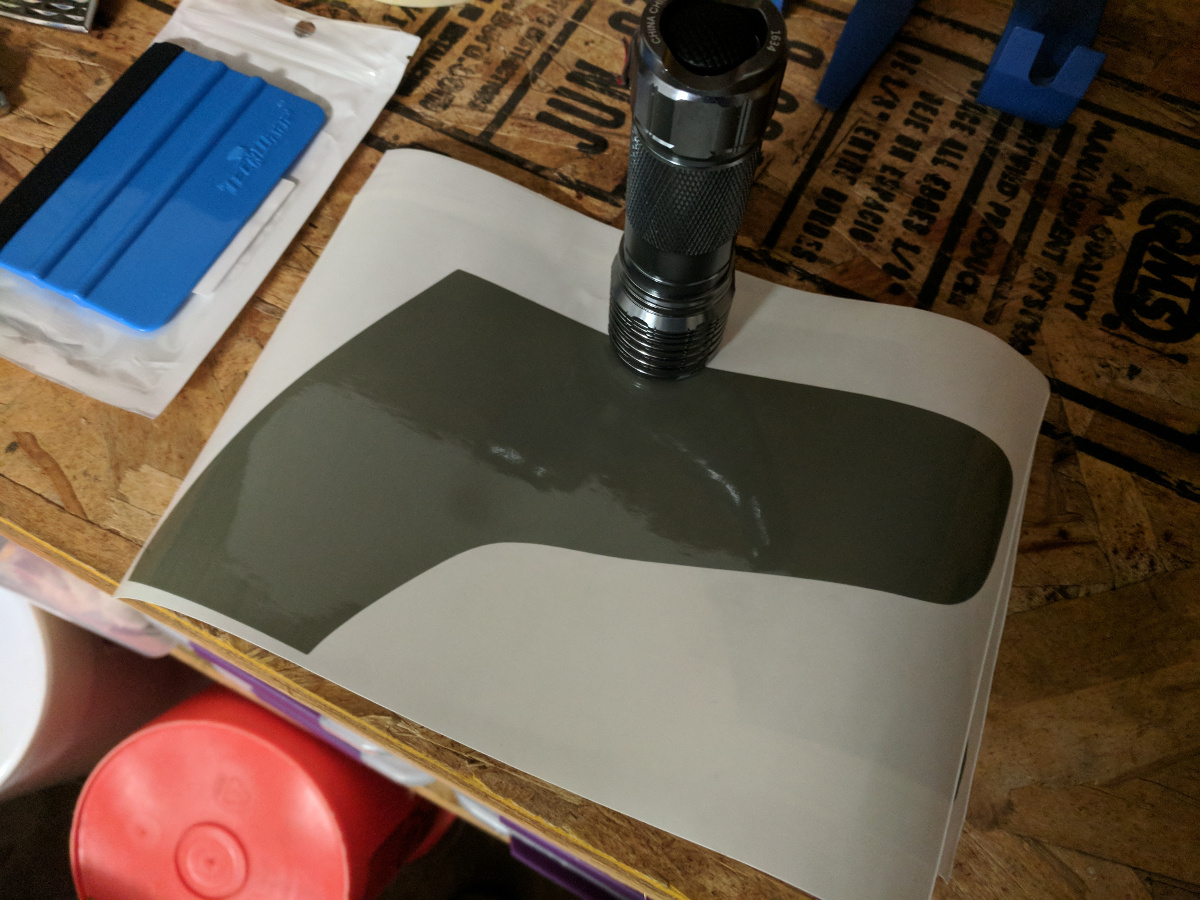
I had originally intended to go with the red overlays, but I had concerns about how much of the reverse light would be lost through the red tint. I might revisit this later when I get a chance to upgrade the exterior lighting to LEDs, but for now the light smoke tint adds just enough shadow to dull the chrome-ish portion of the taillight.
Installing the tint was pretty straightforward. I assembled the necessary tools - heat gun, diluted IPA solution, spray bottle, vinyl squeegee, microfiber towel, and beer.
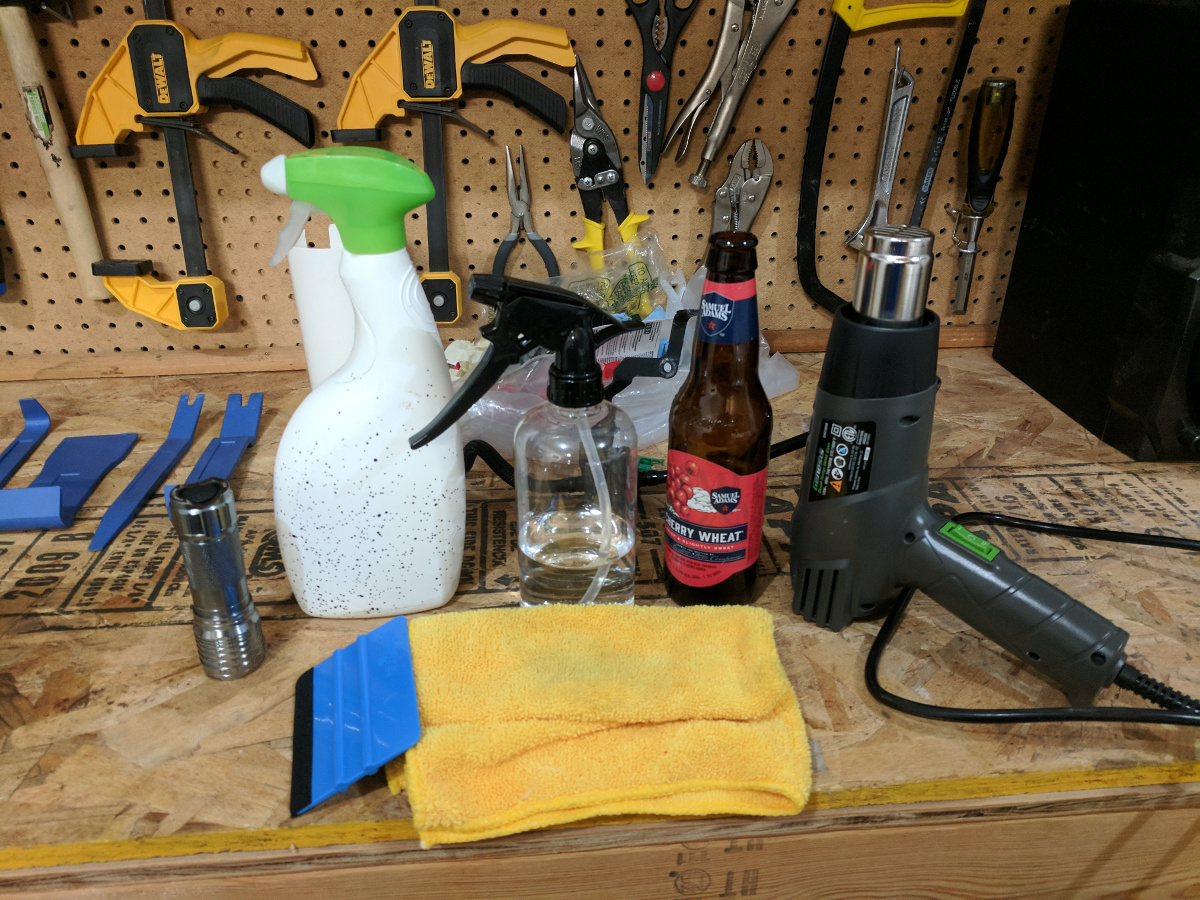
First, I wiped down the taillight with the IPA spray to remove any wax or dirt residue, giving the tint a nice clean surface to adhere to. Then I sprayed down the taillight and tint with my spray bottle (for lubrication) and set the tint in place.
Once I had the tint positioned the way I wanted (I lined it up using the innermost lower corner of the taillight), I used the felt squeegee to carefully remove any water or air bubbles from the tint.
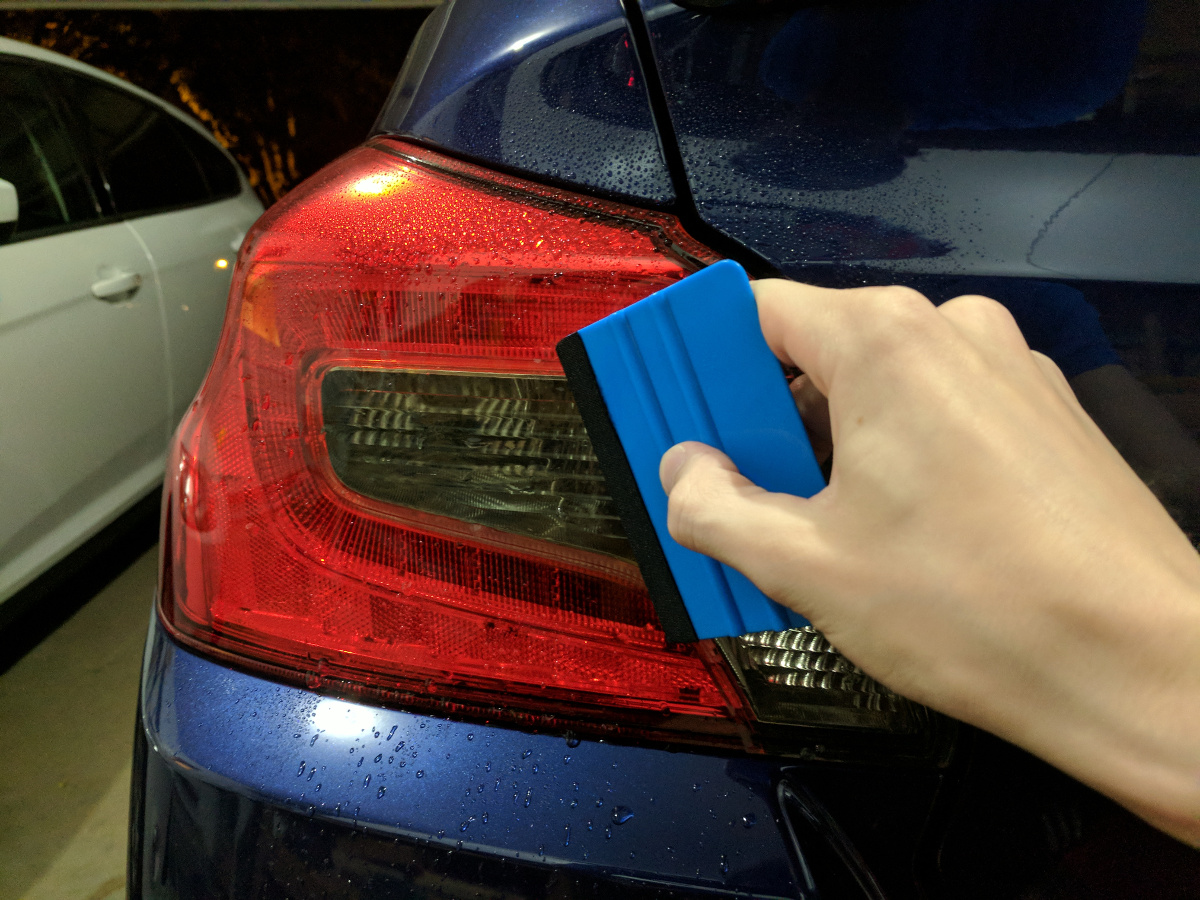
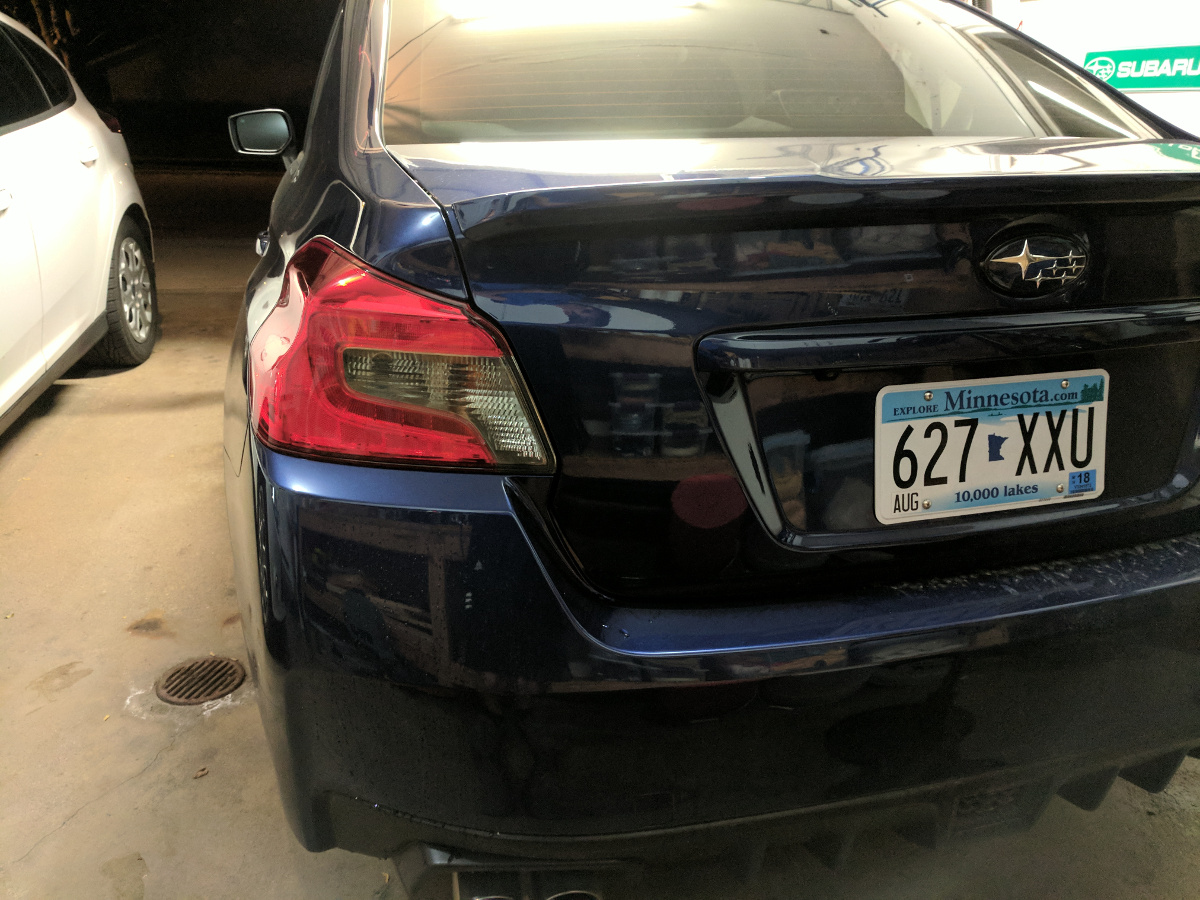
The finished product looks great, but it took me one taillight to get a hang of re-positioning the tint perfectly. If I was going to do it again, I’d use a soapy water mixture in the spray bottle to help with the lubrication and getting a better positioning of the tint the first time it’s laid down.
Closing Thoughts
All in, the badging, tint, and tools ran me about $100. Considering the overall results, I’m pretty satisifed. I was hesitant about the darker badging against the Lapis Blue paint, but it really adds to the cars refined look and makes the whole thing look more premium.

Subscribe For More Like This!
Enjoying this post? Get added to the mailing list and I'll let you know whenever I post new content!
Support
If you enjoyed this post, please consider supporting the blog by buying me a virtual coffee!
As a Software Engineer by day and dad by night, this blog is maintained in my free time. Your support is greatly appreciated and helps keep this site 100% ad-free!