

Carbon fiber has always been appealing to me. Aesthetically, there’s just something about a well-crafted piece; the way the sun can catches the weave, highlighting the oddly satisfying, endlessly-repeating pattern. Functionally, parts constructed from composite materials are as strong as they are beautiful to look at. If you’ve ever picked up a finished carbon part, you know what I mean when I say its hard to imagine something being so strong yet so light!

While carbon fiber as a material has existed for decades in one form or another, only recently have the materials become reasonably affordable and accessible to the weekend hobbyist. Back when I got my first car in the early 2000’s, carbon fiber was a material reserved for higher end luxury/performance vehicles and motorsport. Today, anybody with a little interest and spare time can churn out their own parts in their garage!
Strictly speaking, there are a huge variety of “composite” materials that can be used - kevlar, fiberglass, etc. -, as well as “pre-preg” varieties of each (in which the epoxy resin is pre-saturated in the material) but for the purpose of this guide, I’m going to focus solely on raw carbon fiber and using it for skinning (AKA wrapping) existing parts.
Carbon Skinning/Wrapping
Skinning is just what it sounds like - taking carbon composite fabric and creating a “skin” an existing part. While this process is, in theory, very similar to vinyl wrapping, the process is much more complex. In addition, the end result is a part that has all the aesthetic qualities of carbon fiber, but without the added complexity or headache of needing to make your own molds.

When doing traditional vinyl wrapping, you lay self-adhesive material on the part, using a little heat and encouragement to form the wrap around the curves/edges. Wrapping real carbon fiber however, is a much more intensive process. Since most raw carbon weave is just loose threads held together with tension, attempting to pull or form it around sharp corners will not only distort the weave itself, but you’ll be left with nasty looking edges. In addition, whereas most vinyls are self-adhesive, raw carbon requires a separate adhesive component to allow it to conform to and maintain the shape of the pieces its wrapped around.
Step 1: Tools/Materials
In my research, I stumbled across Composite Envisions - a local company out of Wausau, Wisconsin that sells all kinds of composite materials and epoxies perfect for carbon fiber projects. After perusing their website, I decided to go with the following kit:
- Carbon Fiber Part Wrapping Kit (S) - I decided on small size of this kit because it gave me plenty of material to experiment with and included pretty much everything I needed to get started! This was a huge help as I didn’t have to worry about figuring out which hardener to purchase or how much of each product I’d need. In addition, it comes with measuring cups, paint brushes, mixing sticks, etc.
In addition, there are a few miscellaneous items you’ll want to pick up:
- Heat Gun - A heat gun can be a life saver when it comes to clearing air bubbles out of your epoxy or helping “flow” the epoxy after it’s laid up. It can also be used to help (carefully) accelerate the base and clear coat curing process.
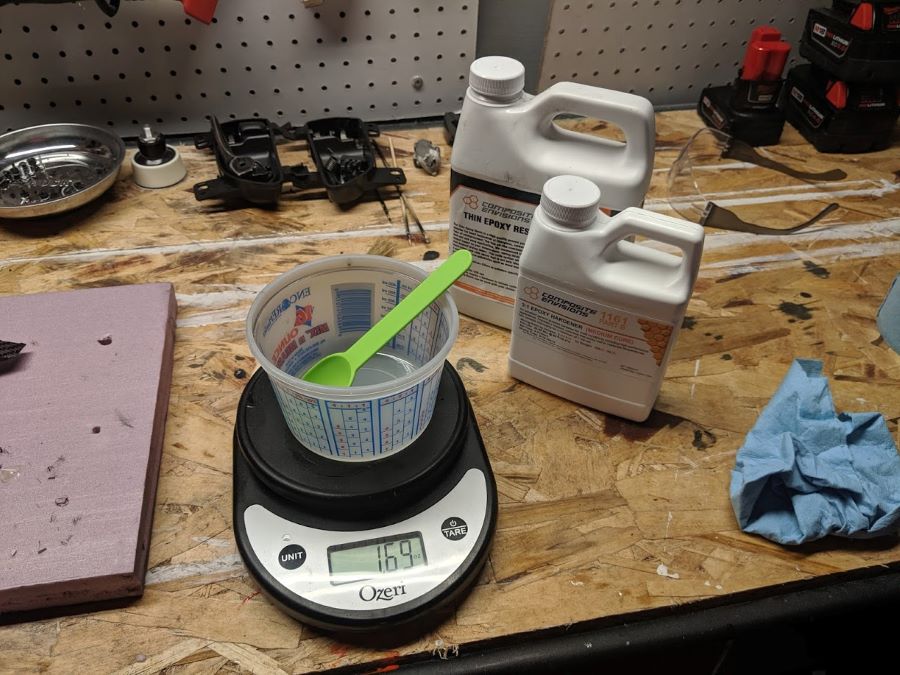
- Digital Kitchen Scale - Any variety of kitchen scale will do, but you’ll need something to help with measuring out your epoxies/hardeners.
- Assorted Wet/Dry Sandpaper - You’ll want to grab plenty of each grit, but I tend to use 400, 800, 1000, and 2000 the most.
- 3M Super 77 Adhesive - This will be used for helping affix the carbon to your parts prior to layup.
- Duplicolor Gloss Black Enamel - Having used a variety of Krylon, Rustoleum, and Duplicolor I can safely say the Duplicolor enamel line is probably the best “in a can” you can get. As a bonus, being an enamel means it’ll be much more durable than the alternative lacquer-based competition.
- SprayMax 2K Clear Coat - This is hands down the best clear coat in a can you can buy. UV-resistant, extremely glossy, and crazy durable/wet sandable. It’s pricey but if you want a no-compromises finish it’s the way to go. Just be careful to always wear a mask when spraying!
- 3M Respirator - Because $30 is cheap insurance for not coating your lungs with the nasty solvents/chemicals the epoxies and paints will throw off. Seriously - don’t mess around with that stuff.
- Paper Towels - Cleaning up mixing cups, wiping up spills, etc. You’ll use a lot of these, so make a Costco run!
- Isopropyl Alchohol - Diluted 50/50 with water in a spray bottle, IPA makes the perfect cleanup solution. I use it for cleaning out the mixing cups after wiping out the excess resin as well as cleaning my brushes. As a bonus, it’s handy to have around if you’re doing any polishing/compounding on your car as it will strip away any wax or dirt!
Step 2: Prep
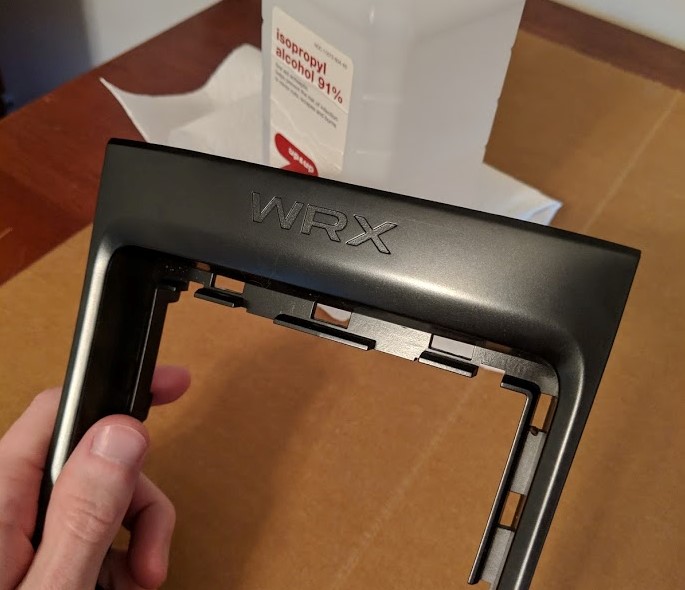
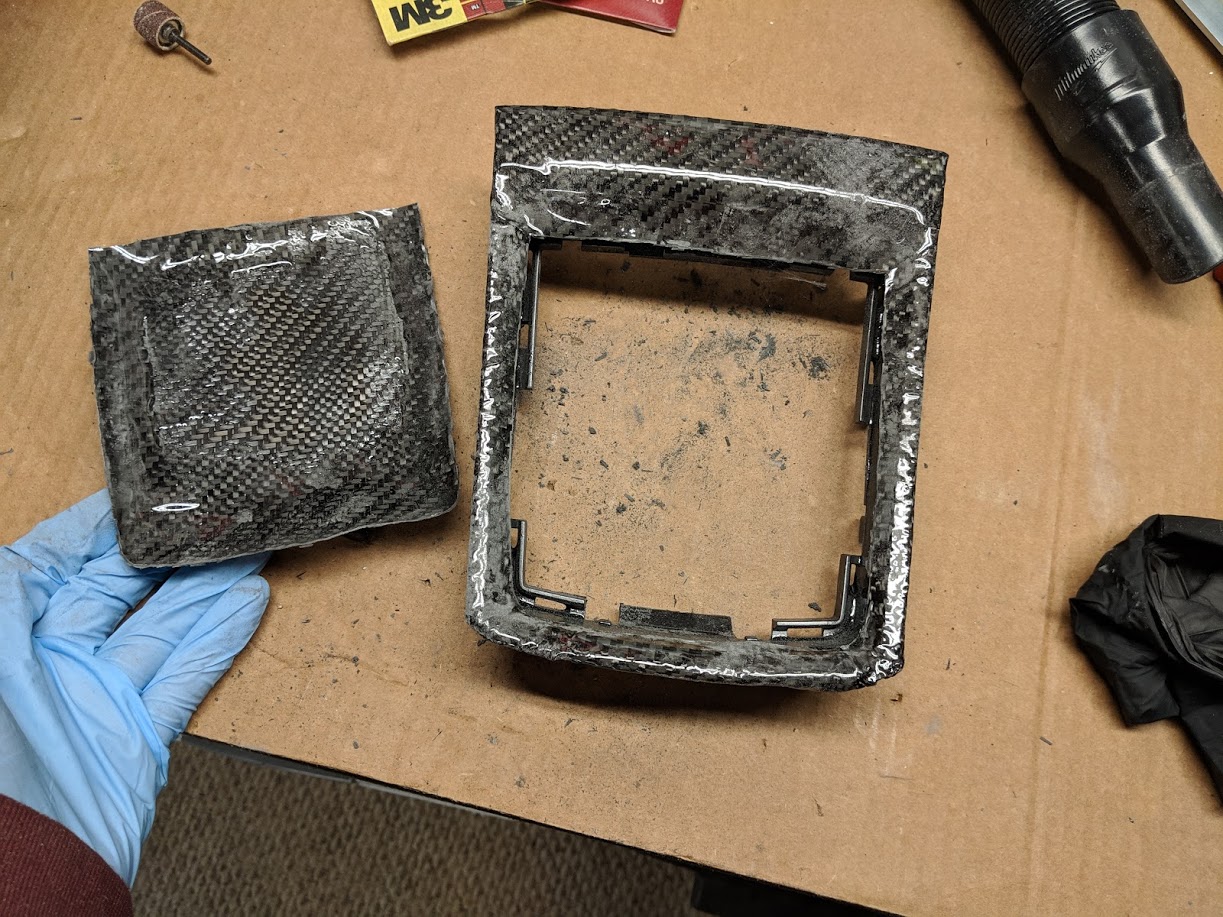
The first step is to pick a part to wrap! After researching endlessly on the topic and reading nearly unanimously that your first few attempts would be shite, I threw caution to the wind and decided to try wrapping the shifter bezel on my WRX. I settled on the shifter trim for a few reasons: first of all, it’s much easier to learn how to wrap on a part with flat surfaces, and second, I really wanted to incorporate some carbon fiber in the center console area to break up all the black and grey plastic.

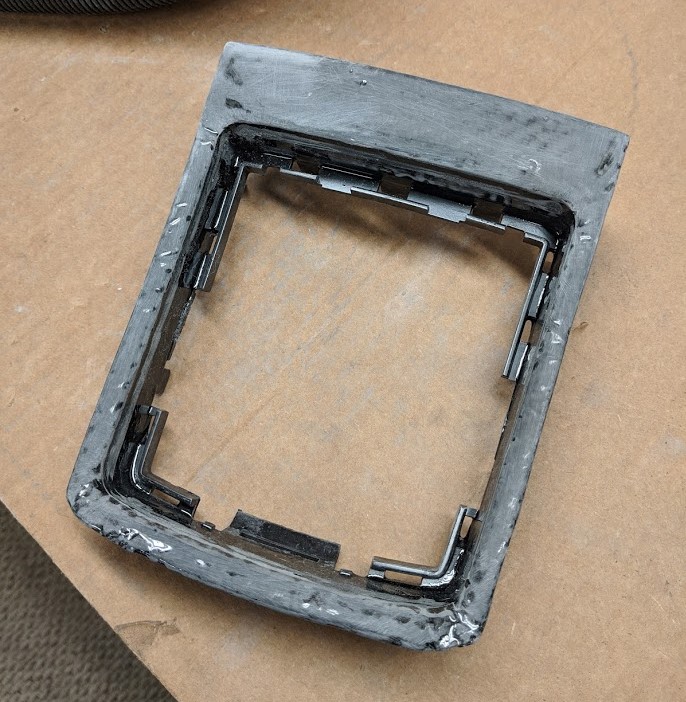
Uninstalling the shifter trim was as easy as unscrewing the shift knob and pulling upwards on the entire boot/trim assembly to release it from the center console. Getting the leather boot separated from the bezel itself proved a little more difficult, as there are a number of retaining clips that need to be loosened. Eventually though, I was able to get everything apart and was ready for the next step: preparing the surface of the part for the carbon and epoxy!
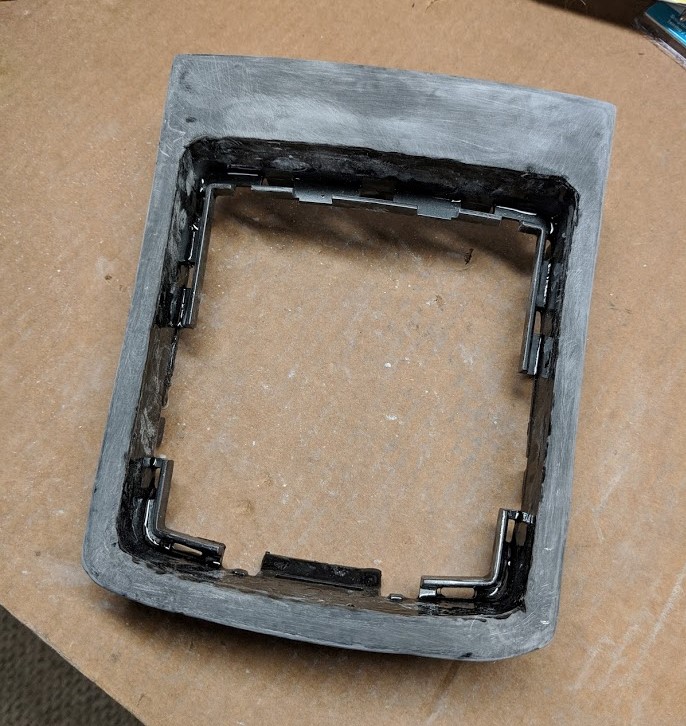
If the part you’re wrapping is any color other than black or dark gray (as the shifter trim is), I’d highly recommend throwing down a layer of black paint at this point. Depending on the grade/quality of carbon you use, there can be some separation of the weave during layup that will allow the original part’s color to show through. I ran into this issue when I wrapped my hazard button - I got lazy and forgot to paint, so unfortunately there is some OEM red plastic visible if you look verrrrry closely. If in doubt, save yourself the headache and just black everything out.
NOTE: Be sure to give your base coat plenty of time to cure - I’ve had issues where I’ve finished parts completely (clear coat and all) only to have them blister after a day in the hot sun. Not only is this extremely frustrating, it’s difficult to avoid without giving proper time for your paint to cure. Refer to the instruction label on your paint for specific timespans, but when in doubt give it a few days.
If you aren’t painting the surface of your part, this would be the time to rough it up with some sandpaper. I’ve found 800 grit creates a nice, coarse surface for the epoxy to bind to.

The final piece of the prep is to cut a sheet of carbon to size prior to layup. NOTE: Before handling the raw carbon, be sure to protect your hands with gloves. Carbon filaments are extremely fine and can be a skin irritant.
As I alluded to earlier, raw carbon is easily distorted, so using a light strip of masking/painters tape along the edges of your cuts to keep the weave from unraveling will save a ton of headache later on. Cutting the carbon itself can prove difficult as well - be sure to use a very sharp, heavy duty pair of shop scissors.
With your part prepped and the carbon cut to size, you’re ready to start the layup process!
Step 3: Carbon Layup
Because carbon fiber is actually relatively flexible, the process of affixing it to parts is actually quite straightforward. Unfortunately, because of its fragility in its raw state, you have pretty much one shot at setting the weave for layup. Trying to adjust it after the fact will only result in ruined carbon fiber and general sadness.
After much trial and error, I’ve found that a light mist of 3M Super 77 adhesive spray on the backsize of the carbon sheet provides a perfect amount of tackiness to affix the carbon sheet to the part. Depending on ambient temperature/climate, you may want to wait a few minutes for the adhesive to tack enough to keep the carbon contoured to the part. Once its set though, you should be able to lightly press the carbon fiber against the surface. Be careful and not drag or twist the weave once it’s set in place.
Once you’re confident with the placement, gently rub the carbon to affix the adhesive and begin conforming any edges or curves. In some cases, you may need to add some relief cuts to allow the carbon to bend more sharply - just be careful to not cut too close to the face of your part as the fabric may begin to unravel. You’ll need to wait a few hours for the adhesive to set up, but once everything seems secure and dry, you can lay the first application of epoxy resin.
I won’t go into much detail about resins, but suffice to say there’s generally two types: epoxy and polyester. Most fiberglass kits come with the latter as it is much cheaper and more forgiving. Unfortunately, polyester resin also smells terrible and doesn’t have a ton of structural rigidity (not ideal for carbon parts). Most carbon fiber kits will include epoxy-based resins due to their superior strength and clarity. All resins require two parts - the resin itself and a catalyst/hardener. Epoxy resins can be used with a variety of hardeners, each with their own mixing requirements and setup times, so refer to your specific kit’s labels for detailed instructions.
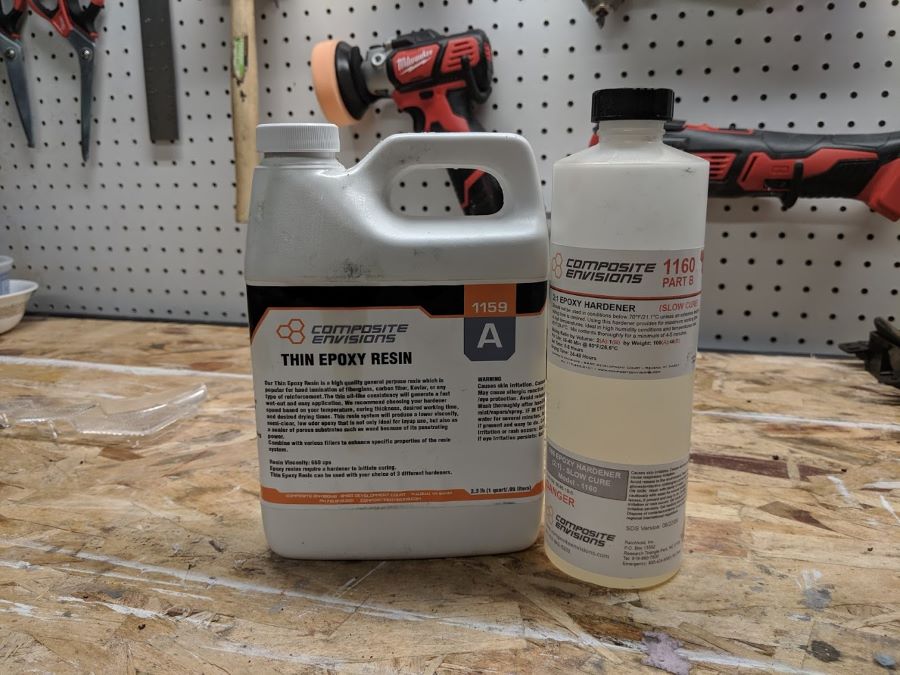
In my case, the Composite Envisions kit included a slow-cure hardener and epoxy resin. The slow-cure resin allows for maximum working time (before the epoxy starts to harden) which is perfect for beginners. In my case, the epoxy to hardener mixture ratio was 2:1, so I used a kitchen scale and the provided mixing cup to whip up a small batch (~30 oz total) for the first layer. Thoroughly mix the epoxy and hardener for about a minute.
TIP: After mixing, hit the cup of epoxy with a heat gun to release any air bubbles prior to brushing it on your part - this will help prevent any pitting later in the process when it comes time to sand the epoxy down.
Once the epoxy is thoroughly mixed, grab a clean bristle brush and begin to lightly apply the epoxy to the carbon fiber. Be very gentle to not pull the carbon filaments, but use a light blotting motion to saturate the fabric. You don’t need to drown the carbon at this point, just apply enough to get the surface wet.
NOTE: Any unused epoxy will need to be disposed of properly. DO NOT POUR IT DOWN YOUR DRAIN. I use a few paper towels to soak up the leftover epoxy and a quick spritz of a diluted IPA solution to clean the mixing cup. Also be sure to properly clean your brush with mineral spirits/IPA if you plan to reuse it.
Depending on the type of catalyst used, cure times will vary greatly - again refer to your bottle’s labeling for specific setup and cure times. In my case, after a few hours the epoxy was setup enough to apply a second coat.
Step 4: Sanding
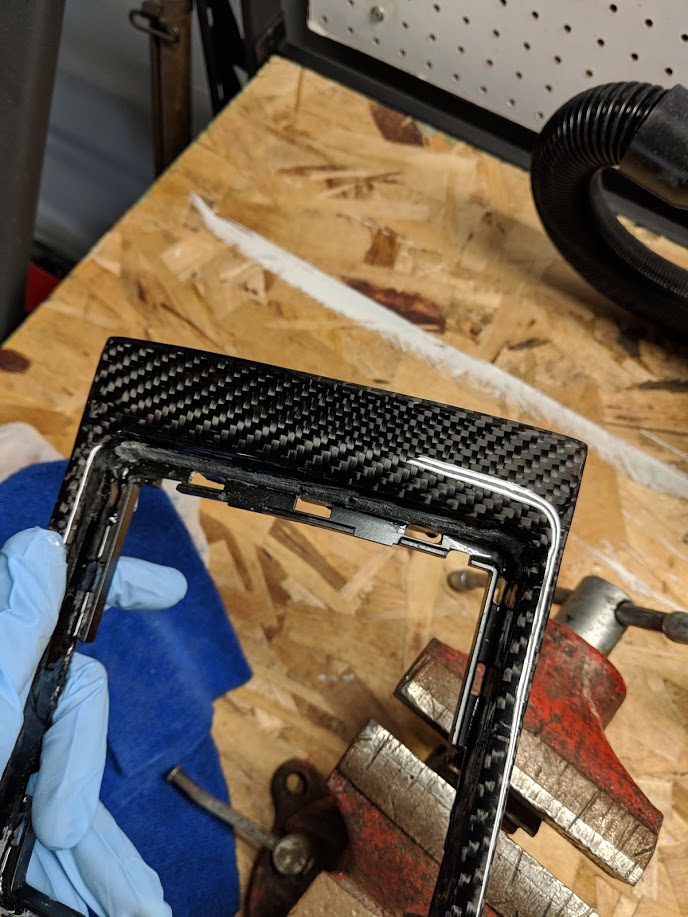
After a few coats of epoxy have been applied and cured fully, you can safely trim away excess cured epoxy with a pair of sharp scissors and/or a dremel cutoff wheel.
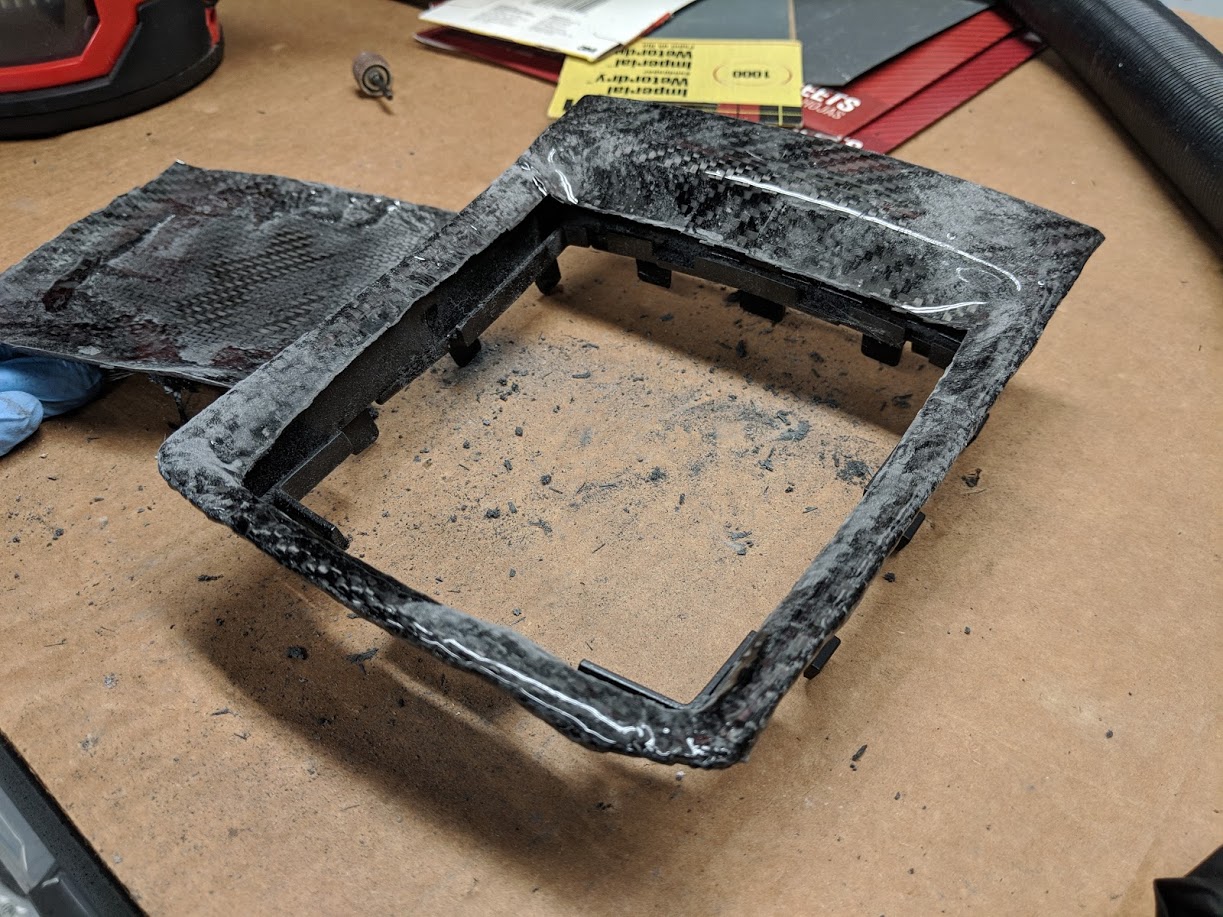
With the part prepped it’s time sand the surface smooth! Starting with 400 grit (wetsanding may be helpful), gently level the surface of the part. Be careful not too be too aggressive and burn through to the carbon. If you do, it’s not a big deal - there’ll be a few more coats of epoxy applied before the end! Focus on taking down the high spots and preparing the surface for it’s finished layer of clear coat.
Depending on how many layers of epoxy you originally applied, you may want to layup a few more after sanding. Repeat the process until you’ve achieved a perfectly level surface - free of pitting and/or voids. Then, gradually work your way up to finer and finer grits of sandpaper (I usually do 400, 800, and 1000 if needed). Once you’ve removed all of the deep scratches, you should be left with a nearly perfect matte finish ready for clear coat!

Step 5: Clear Coat
While epoxy-based clear coats are extremely resilient when cured, they aren’t UV-resistant. This can be problematic for parts used in cars as they’ll gradually yellow and fade over time. Thankfully using a quality clear coat over the epoxy is an easy solution!
If you have access to a paint booth/professional quality sprayer system, I’m jealous and you should let me use it. In all seriousness, while a compressed air system is the ideal solution, most DIYers like myself just don’t have the space or need for something that complex. Some quick Googling would suggest rattle can clear coats miss the cut due to their poor quality, inconsistent finishes. However, for a little more money than your typical aerosol clear coat, you can in fact get a pro-grade finish in a can!
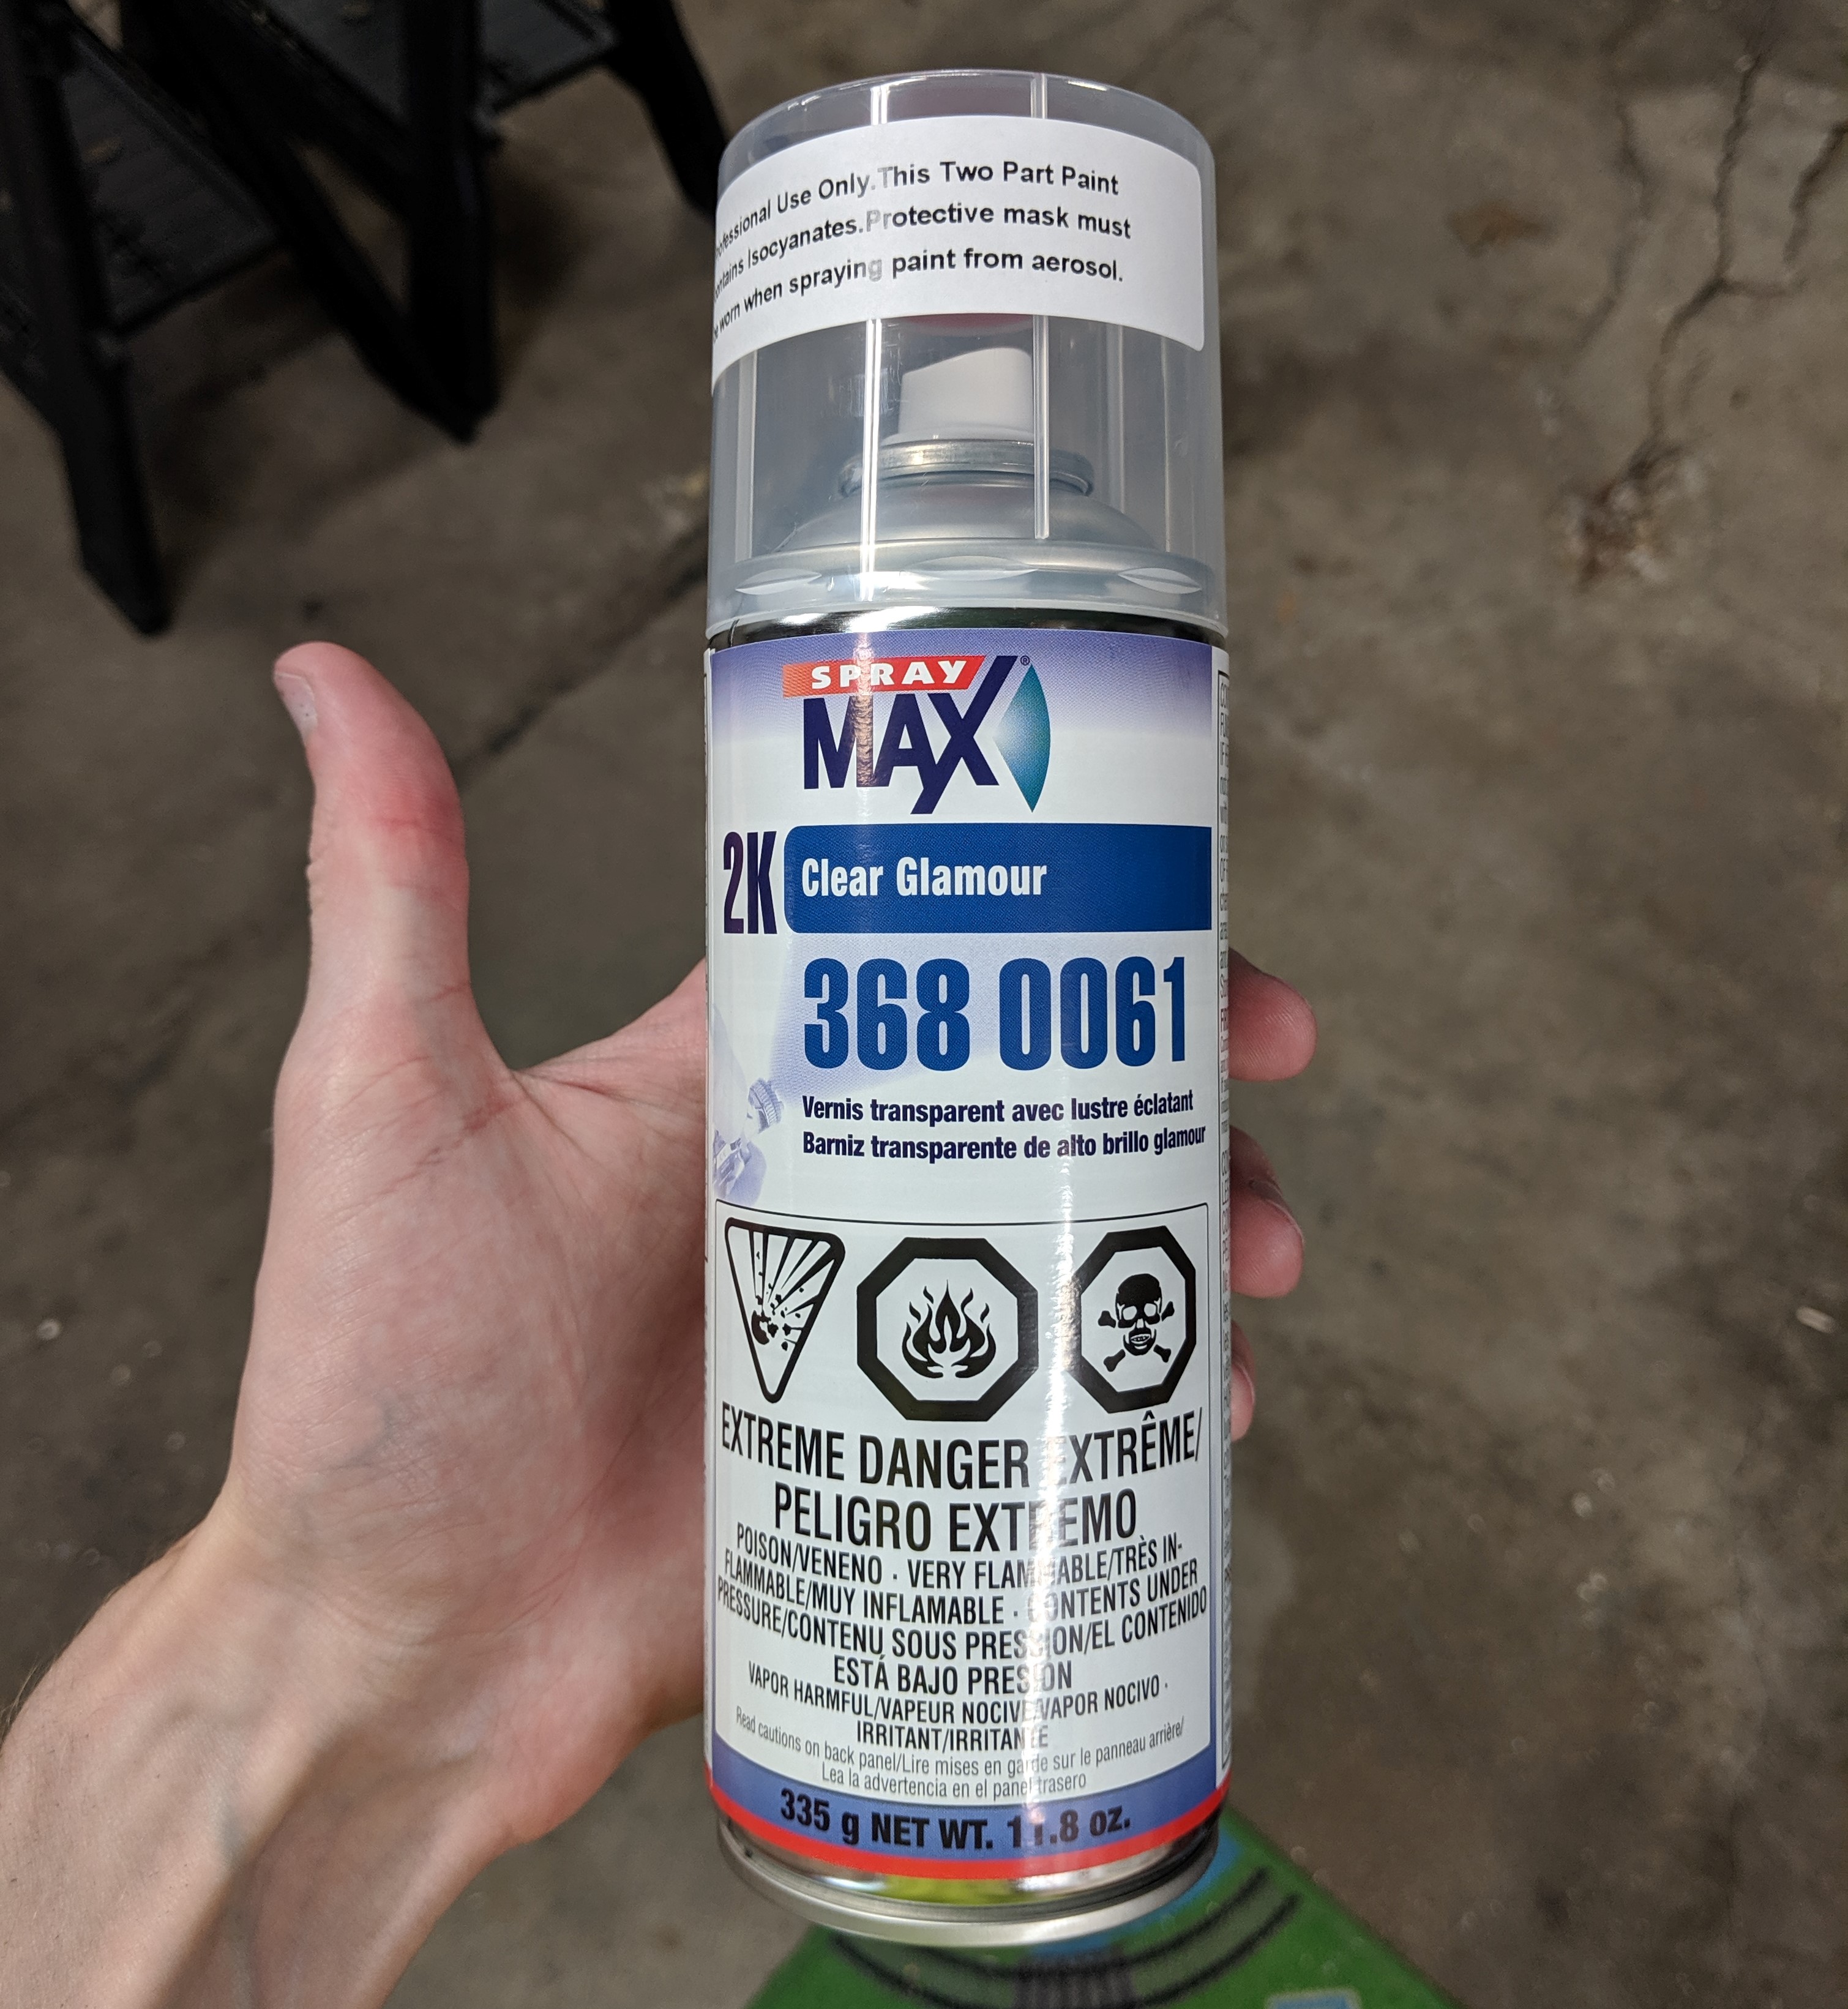
Two stage clear coats (often referred to as “2k”) are different than the off-the-shelf alternatives from Krylon, Duplicolor, etc. SprayMax makes a great 2k clear coat that still comes in a single can, but utilizes a manually activated second stage mixture to create a much more durable finish. Their cans come with a second cap that is placed on the bottom of the can and gets whacked to release the catalyst/hardener.
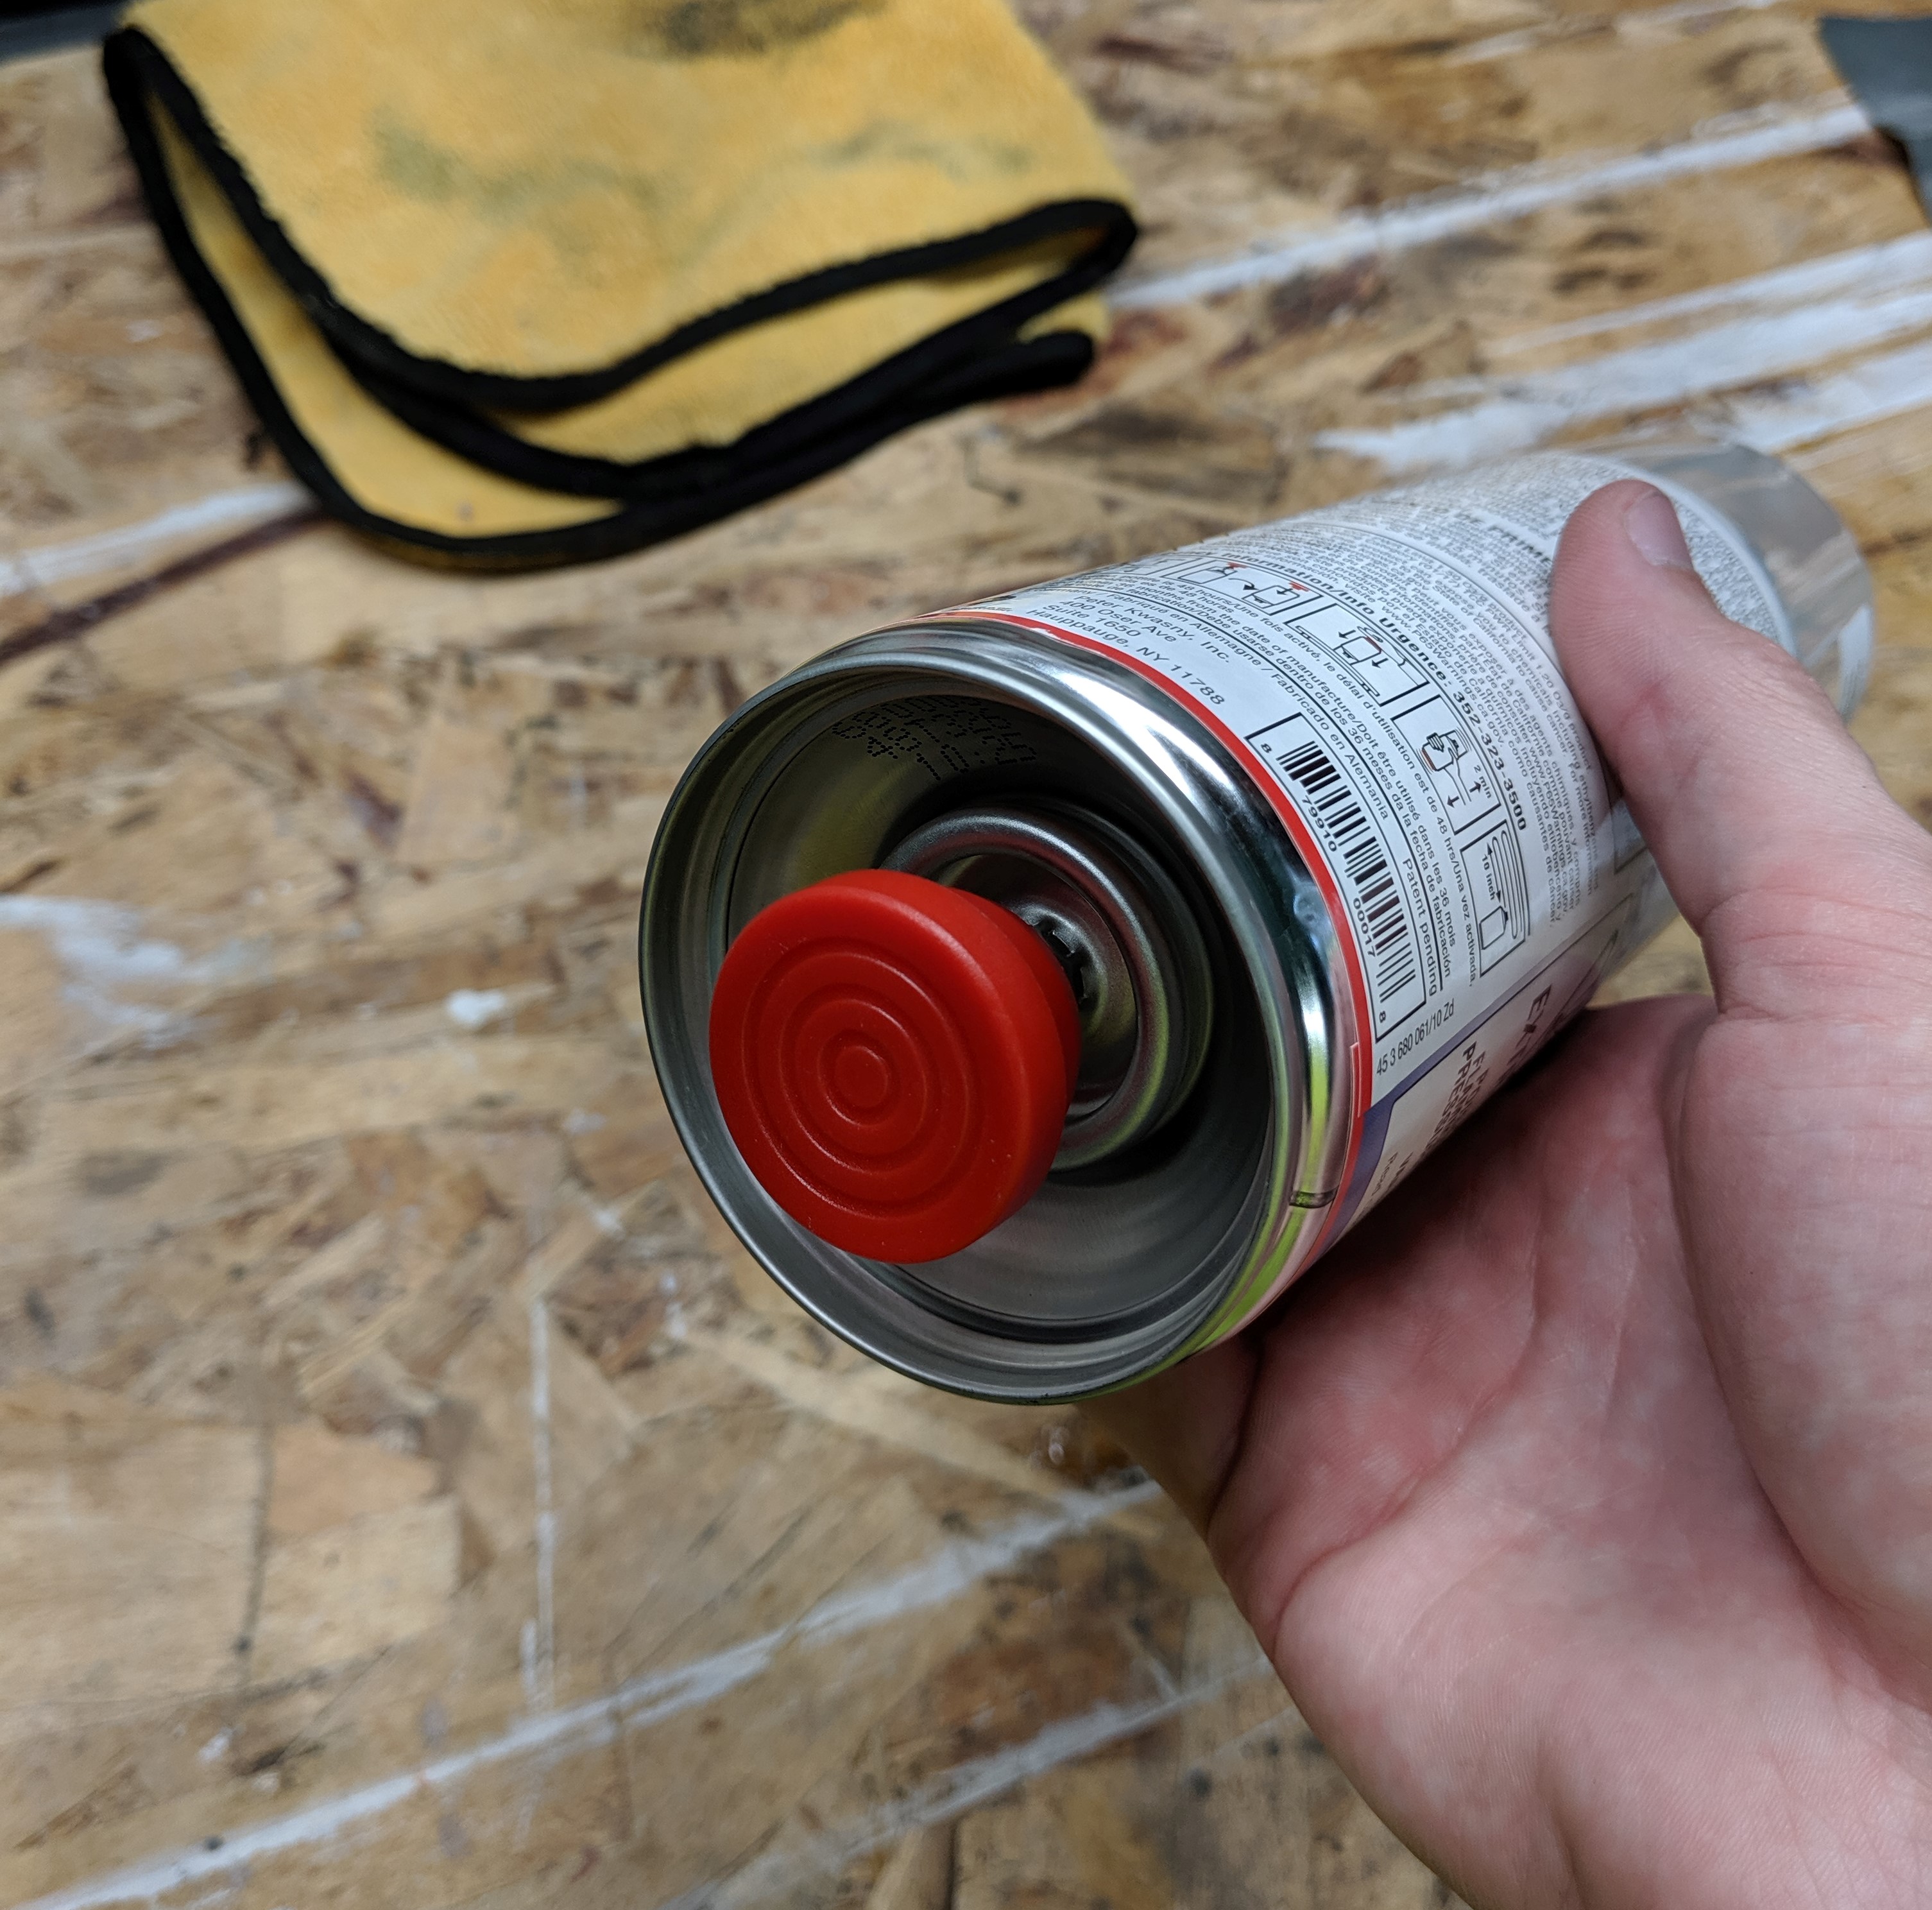
Unfortunately, the nature of two stage clear coats is such that the mixture has a pot life of only about two days. At ~$20/can, they’re still miles cheaper than a full setup.
Application is no different than a traditional clear coat - be sure to wipe your parts down with a diluted IPA solution prior to applying anything. You want to be sure the clear coat has the cleanest possible surface to stick to! Lay the clear in light, even coats leaving 5-10 minutes between applications. The SprayMax should lay extremely glossy but be careful to avoid runs with too thick of coats - be patient! After laying the last coat, it’ll dry to the touch in a few hours, but you’ll need to give about 24 hours before any finishing/sanding can be done.

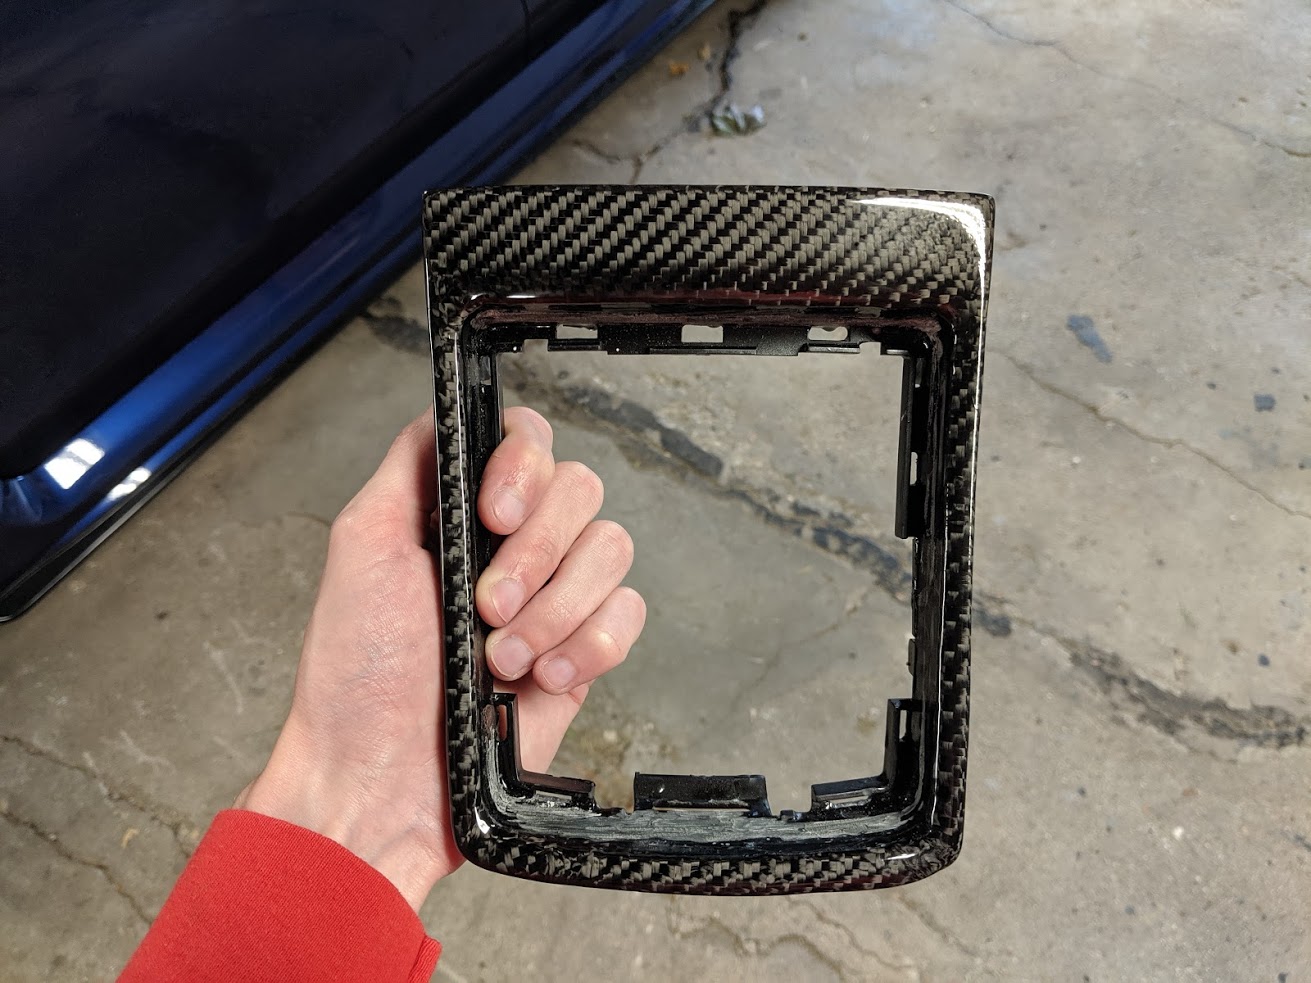
Once you’re happy with the finish, congratulations - you’re ready to reinstall your parts!
Conclusion
As you can see, wrapping your parts with carbon isn’t all that difficult. While it is time consuming and requires a lot of sanding, polishing, and refining, the end results are 100% worth it. Not to mention, you can proudly display your carbon-wrapped parts in your own car knowing you did all the hard work!

Stay tuned - in an upcoming post, I’ll be going over the steps to create your own carbon fiber parts from custom molds!
Update - September 2020
I’ve created a “lessons learned” post as an update to this original post here. If you’re looking for more info on working with carbon fiber, be sure to check it out!
Subscribe For More Like This!
Enjoying this post? Get added to the mailing list and I'll let you know whenever I post new content!
Support
If you enjoyed this post, please consider supporting the blog by buying me a virtual coffee!
As a Software Engineer by day and dad by night, this blog is maintained in my free time. Your support is greatly appreciated and helps keep this site 100% ad-free!