


It’s been a few weeks since I picked up my WRX, so I’ve had some time to feel out its strengths and weaknesses. I’ve taken the car on a few multi-hour road trips, cruised it through some windy backroads, and commuted back and forth to work each day.
One of the most obvious realizations I’ve come to is that the WRX is LOUD. This had been one of my biggest concerns prior to ordering the car, so needless to say I’m not really surprised. The 2018 WRX refresh came with a couple improvements that successfully mitigate some of the wind noise (thanks to thicker windshield and side glass, a foam-filled header beam, and revised door seals), but there’s still a significant amount of road and tire noise. Based on my experience with my ST, I knew some aftermarket sound deadening was in order. So, with winter just around the corner, I went online to do some research on other’s experiences with sound deadening their WRXs.
I had originally planned to order up some more RAAMaudio products, as I had a great experience with them when I sound deadened my ST. However, while the RAAMmat and BXT-II materials had done a great job of making the ST feel more solid and cancelled out some of the higher-frequency drone and vibrations, they hadn’t done much to minimize the actual road noise. As I would later learn, this was mostly due to the fact I hadn’t employed any “mass loaded vinyl” (MLV).
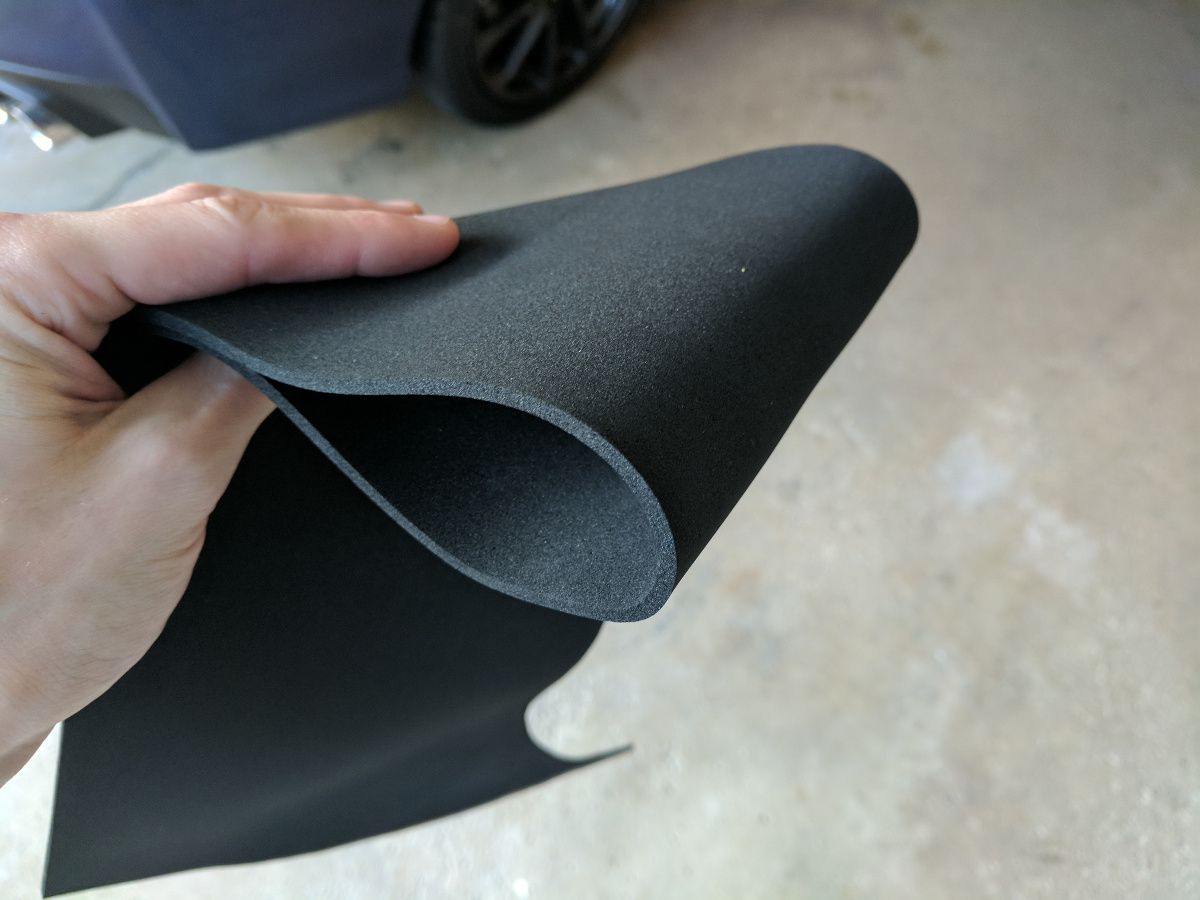
Mass Loaded Vinyl (MLV)
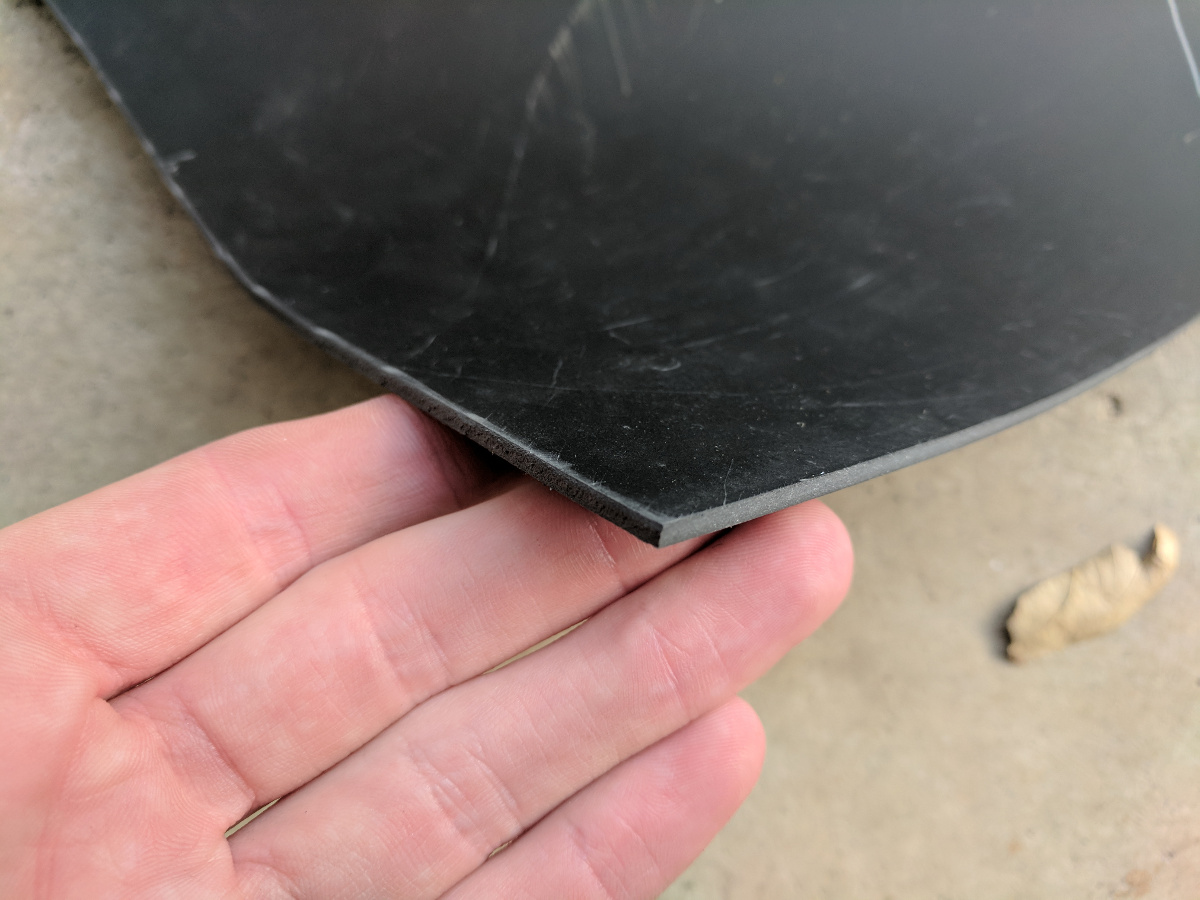
MLV is a rubberized, dense material specifically designed to absorb sound waves. It’s often used in commercial applications where noise isolation is important (e.g. recording studios, apartment buildings, etc.). For automotive applications, MLV is typically sold in sheets 1/8″ to 1/4″ thick and applied in overlapping layers underneath a vehicle’s interior paneling.
Since RAAMaudio doesn’t offer any MLV equivalent products, I took a closer look at a number of sound deadening threads on NASIOC. In almost every case, the materials used had come from Sound Deadener Showdown. After a closer look myself, I knew SDS was exactly what I had been looking for.
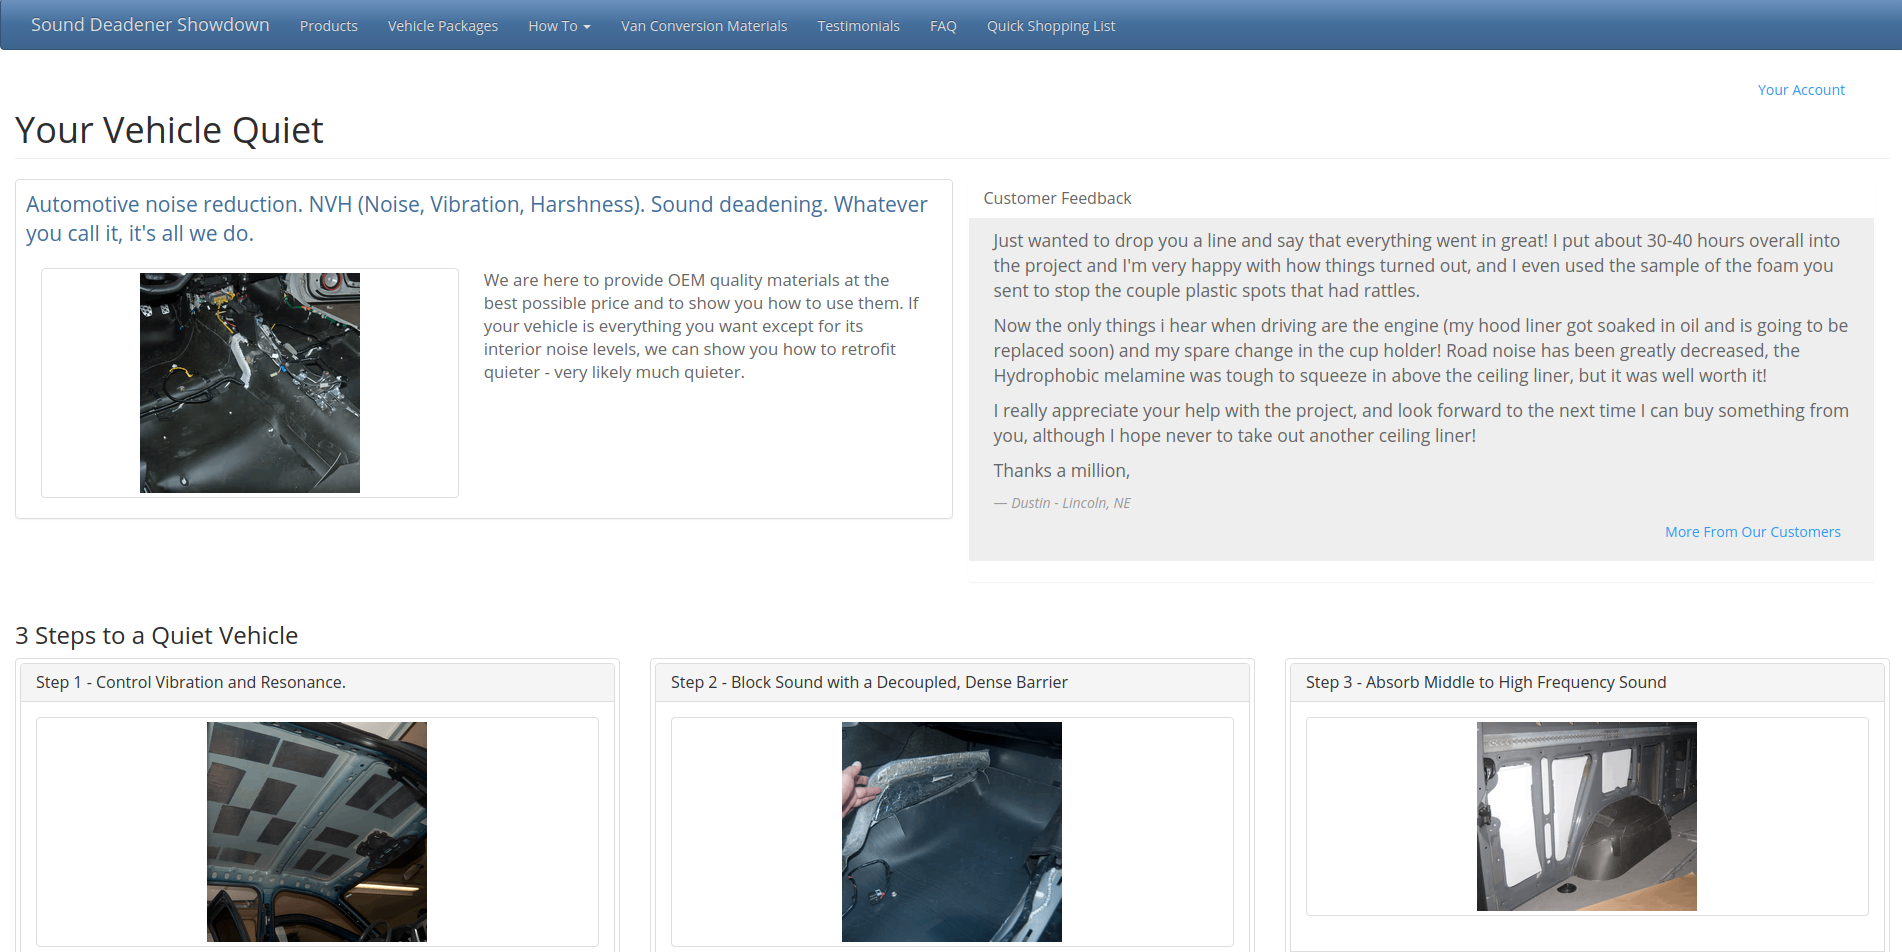
With full build logs (including one for the 2015+ WRX), detailed product descriptions, and easy to follow tutorials with pictures, SDS does a great job of helping to break down the most effective deadening techniques. Since I only had a few weeks of non-freezing weather left before winter, I decided to tackle deadening the front and rear doors of the WRX first.
Ordering the Materials
I consulted the SDS WRX build log and approximated the amount of material I’d need for my project. Shortly after placing my order however, I was surprised to receive an email from Don over at SDS. He had been processing my order and realized I had overestimated the amount of MLV I’d need. He provided a detailed recommendation of how much material I’d actually need. I emailed Don back thanking him for his attention to detail, approved the new order amounts, and he had my materials in the mail that afternoon. He even refunded my card the difference in cost!
For reference, here’s the amounts Don recommended for doing both the front and rear doors on my 2018 WRX: (NOTE: I didn’t order any vibration dampening butyl sheets as I had a number of RAAMmat sheets left over from my ST project):
Front Doors (each): 6.7 ft² MLV 10 ft² 1/8″ CCF 2.5 Velcro Strips, adhesive 2 sidesRear Doors (each): 5.6 ft² MLV 8 ft² 1/8″ CCF 2.5 Velcro Strips, adhesive 2 sides
Totals: 24.6 ft² MLV 36 ft² 1/8″ CCF 10 Velcro Strips, adhesive 2 sides 1 8 oz can HH-66 Vinyl Contact Cement
Note: MLV comes on a 54″ wide roll. You really want a single piece for each door - it’s tricky enough to get it to fit properly without dealing with seams. Your best bet is a 37″ x 54″ piece to cut in half for the front doors and a 32″ x 54″ piece to cut in half for the rear doors.
69 linear inches MLV @ $0.93 = $64.17 3 sheets 1/8″ CCF @ $16.35 = $49.05 10 Velcro Strips, adhesive 2 sides @ $1.47 = $14.70 1 8 oz. can HH-66 Vinyl Contact Cement @ $9.50 = $9.50
Sub Total: $137.42 Shipping: $27.37 Total: $164.79
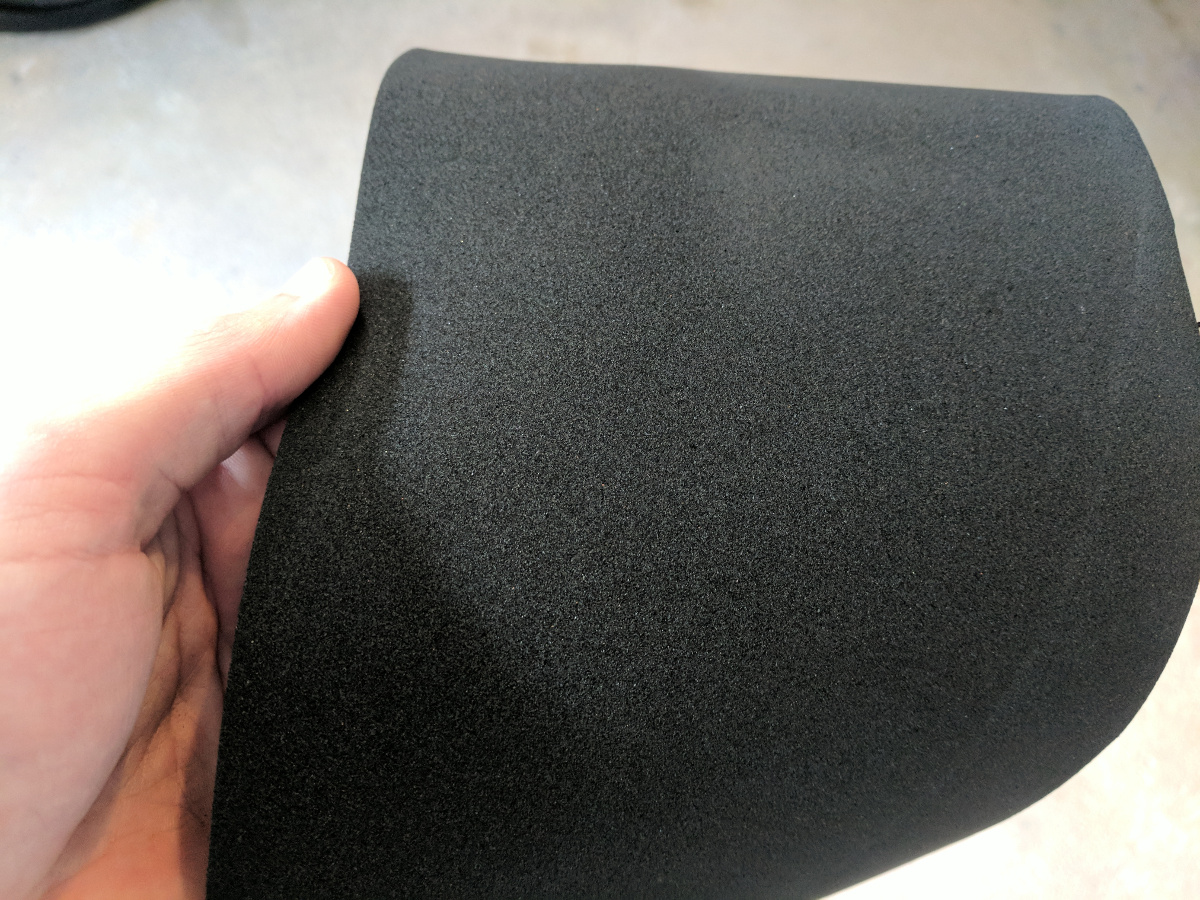
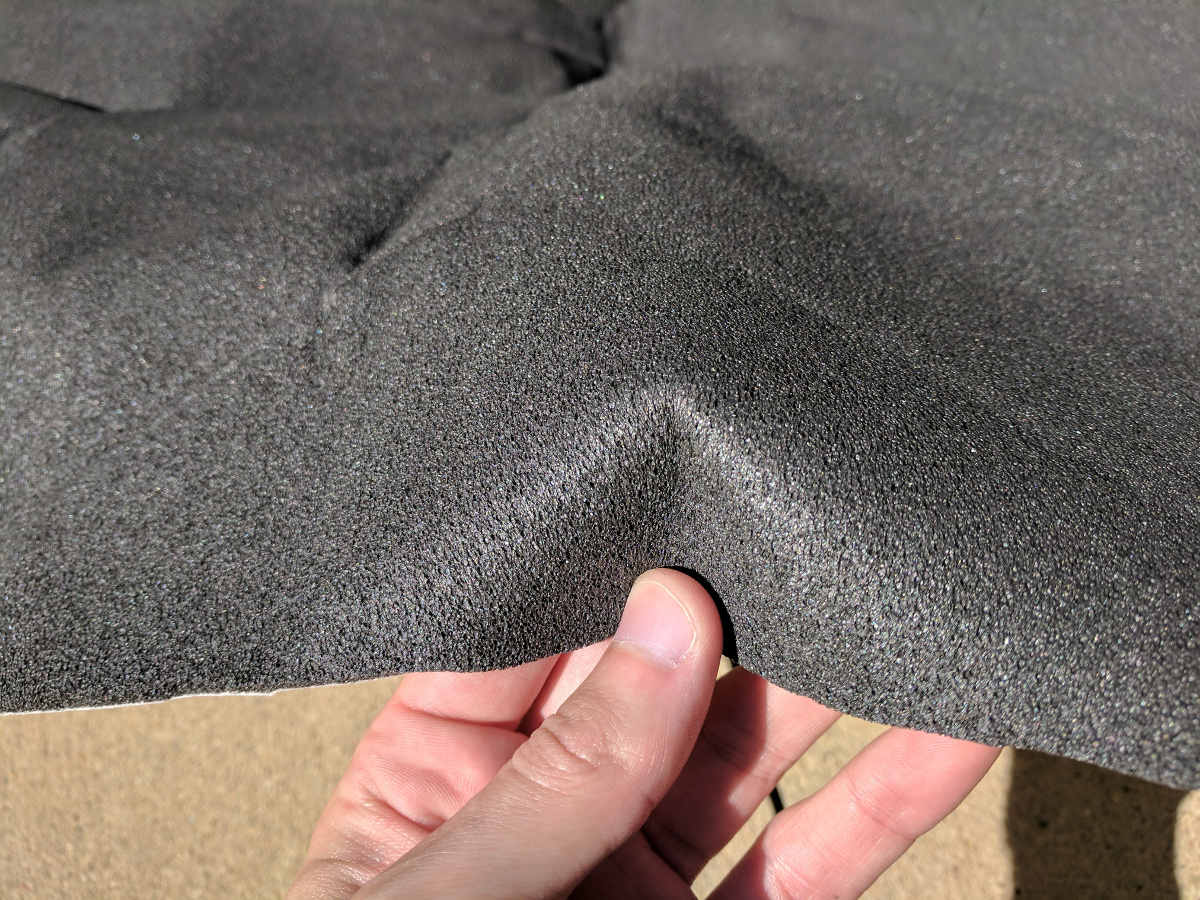
In the order notes above, CCF refers to “closed cell foam” - a thinner, lighter foam used to separate the hard metal panels of the vehicle from the much heavier MLV sheets. As Don explains on his website:
(CCF) prevents one object from making contact with another. This can be two objects that would other wise make intermittent contact - creating rattles or to enforce an air gap or spring between the mass loaded vinyl barrier layer and the vehicle.
The other items recommended by Don include heavy duty self-adhesive velcro strips for mounting the MLV on the vertical face of the door panel (making for easy removal/adjustment) as well as vinyl contact cement - perfect for attaching the CCF to the MLV.
A few days later, a slightly resentful UPS driver hauled my 36 lb box off the truck.
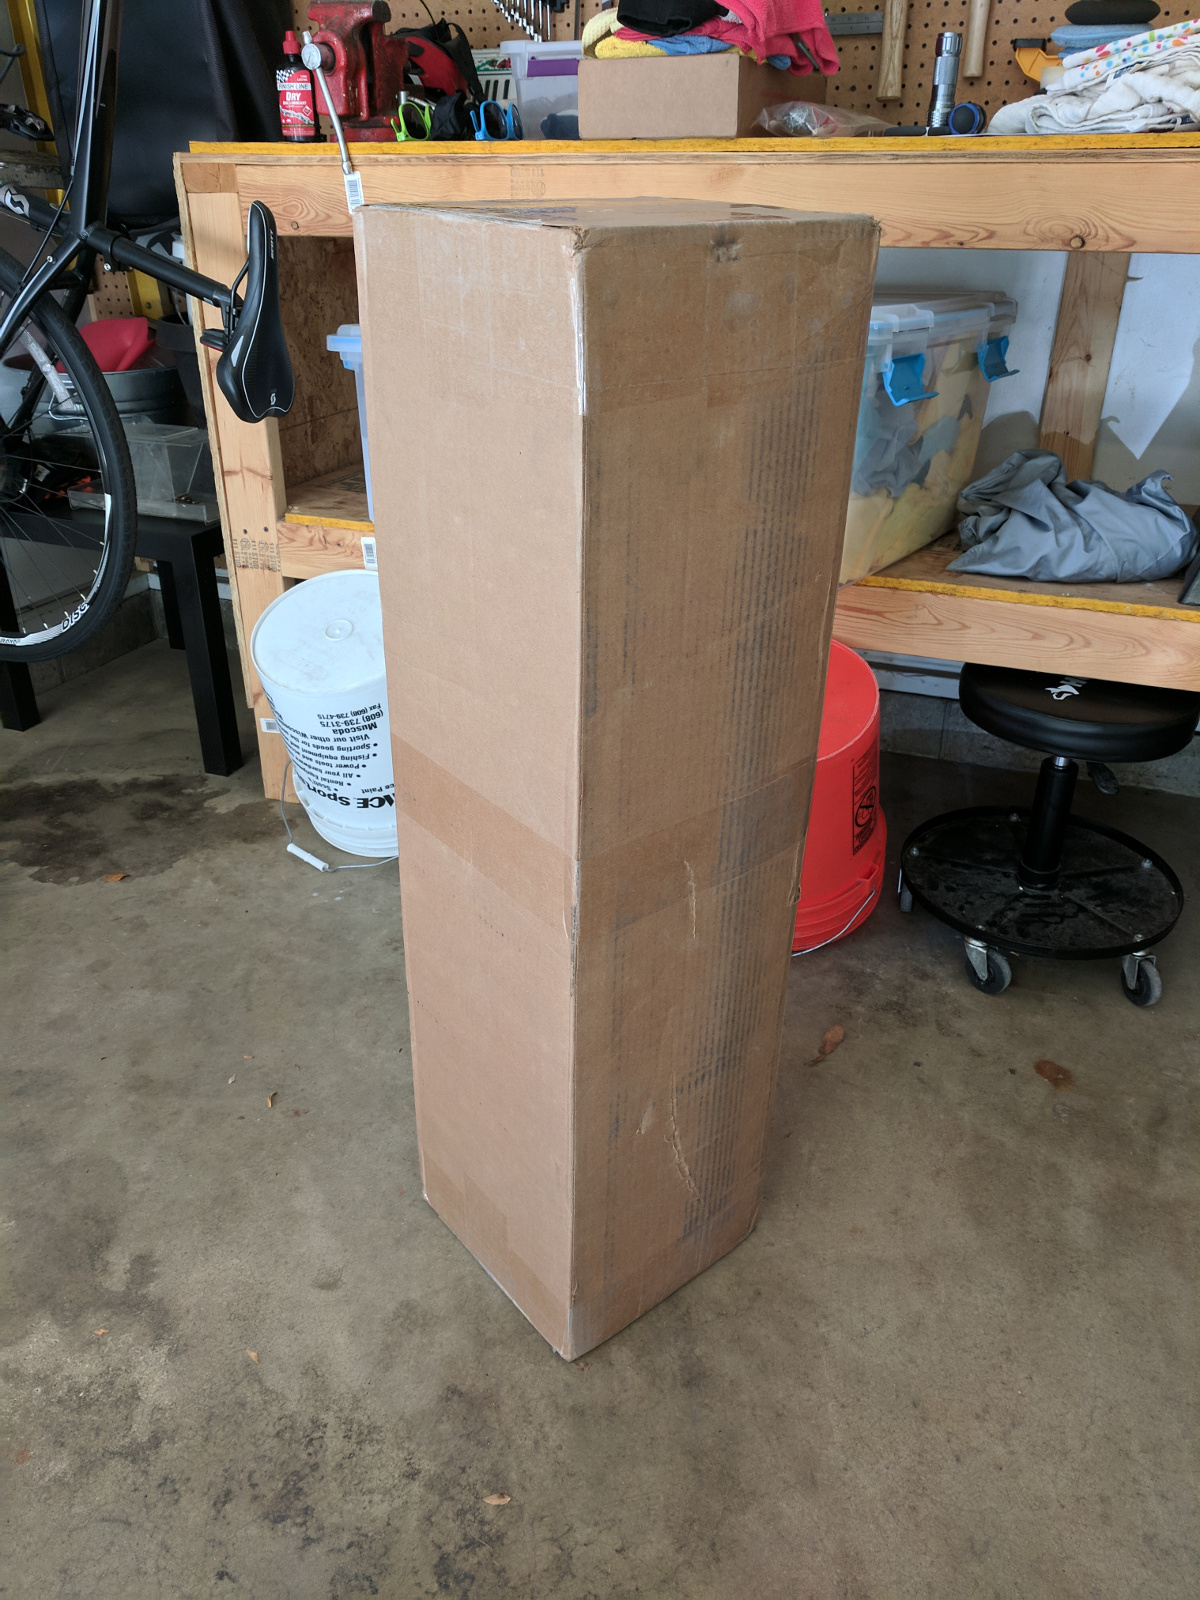
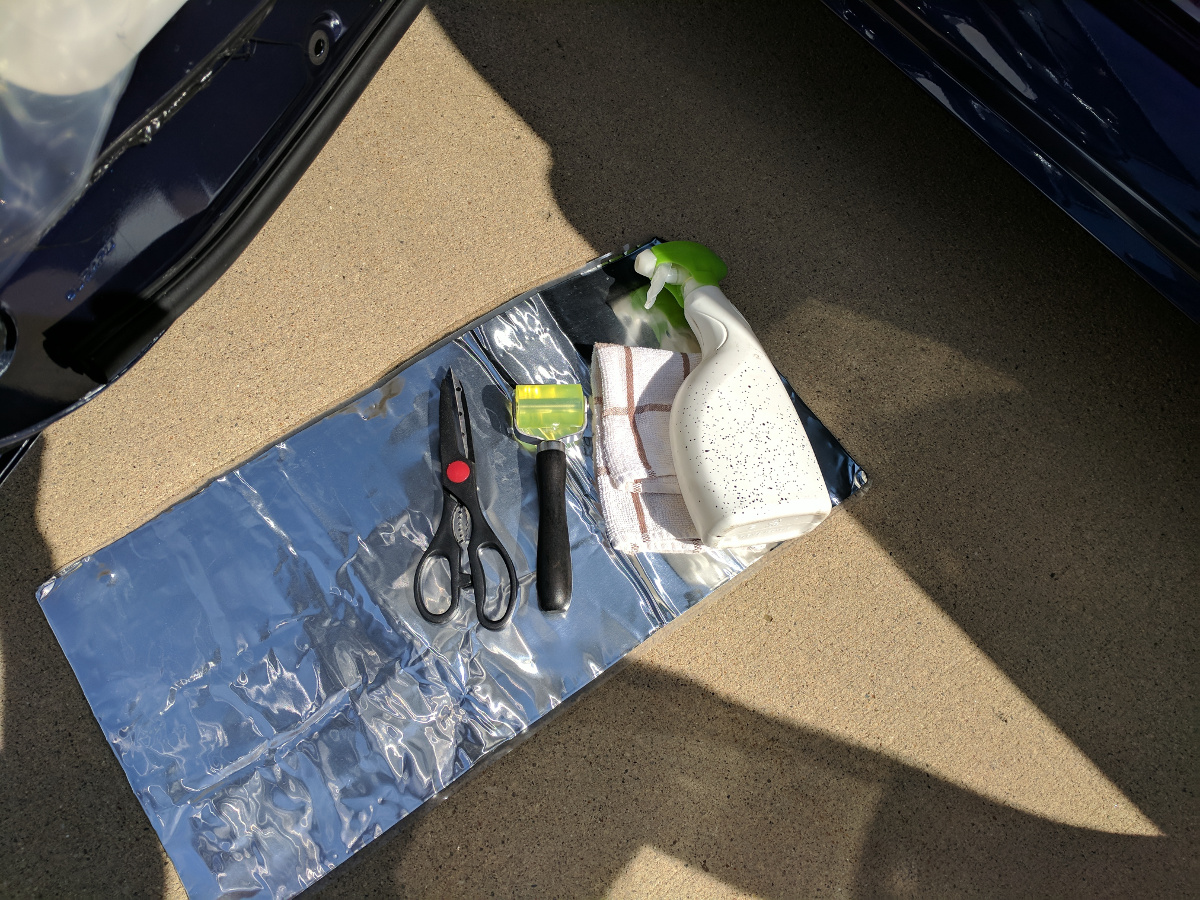
Everything was packaged well, and Don even included a sample kit of SDS’s other products:

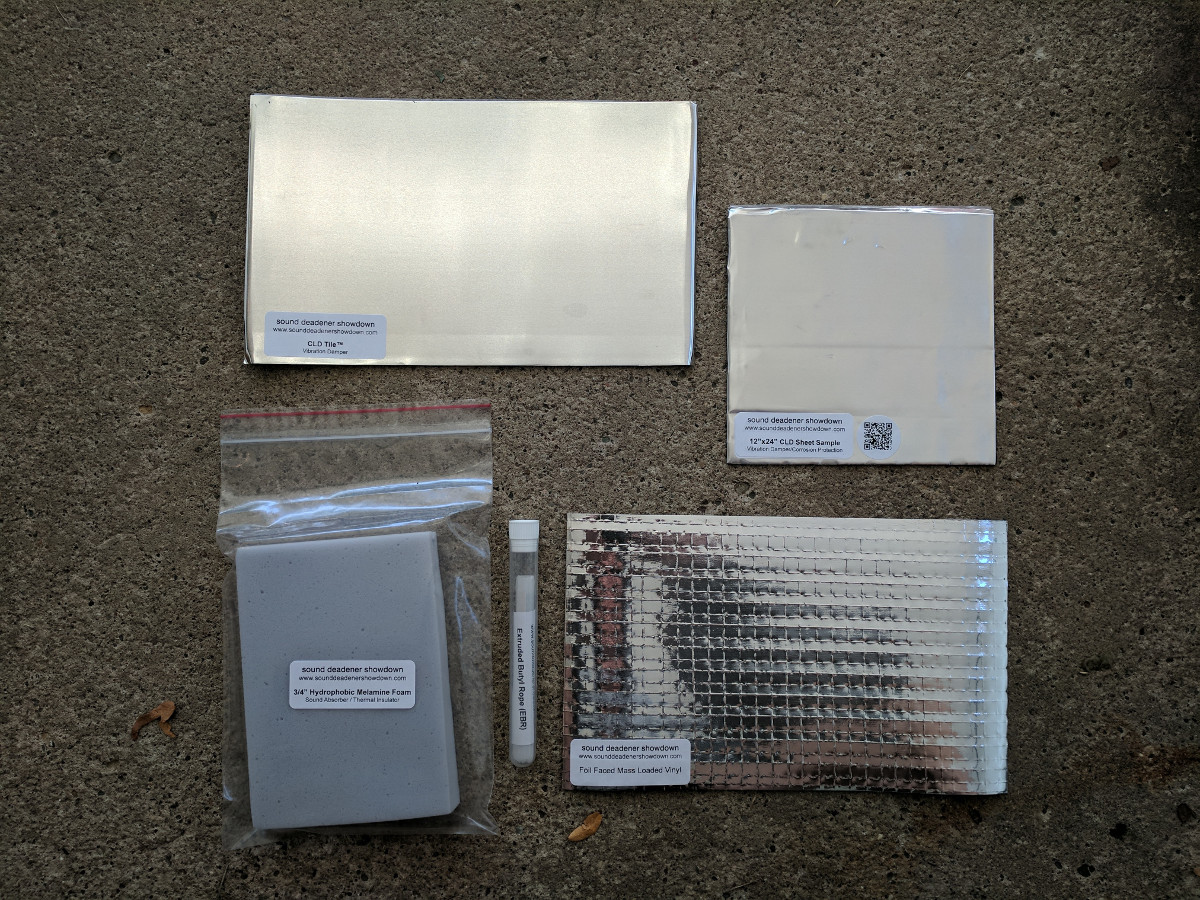
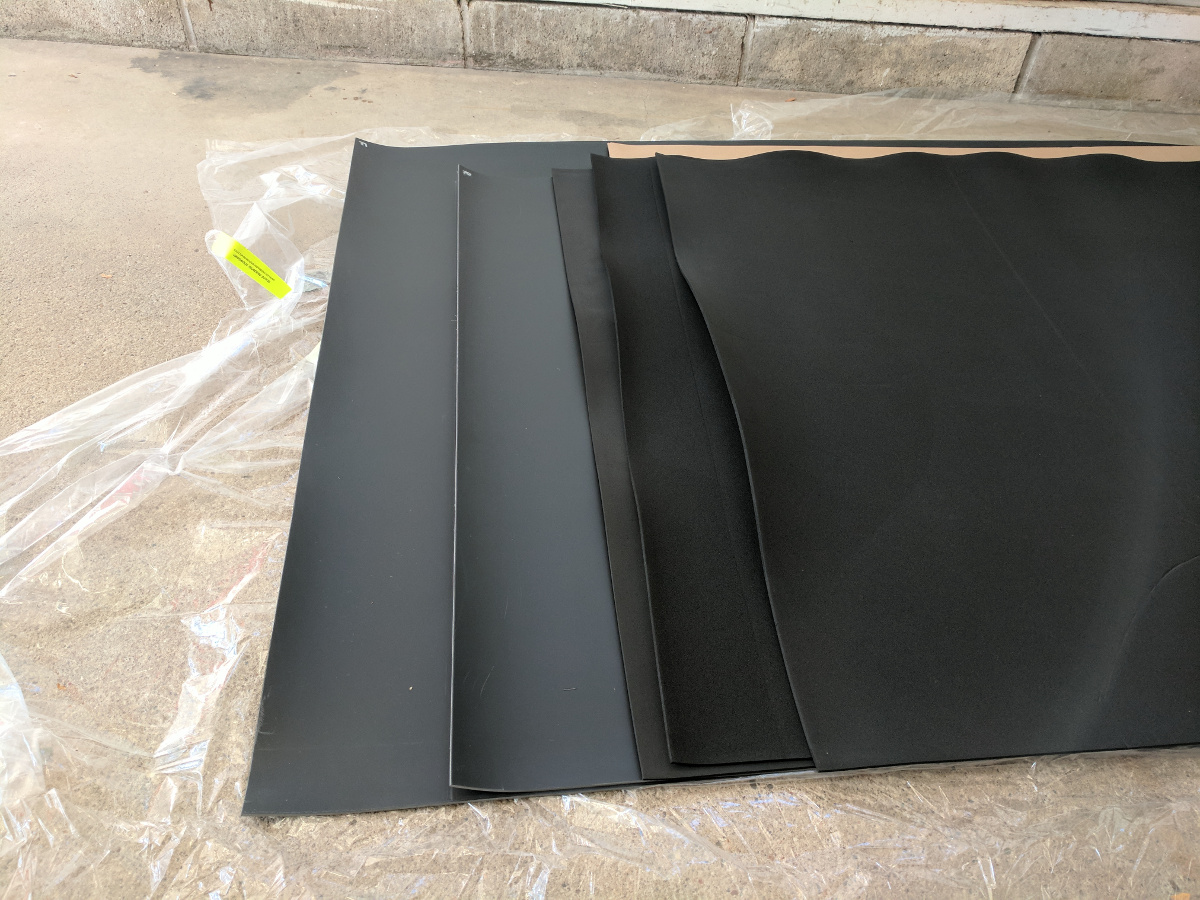


Upon inspecting everything, I was really impressed with the quality. With all the parts and tools assembled, I was ready to get cracking!
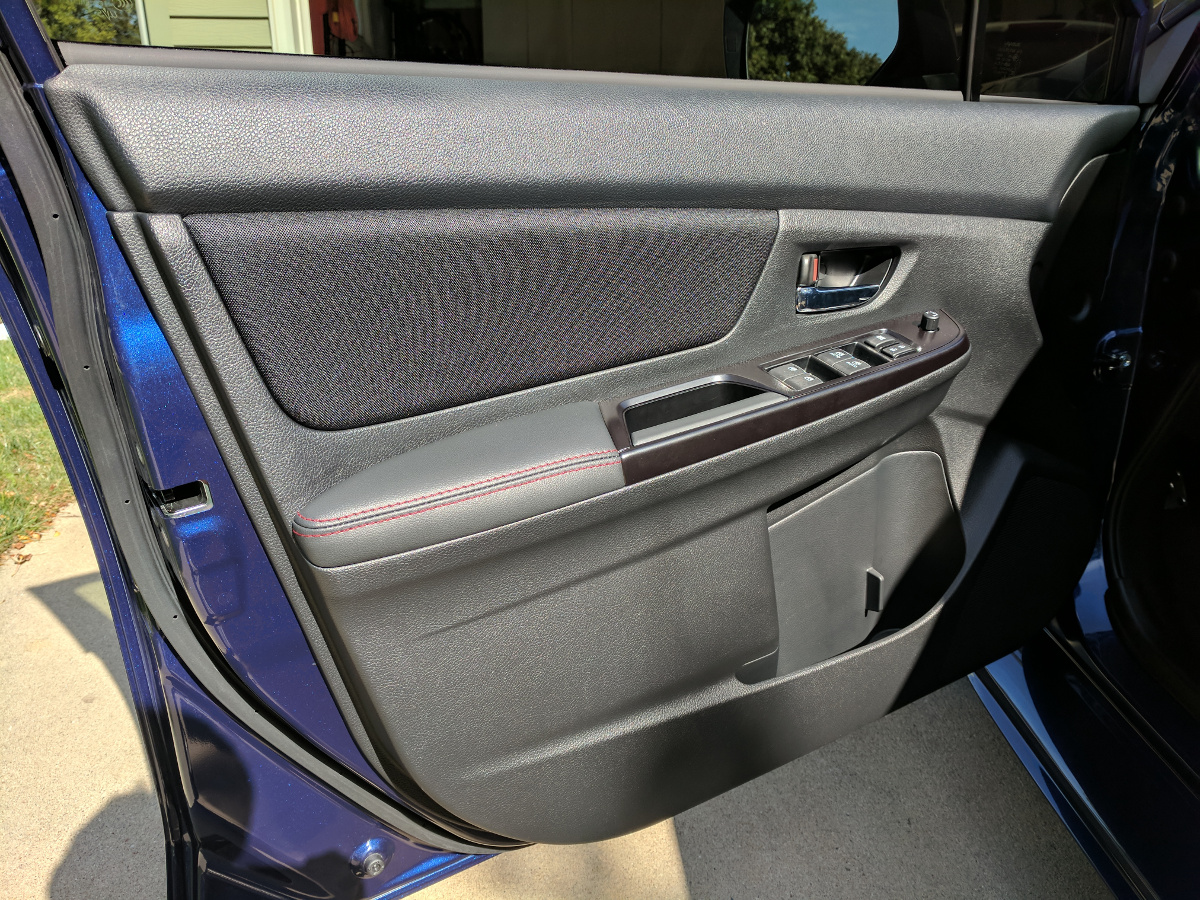
Disassembling the Door Panel
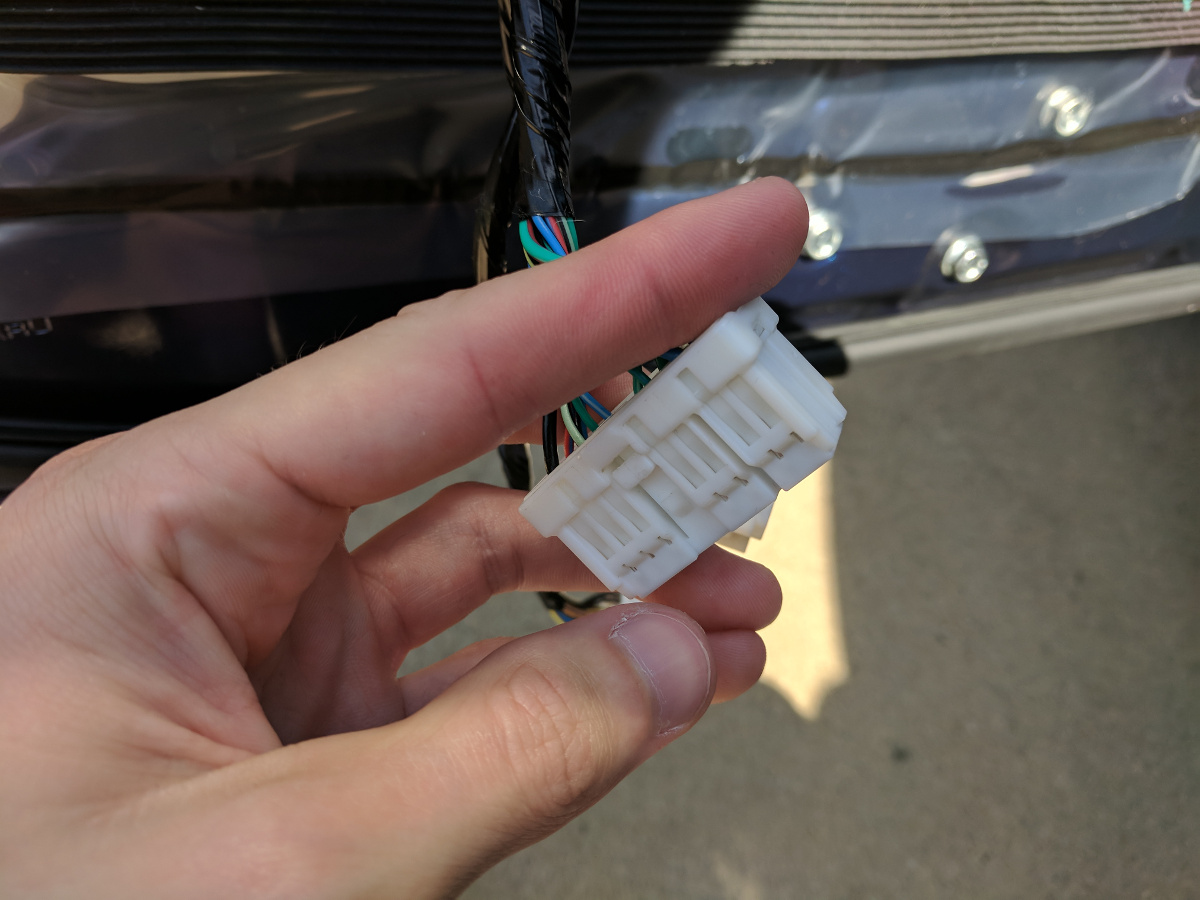
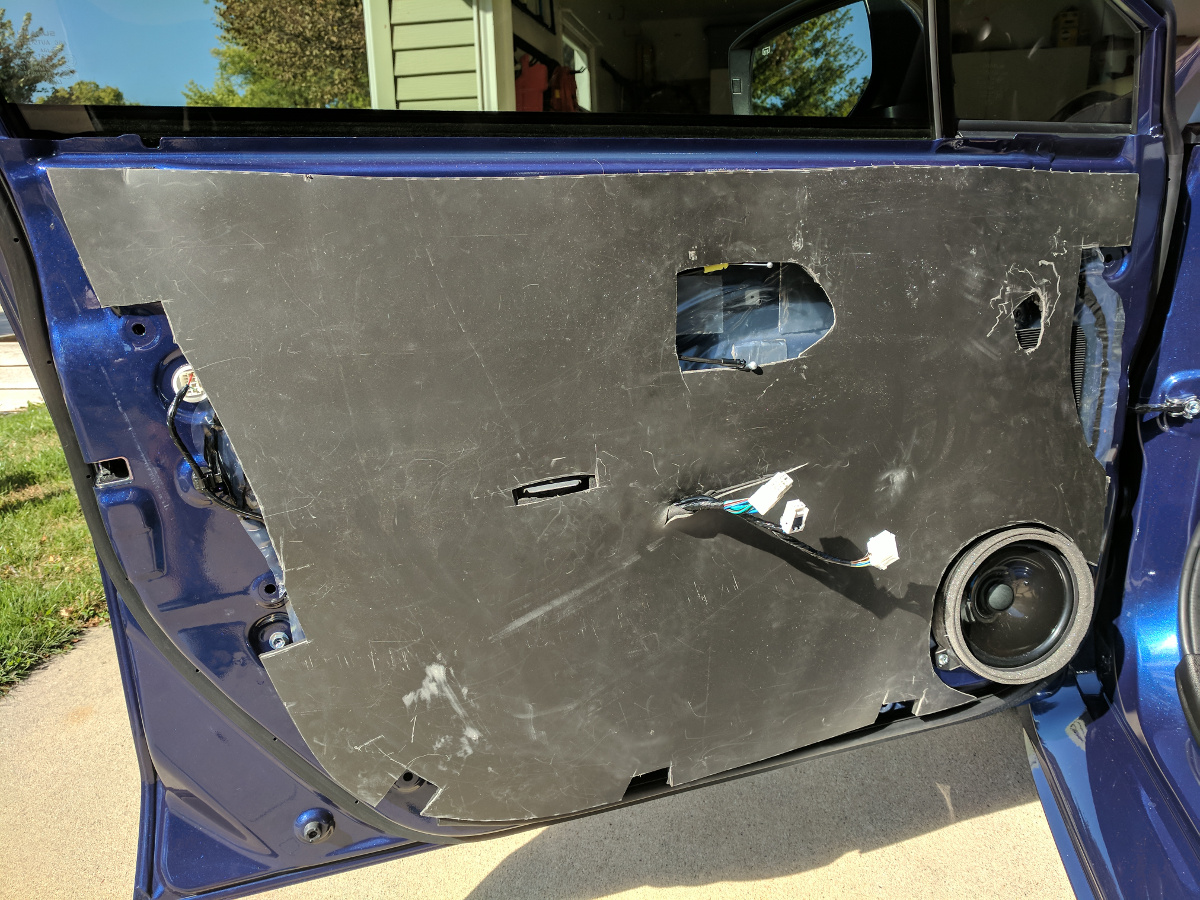
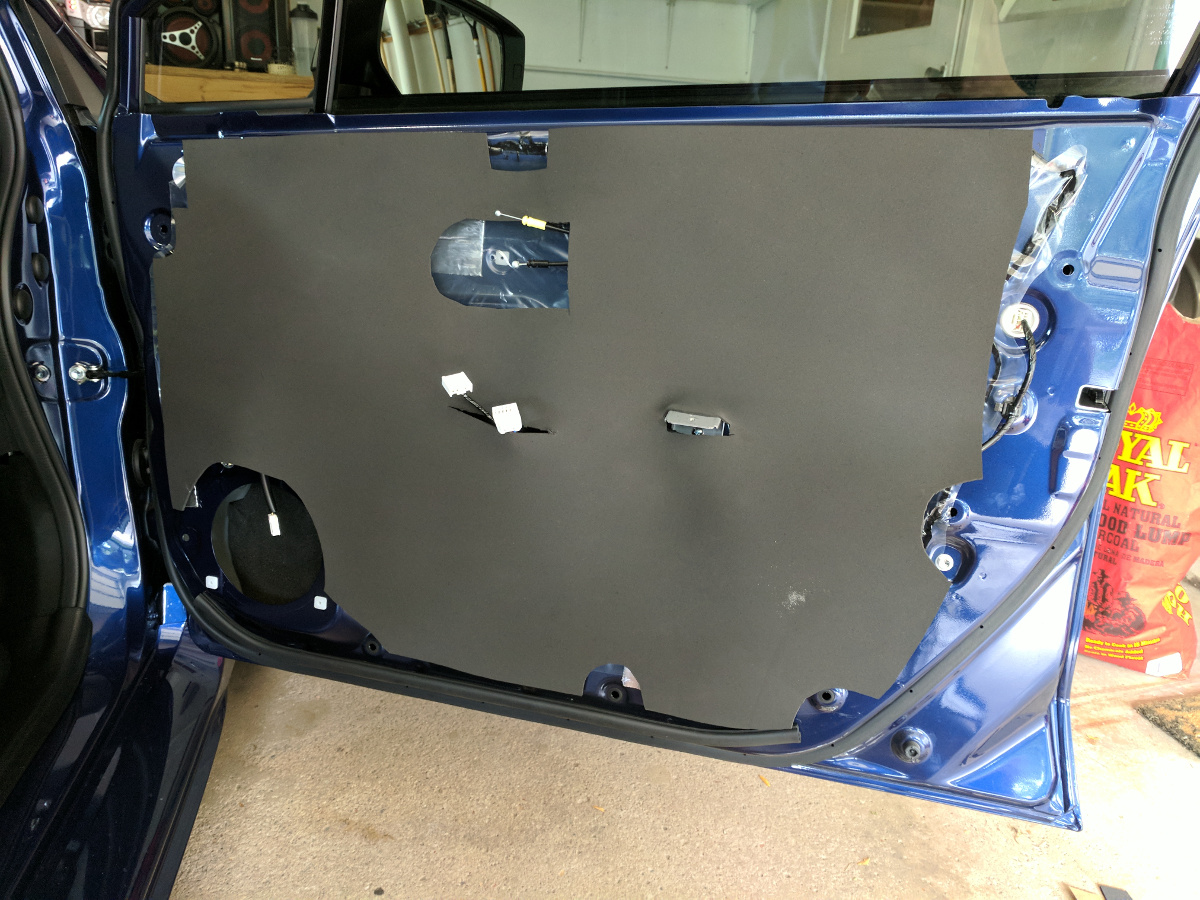
I decided to start with the driver’s side front door. There are a pair of phillips head screws that need to be removed (hidden under covers); one in the upper handle cutout and another in the door pull cutout. Then, simply reach your fingers around the lower edges of the door panel and pull outwards. The pop clips will take some force to release so don’t be shy. Once you’ve released all of the clips, the panel should lift upwards off the support rail below the window glass. The door switches and handle cables will still be connected, so go ahead and disconnect those before setting the panel aside.
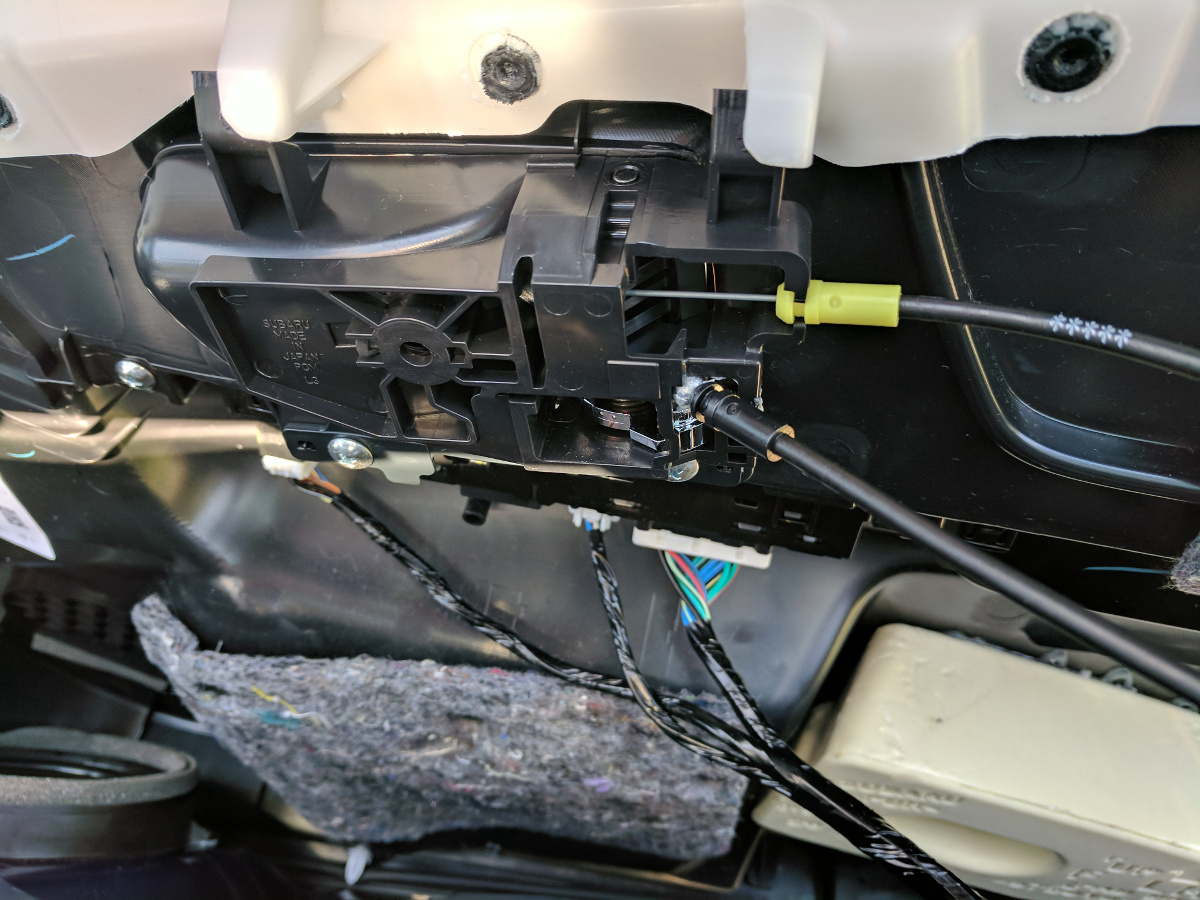
NOTE: Some sadist engineer positioned the window switch harness with it’s clip facing the inside of the panel, making it almost completely inaccessible. You’ll have to feel around a bit, but it’s there.
With the panel off, I noticed a few of the pop clips had gotten stuck in the door. These can easily be removed with a trim tool and some force and clipped back onto the door panel.
Applying the Dampener
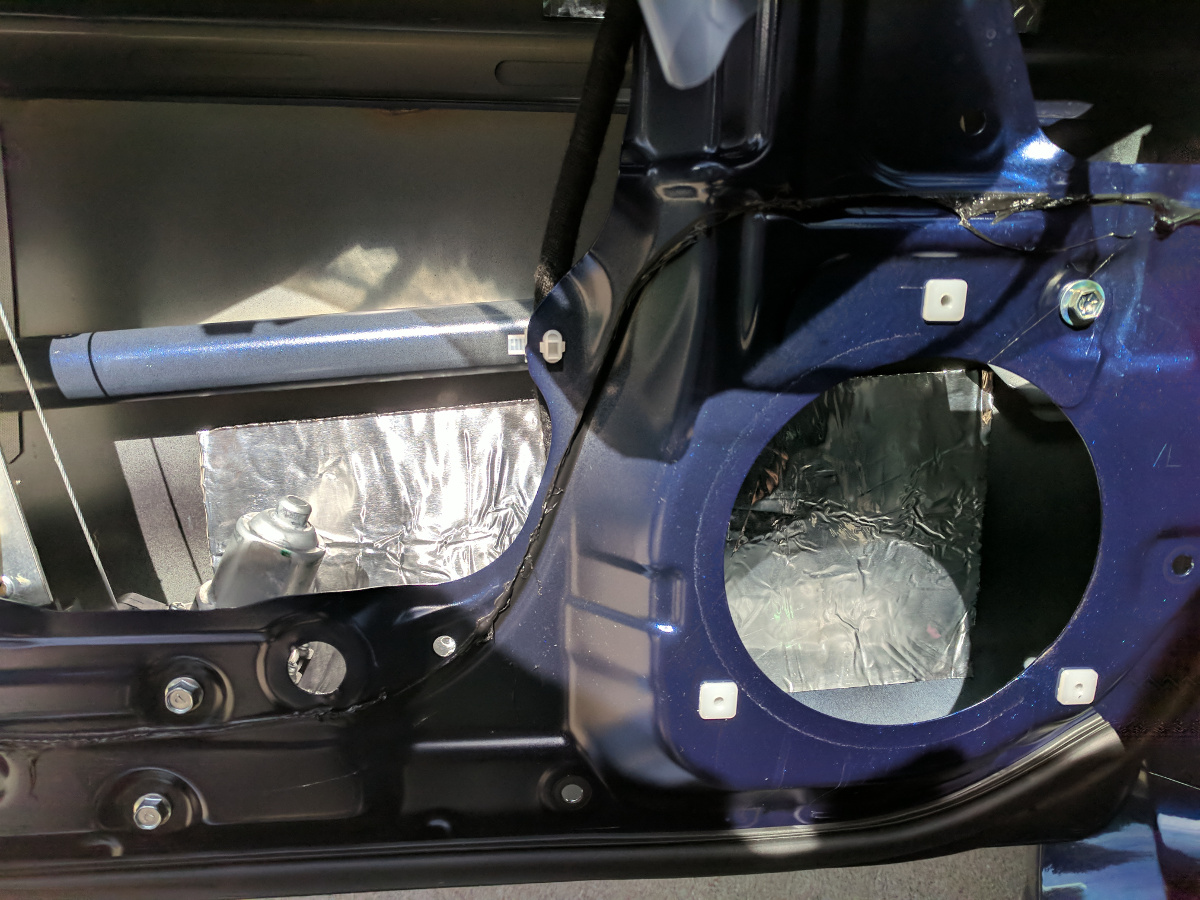
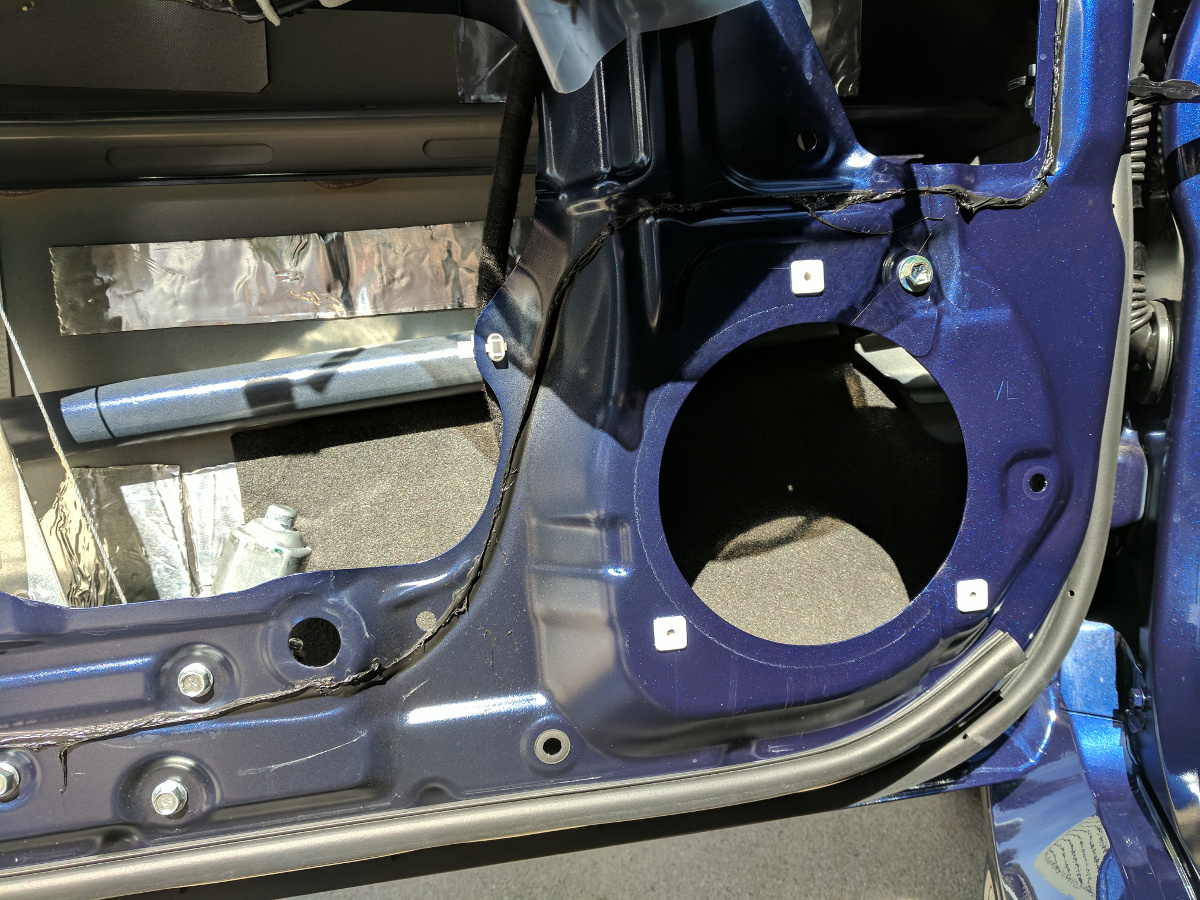
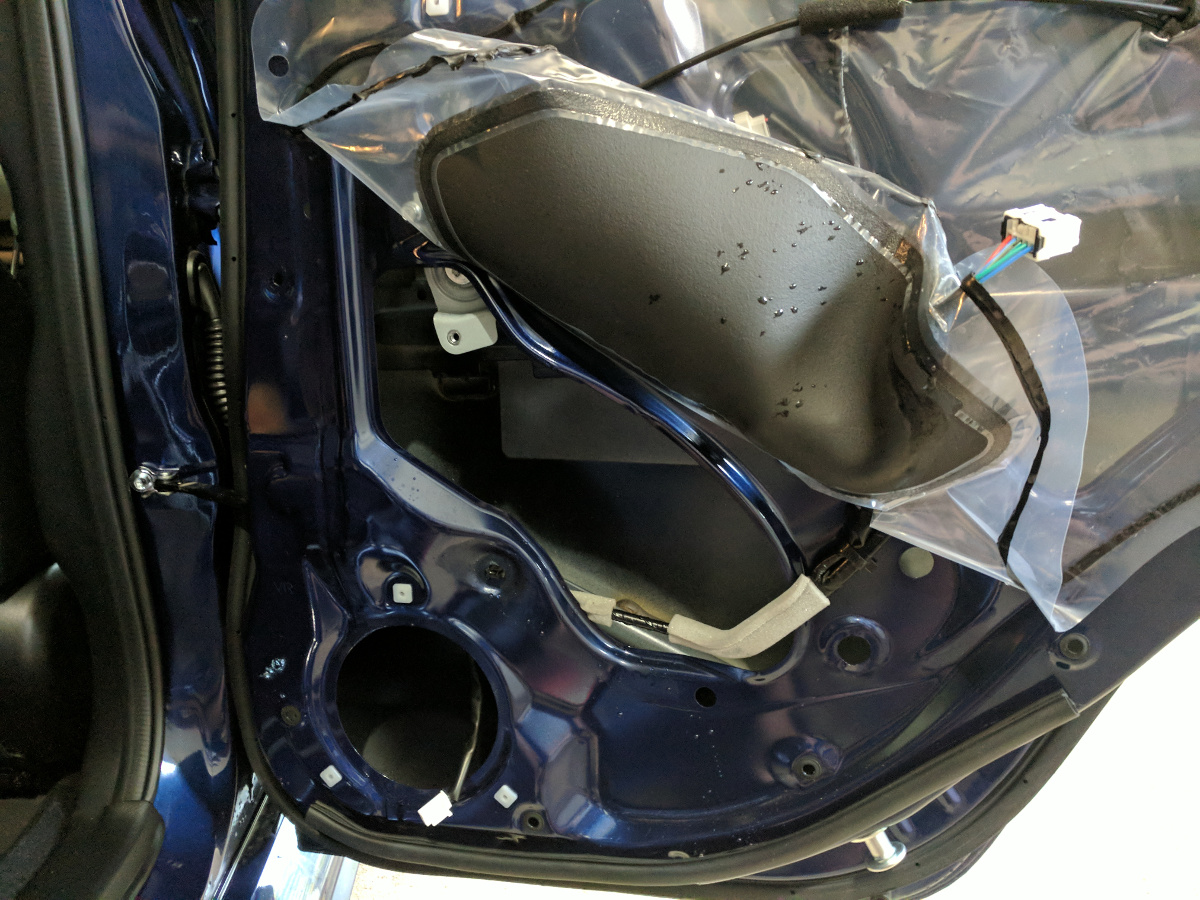
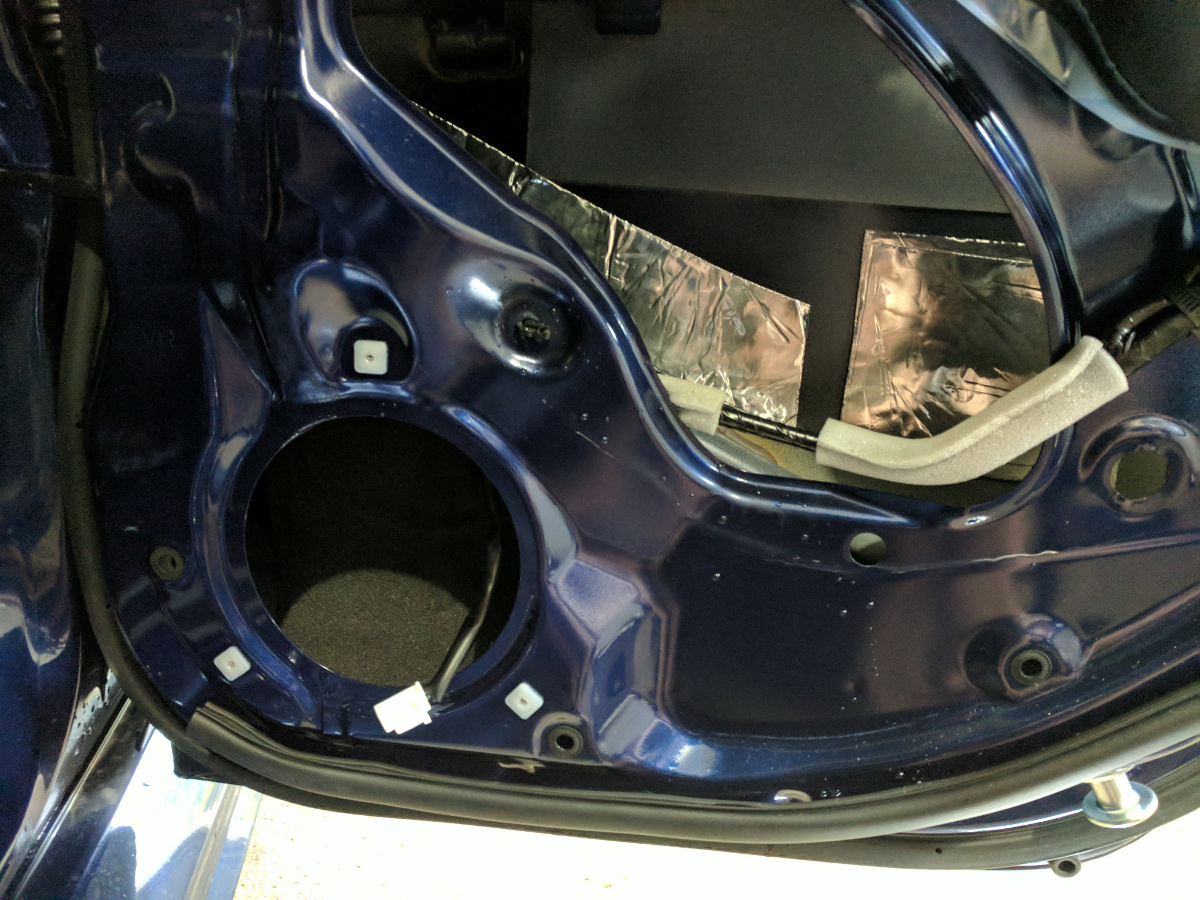
Next, I removed the door speaker and pulled back the factory vapor barrier to access the outer panel skin. At this point, I was ready to start applying the RAAMmat as a vibration dampener. SDS recommends 25% coverage over 50-75% of the panel. Given that there was a few pieces of factory dampener there already, I did the “tap test” to get a sense for which parts of the panel were most vulnerable to resonance. Thankfully, Subaru doesn’t restrict access to any of the outer panel, so I was able to get pretty good coverage.

When I deadened my Fiesta I used the blunt end of a screwdriver handle to level and seal the dampener. This time around, I invested in a quality roller from Amazon and boy was it worth it!
I elected to double layer the RAAMmat on some of the more open areas to add extra mass. In addition, I utilized a small piece of self-adhesive RAAMaudio BXT-II behind the door speaker. Per RAAMaudio, this helps diffuse the speaker sound waves off the door and prevent unwanted vibrations.
With the RAAMmat and BXT-II applied, it was time to measure and cut the CCF and MLV for mounting on the door.
Mounting the CCF and MLV
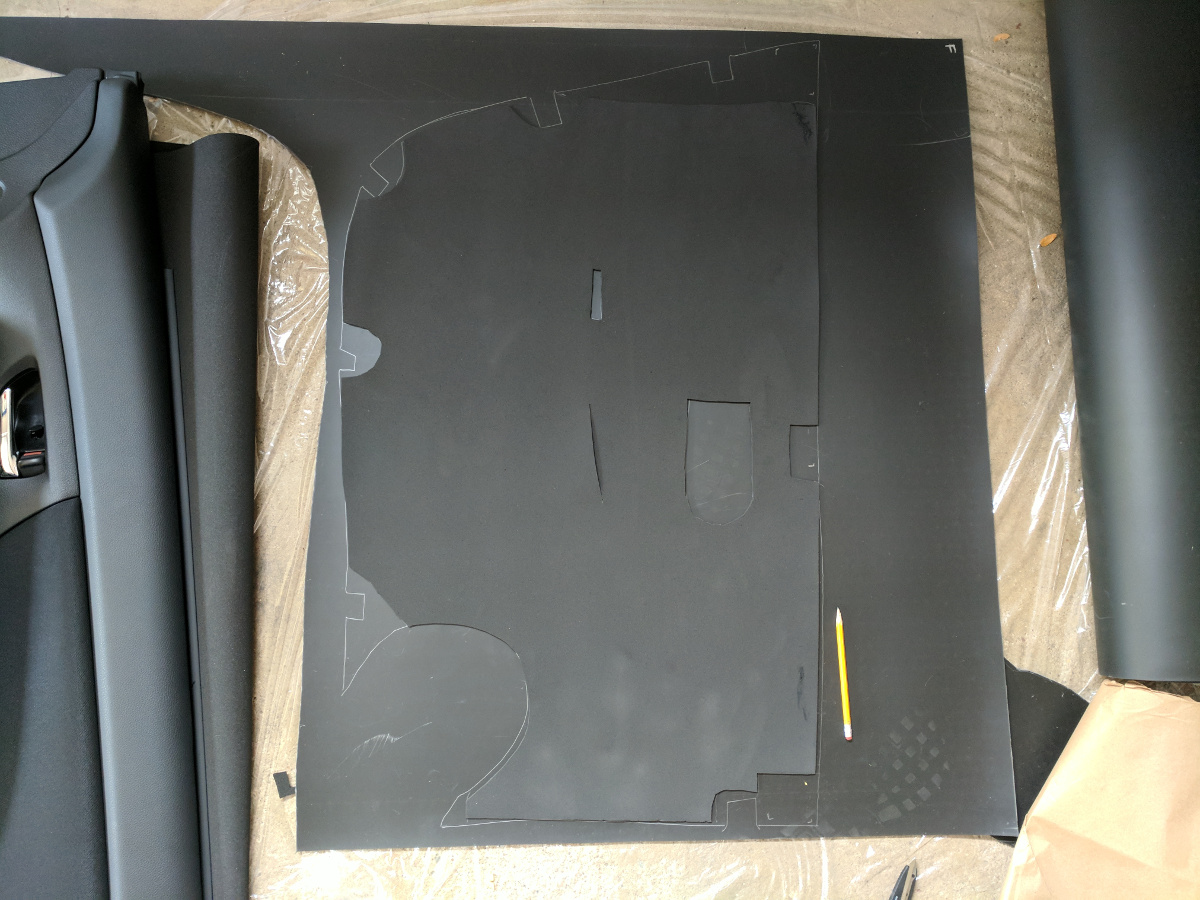
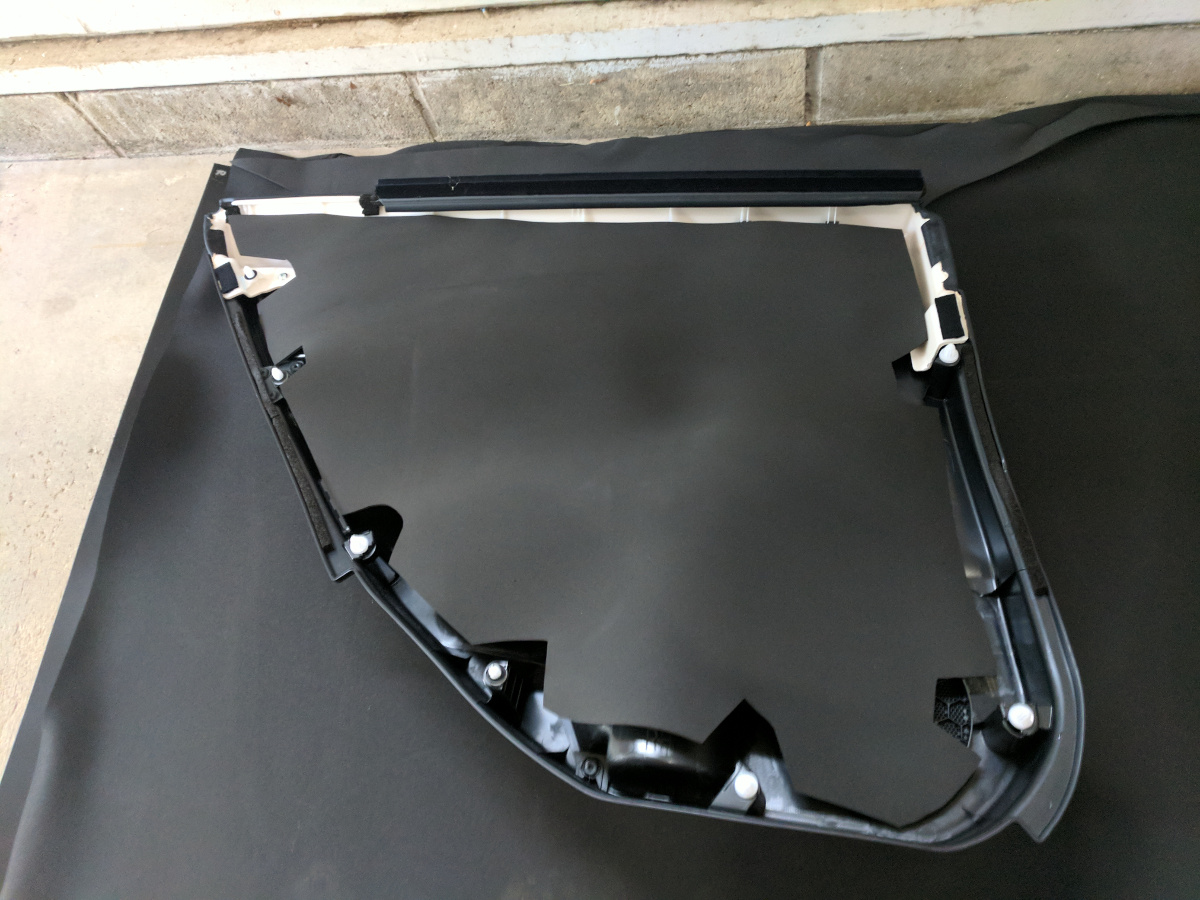
After reading through a few guides on NASIOC, I determined the best approach was to use the door panel itself as a template to cut the CCF to size, mostly since the MLV can be tricky to maneuver and handle.
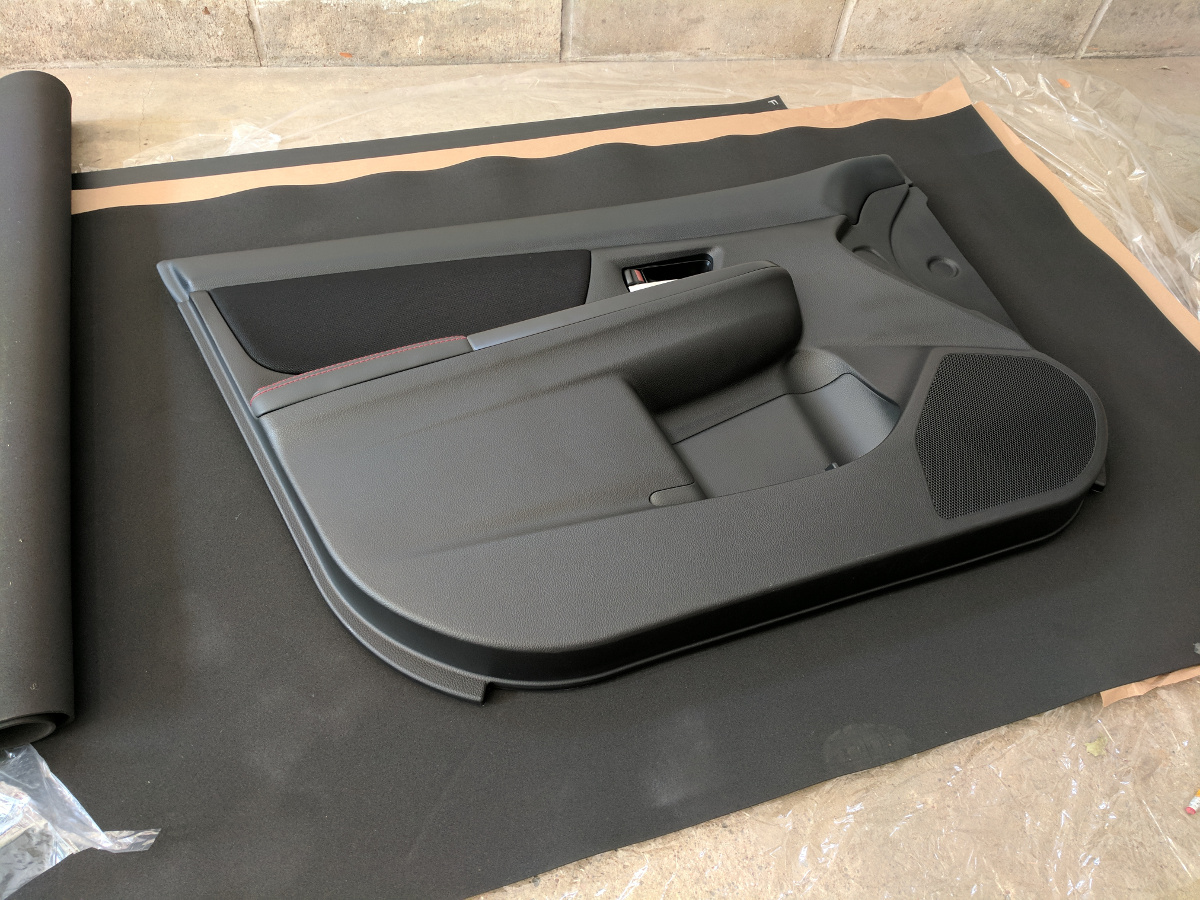
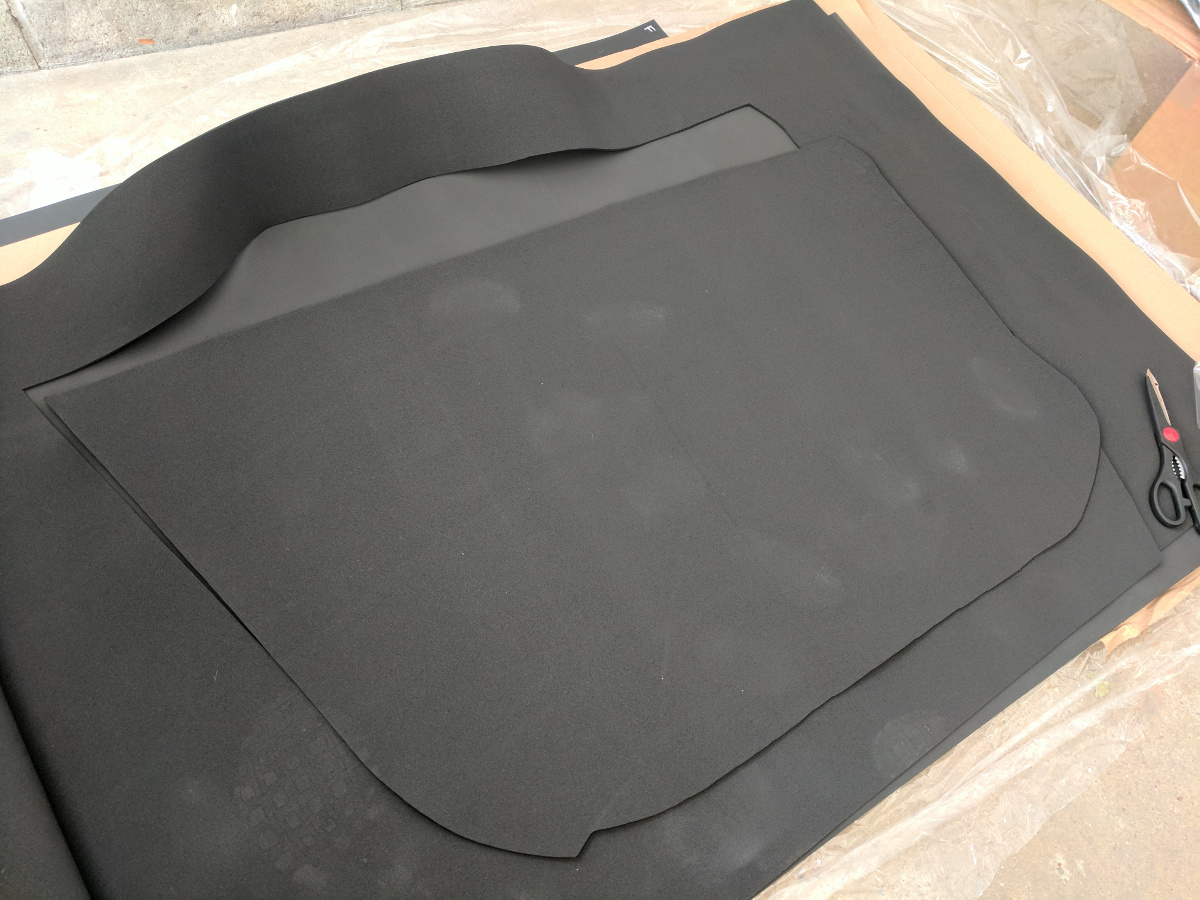
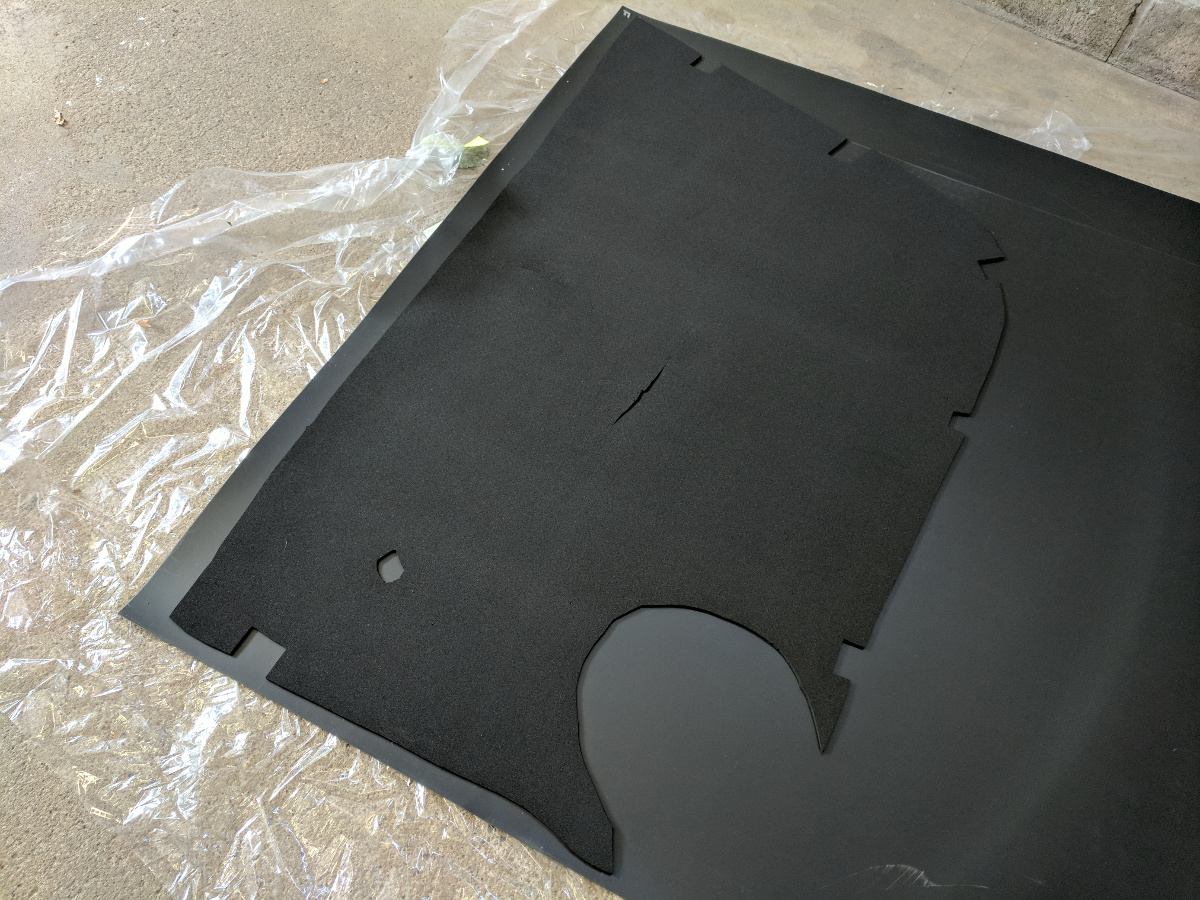
I then flipped the door panel upside down and laid the CCF sheet on top. This let me identify the areas where I’d need to trim the foam to allow clearance for the pop clips, screws, door handle and lock cables, and speaker.


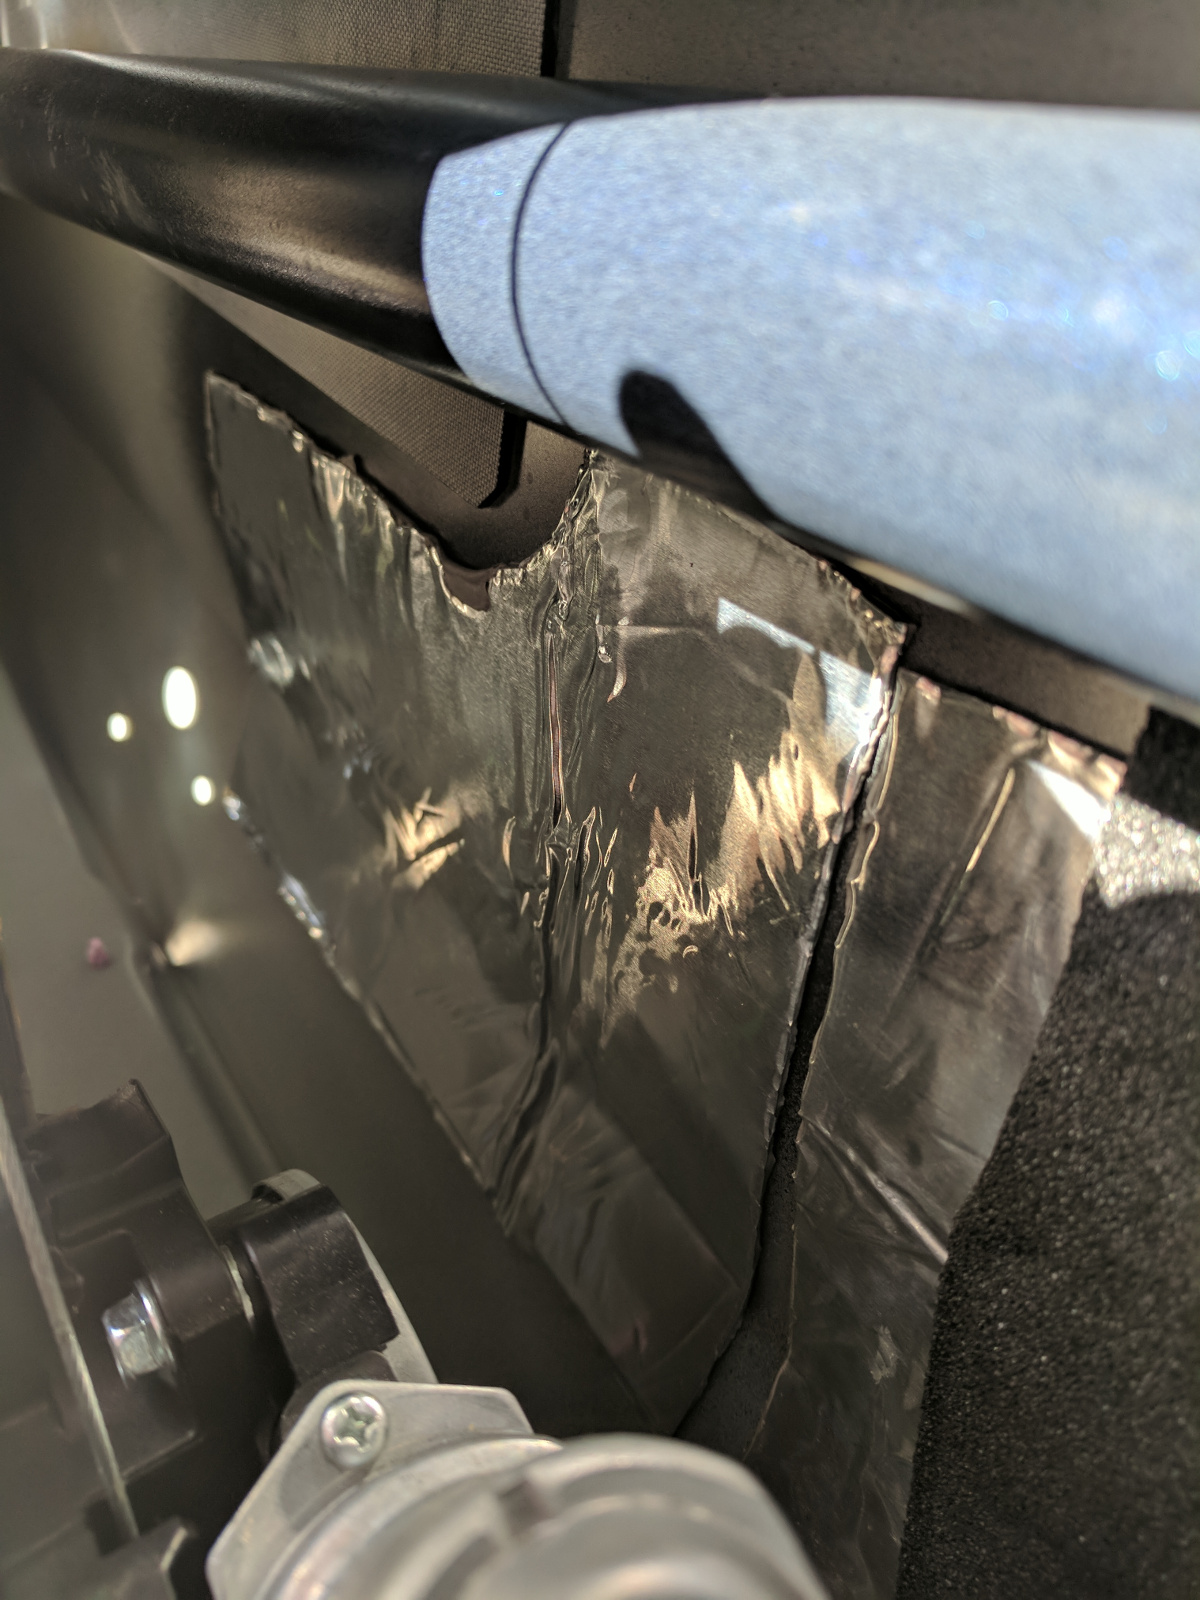
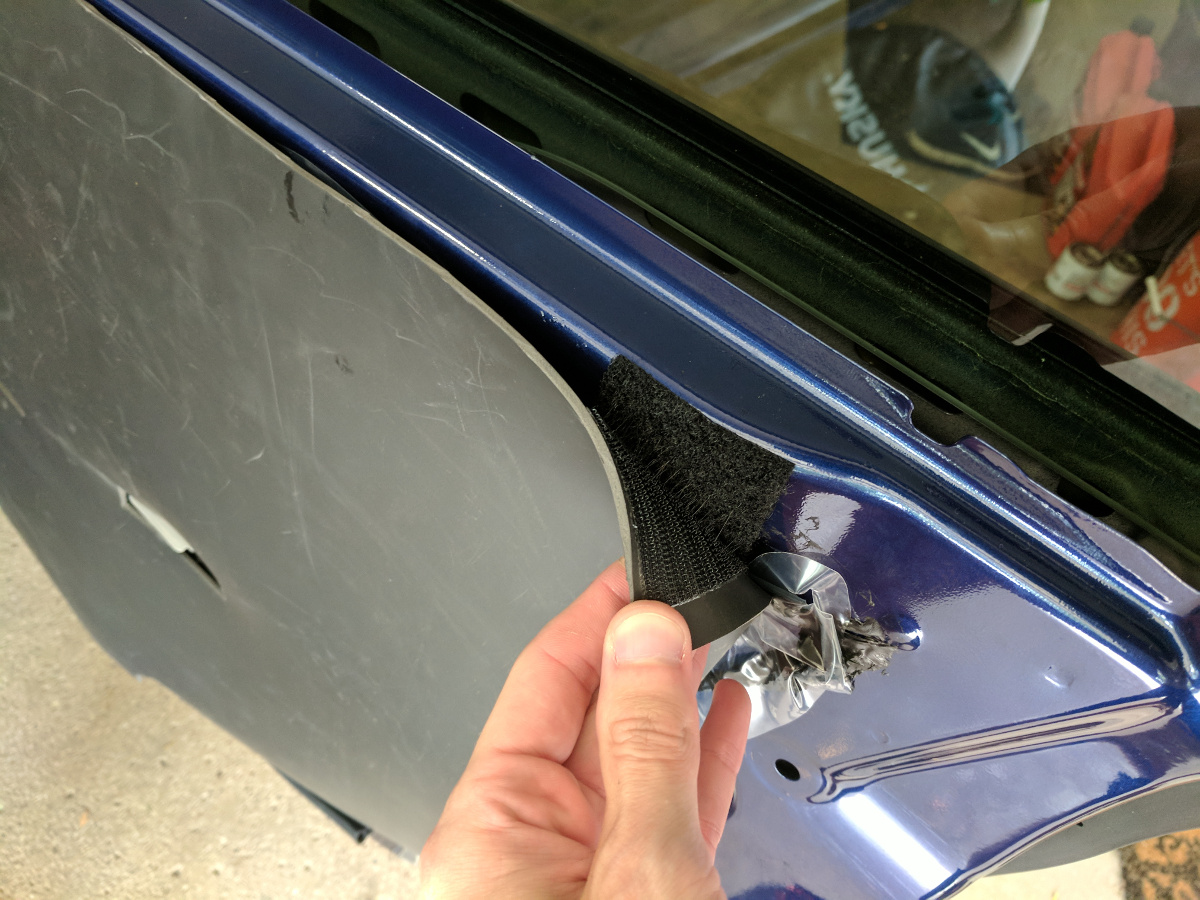
Finally, it was time to trace and cut the MLV. Because of the weight of the MLV, Don recommended utilizing the high-strength velcro strips cut into squares and sandwiched between the foam and door frame. The velcro allows for removal and adjustment, which came in handy later…
Having cut the MLV to size, I held everything up to the door to double check my measurements and determine the velcro mounting points. I then mounted the velcro by adjusting the moisture barrier. The butyl of the barrier is pretty tacky and easy to move around.
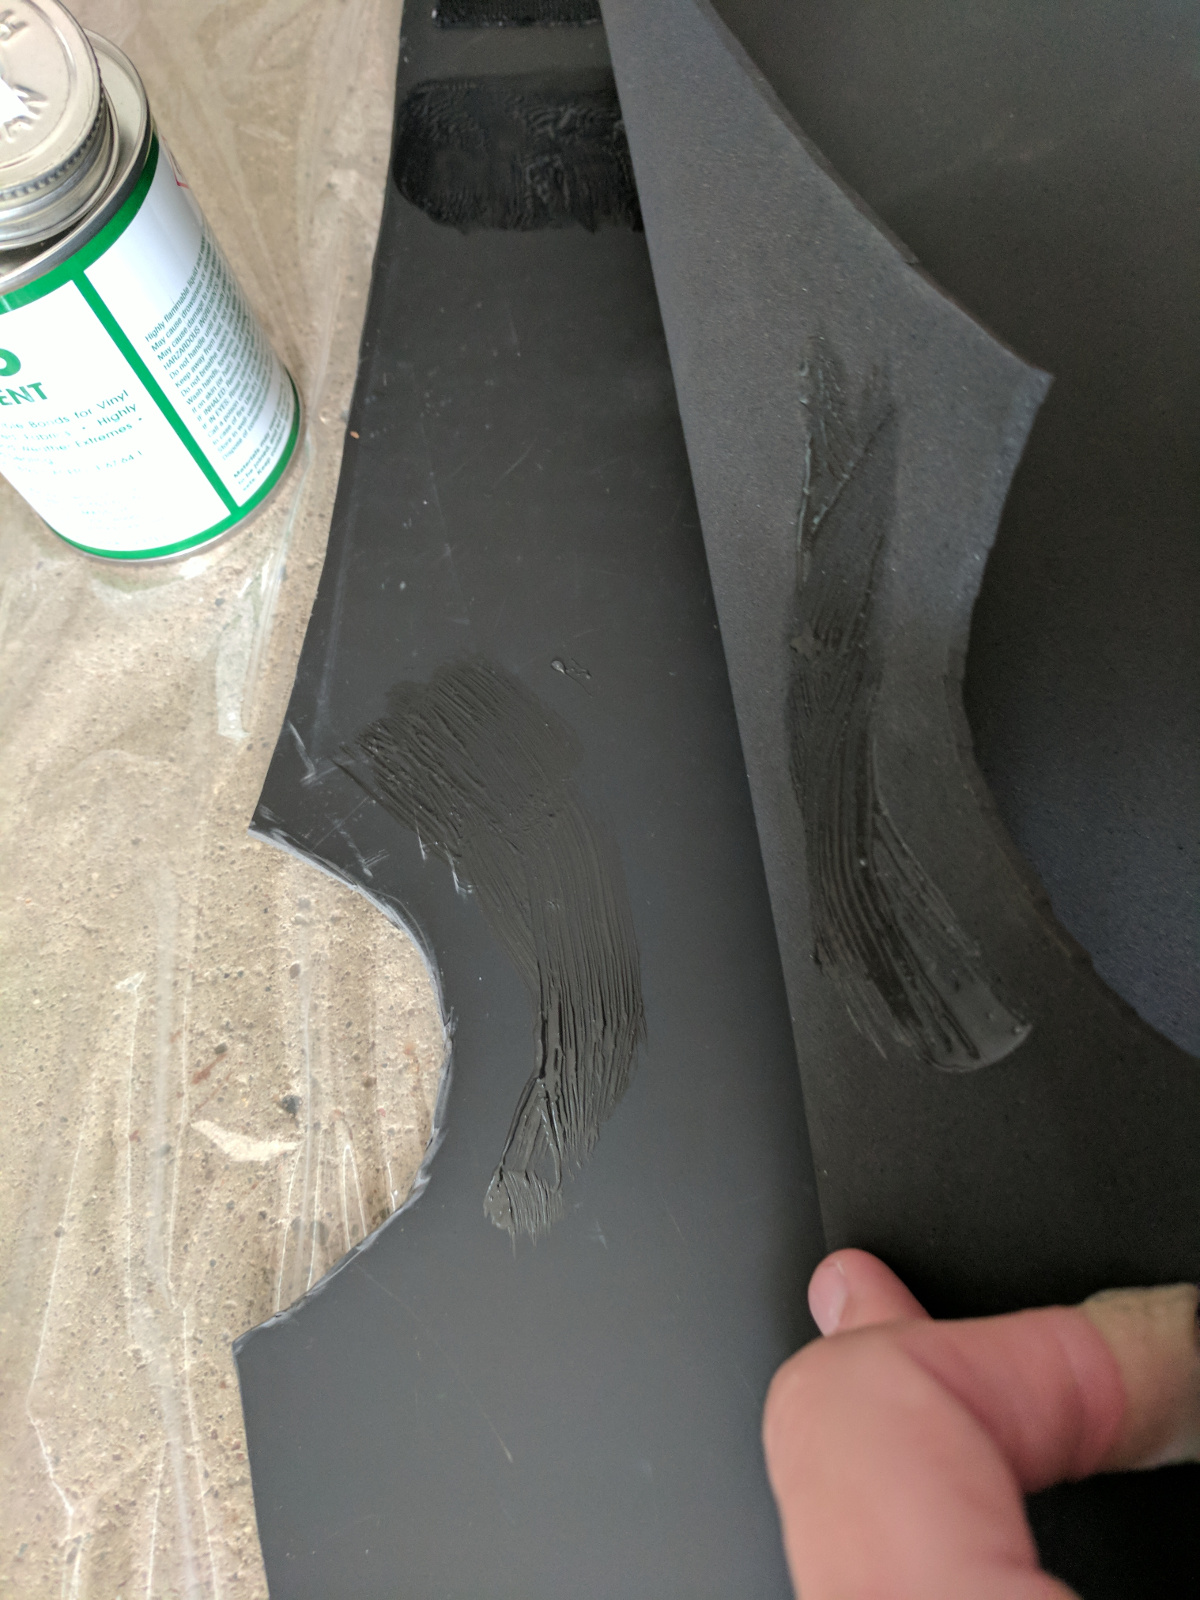
I then secured the CCF to the back side of the MLV using the contact cement. Having never used contact cement before, I assumed applying it to one side would be enough. Instead, I had the most success by applying the adhesive to both the CCF and MLV, letting it flash for a few seconds, then pressing the two together tightly.

With everything ready to go, I threaded the wiring harnesses, door pulls, and installed the CCF/MLV sheet on the door using the velcro patches. At this point, it was time to fit the door panel back on and check for clearance. Unfortunately, there were a number of pop clips that refused to re-anchor. The added bulk of the deadening sheet was causing some issues and trimming was required.
Eventually though, I was able to get the door panel re-installed and double checked the function of all switches and handles. I then moved on to the passenger side and repeated the process.

The next day I tackled the rear doors. This time around, thanks to the issues I had encountered with the front doors, I was extremely generous with the amount of clearance I left between the panel edges and the CCF/MLV sheet.


As a result, I was able to get both rear doors done in less time than the first front door.
Conclusion and Thoughts
Evaluating the results, the deadening accomplished two important goals of mine:
First, the MLV does an excellent job of mitigating road noise. While my car is still louder than I’d like, it doesn’t feel as tinny and hollow as before. Unfortunately, it seems most of the road and tire noise is still making its way in through the floor pan and fender wells. I plan to deaden those areas as well this spring.
Secondly, the added weight of the dampener and vinyl have made the doors MUCH more solid and satisfying to close. The difference is hard to convey through video, but here’s a comparison of the driver’s side rear door (not deadened at all) to the passenger’s side (fully deadened):
Overall there’s definitely more work to be done to get it to the level I’d like, but I’m happy with the results so far. I look forward to the spring and placing another order with Don over at Sound Deadener Showdown! :)
Subscribe For More Like This!
Enjoying this post? Get added to the mailing list and I'll let you know whenever I post new content!
Support
If you enjoyed this post, please consider supporting the blog by buying me a virtual coffee!
As a Software Engineer by day and dad by night, this blog is maintained in my free time. Your support is greatly appreciated and helps keep this site 100% ad-free!