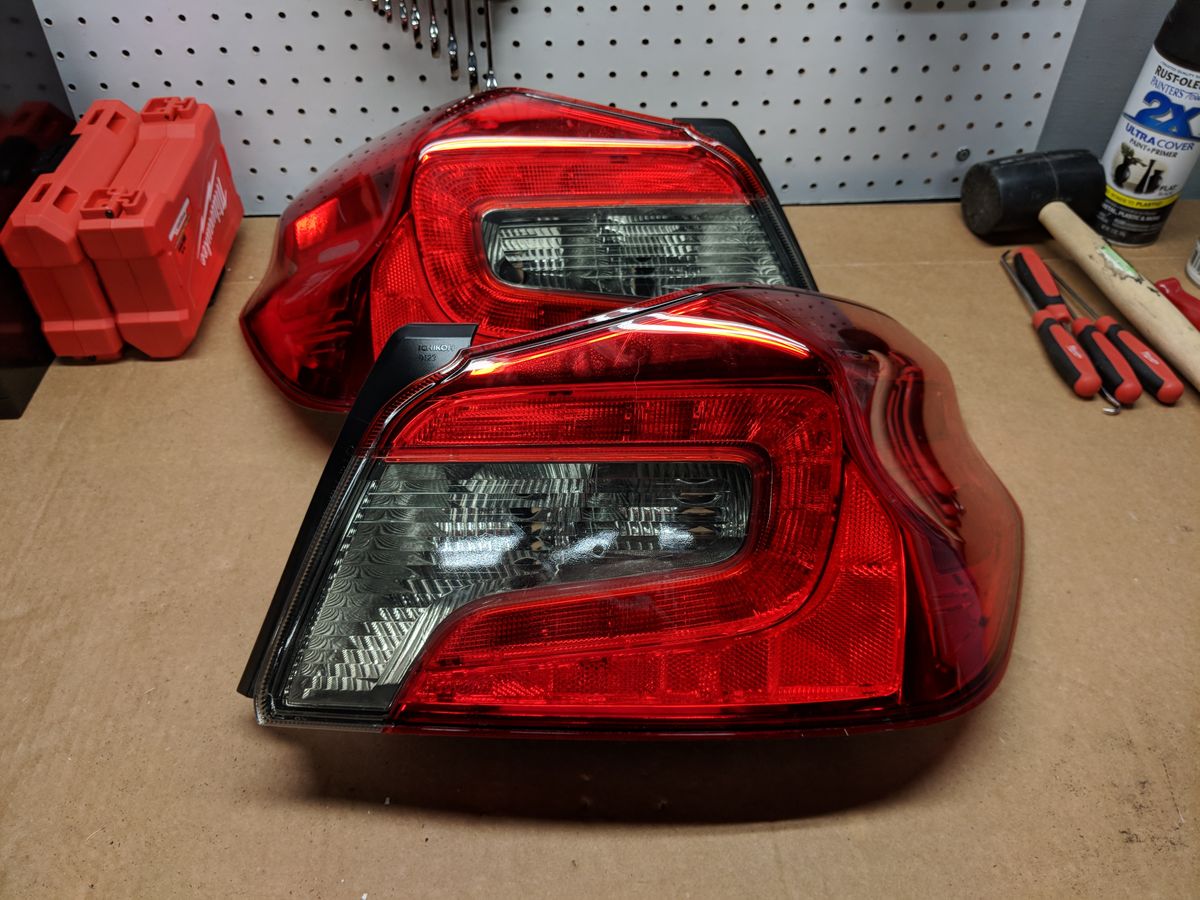
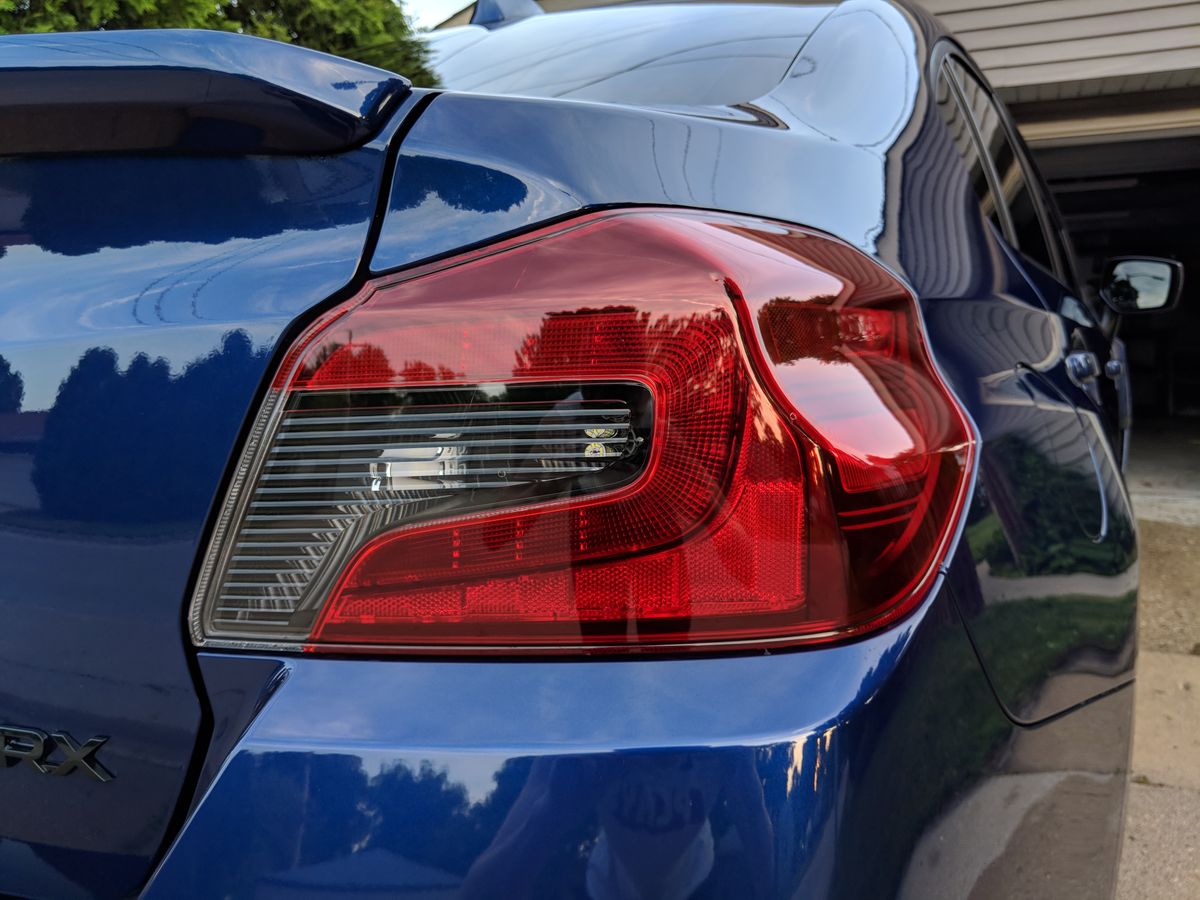
Red taillights: The bane of anybody not running a red/black theme on their car. Having already blacked the rest of the exterior badging and chrome, I was stumped as to how to tackle the taillights. I loved the look of the OEM tails, but really wanted something that would work with the dark blue paint. The Subispeed offerings didn’t really appeal to me in both aesthetics and from a reliability standpoint. Fortunately I stumbled across a few folks on Instagram who had cracked theirs open and blacked out the chrome. It sounded easy enough, and I was fortunate enough to borrow a spare set of tails from a friend while I worked on mine.
As far as parts/tools needed, it’s a pretty simple project (links to Amazon):
If you’re upgrading to LEDs and/or installing the Diode Dynamics Tail as Turn module, you can configure your choice of replacement backup LEDs on their website here.
Removing the Taillights
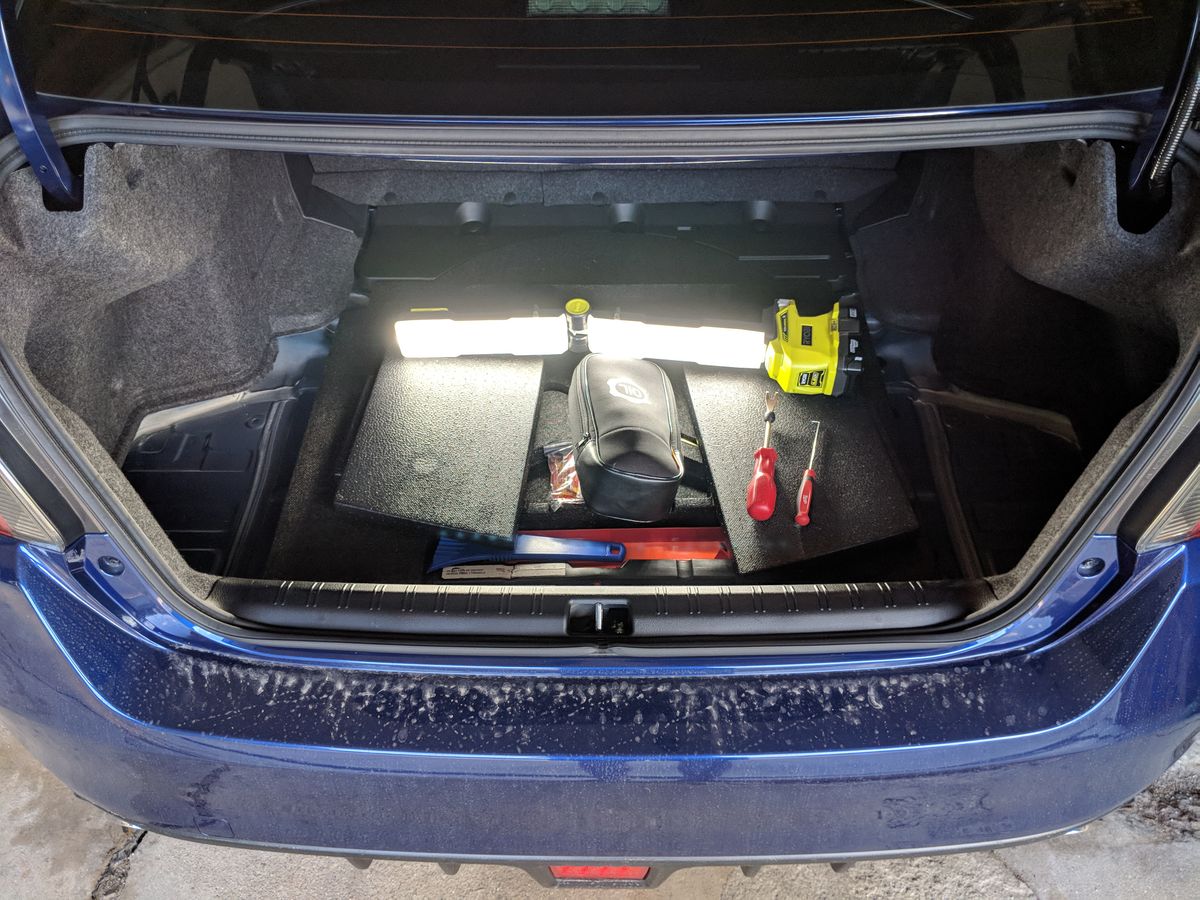
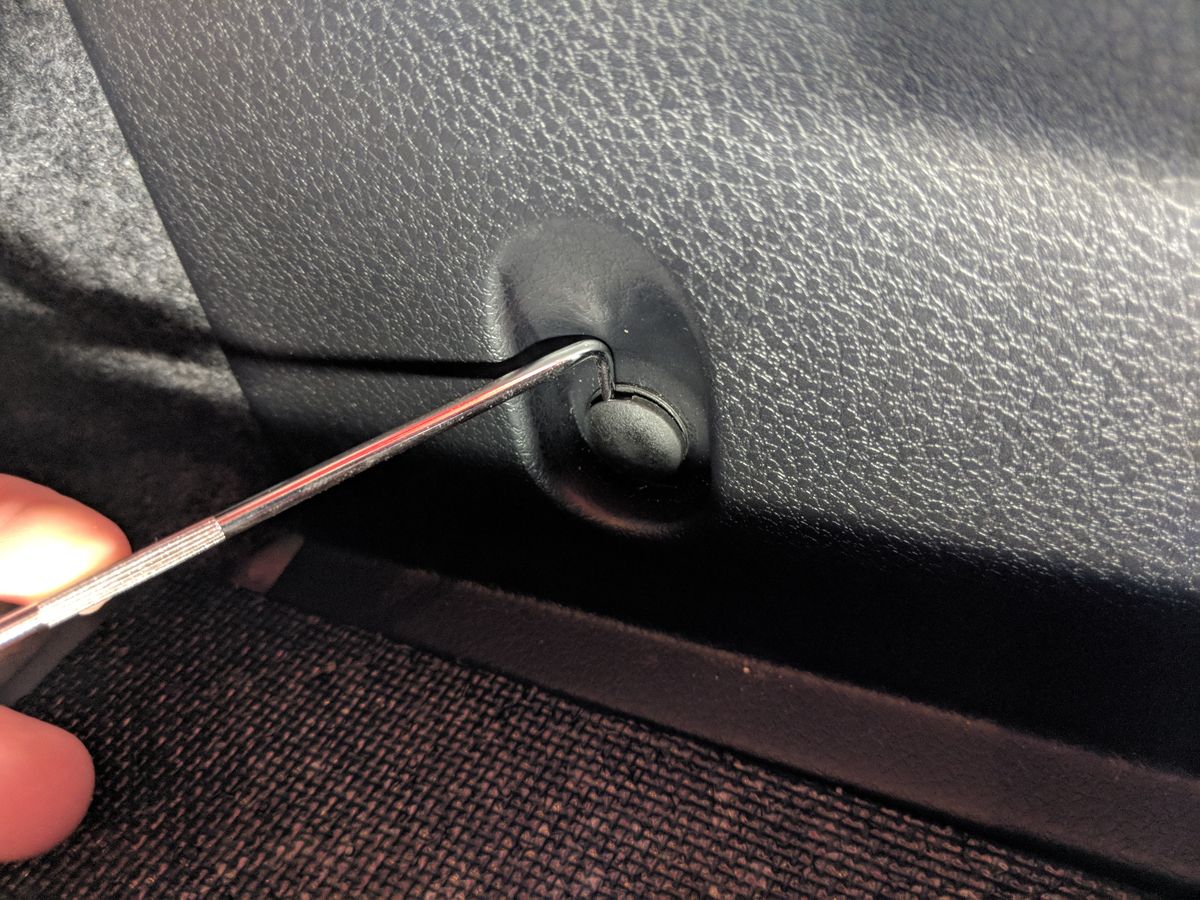
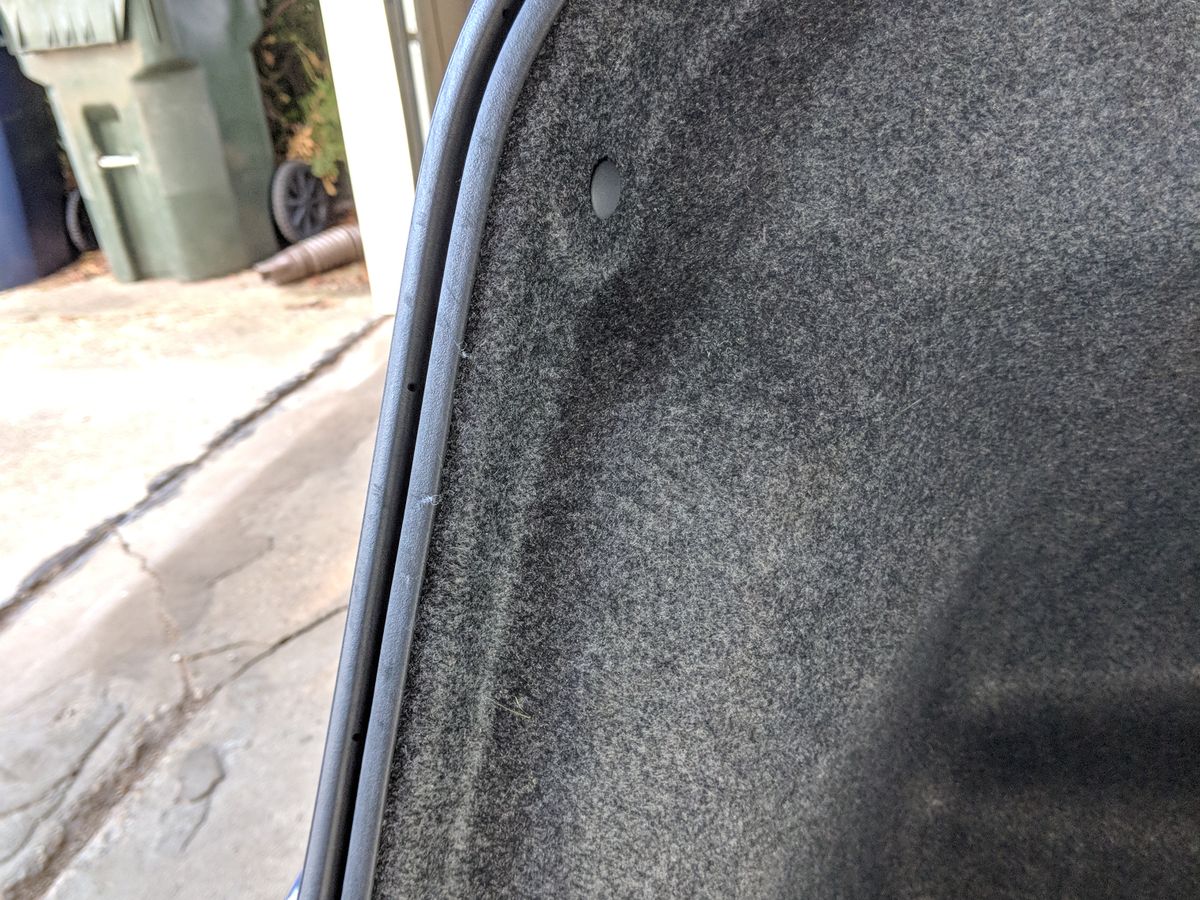
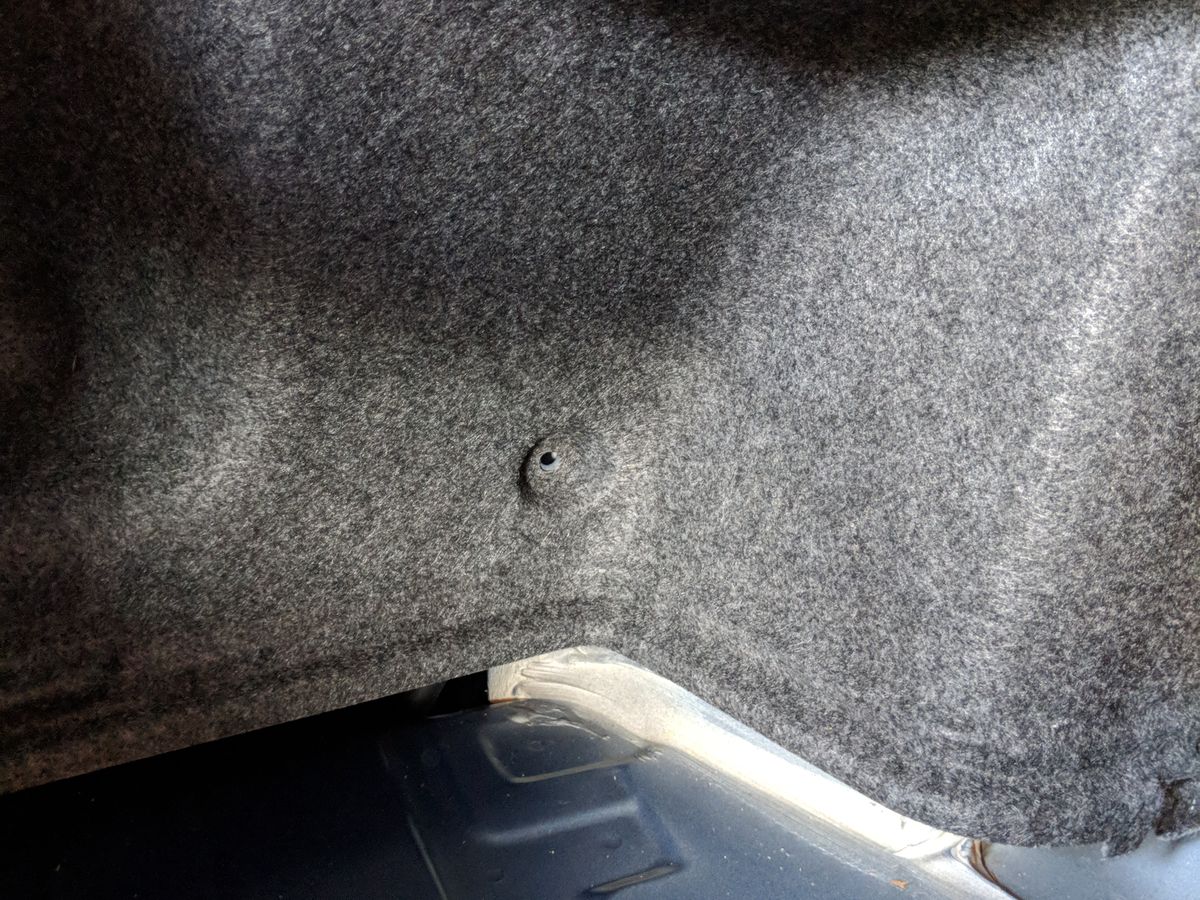
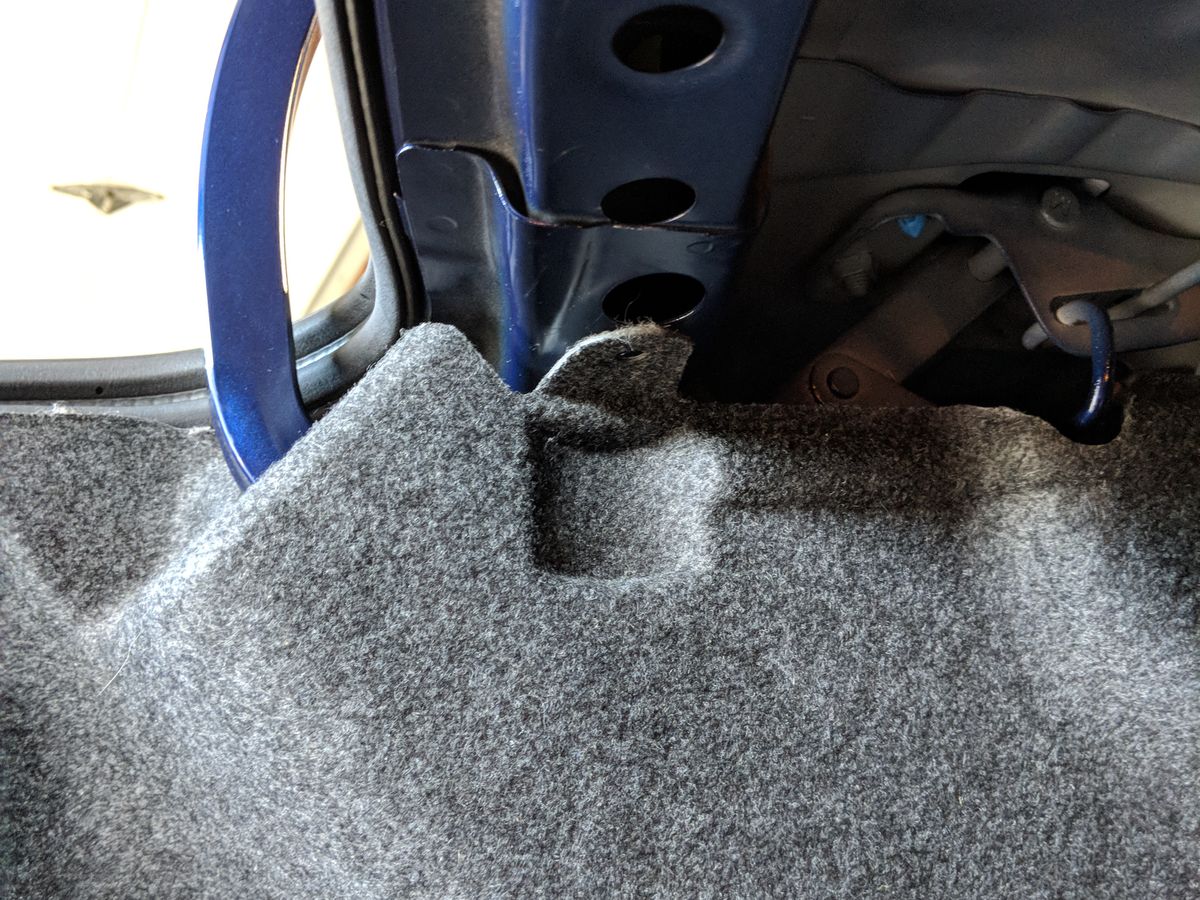
Uninstalling the taillights is straightforward; just open up your trunk, remove a few pop clips and trim pieces and bada bing you gots access to the harnesses and bolts holding the taillights in.
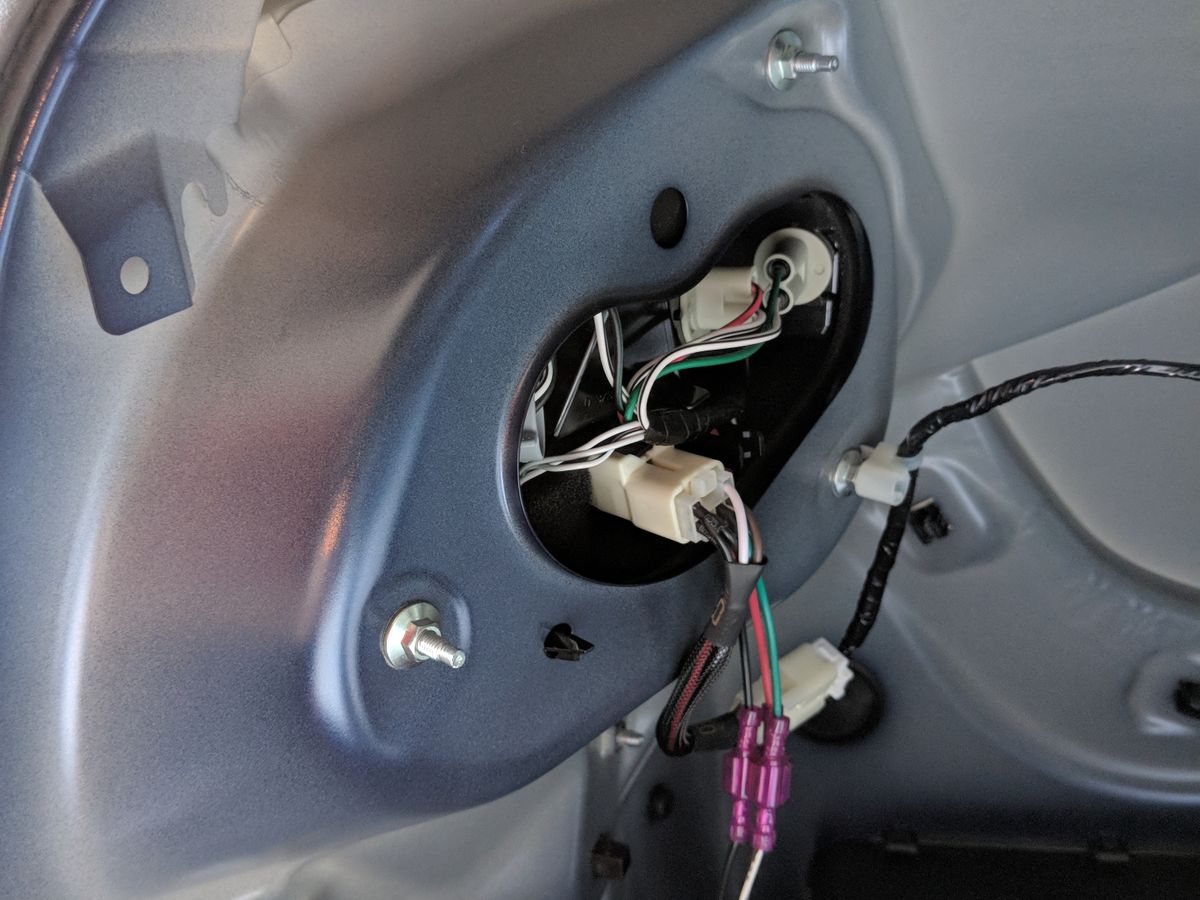
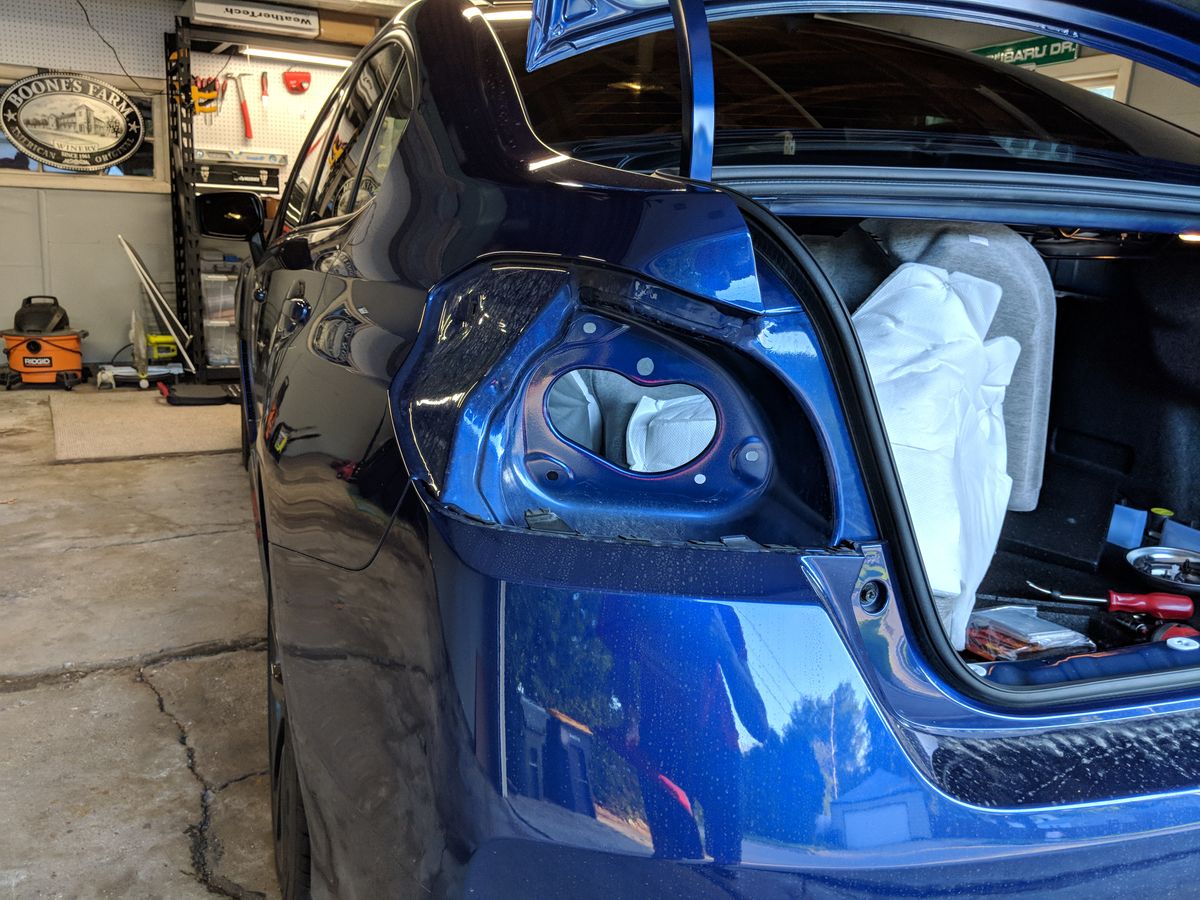
With everything unbolted, they should just slide out towards the rear of the car.
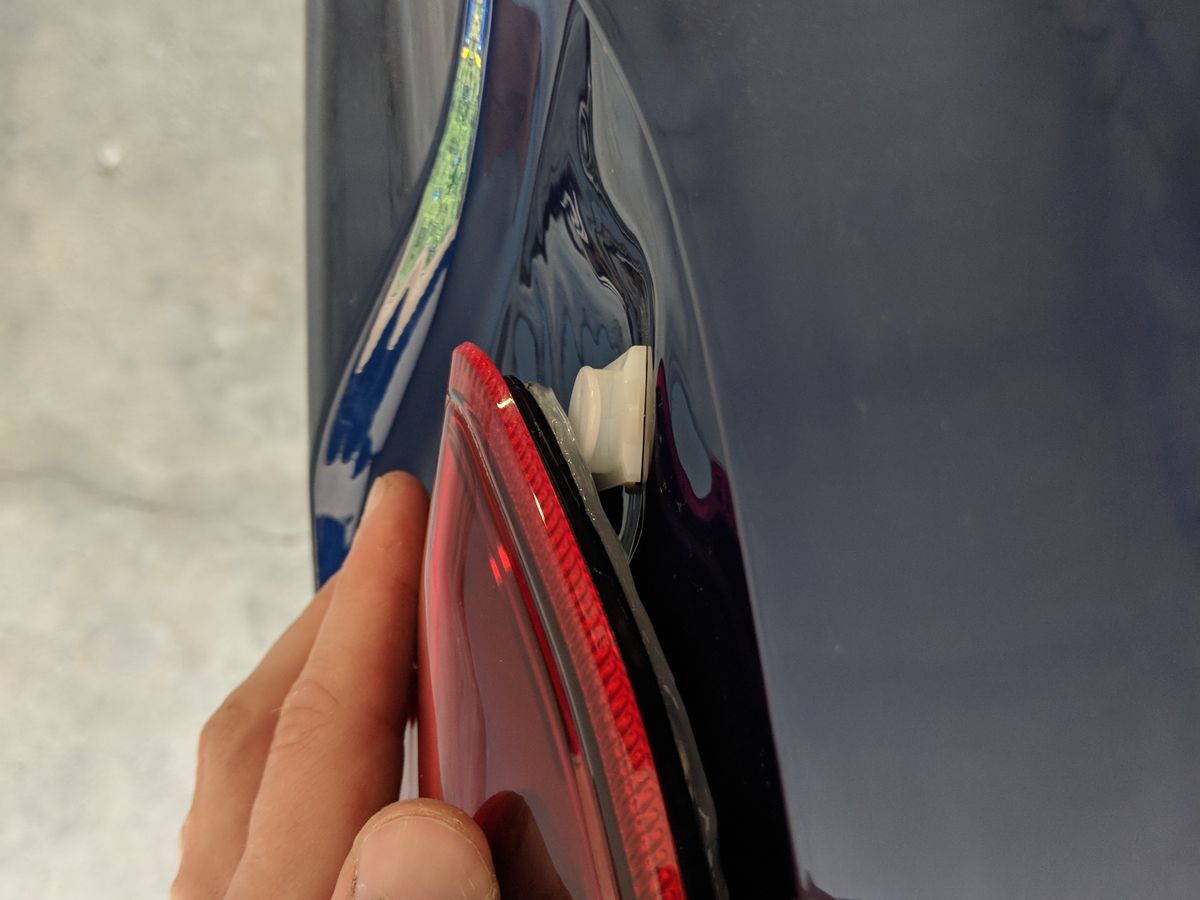
NOTE: There’s a clip holding the corner of the taillight in that you don’t need to do anything with; it should just slide off.
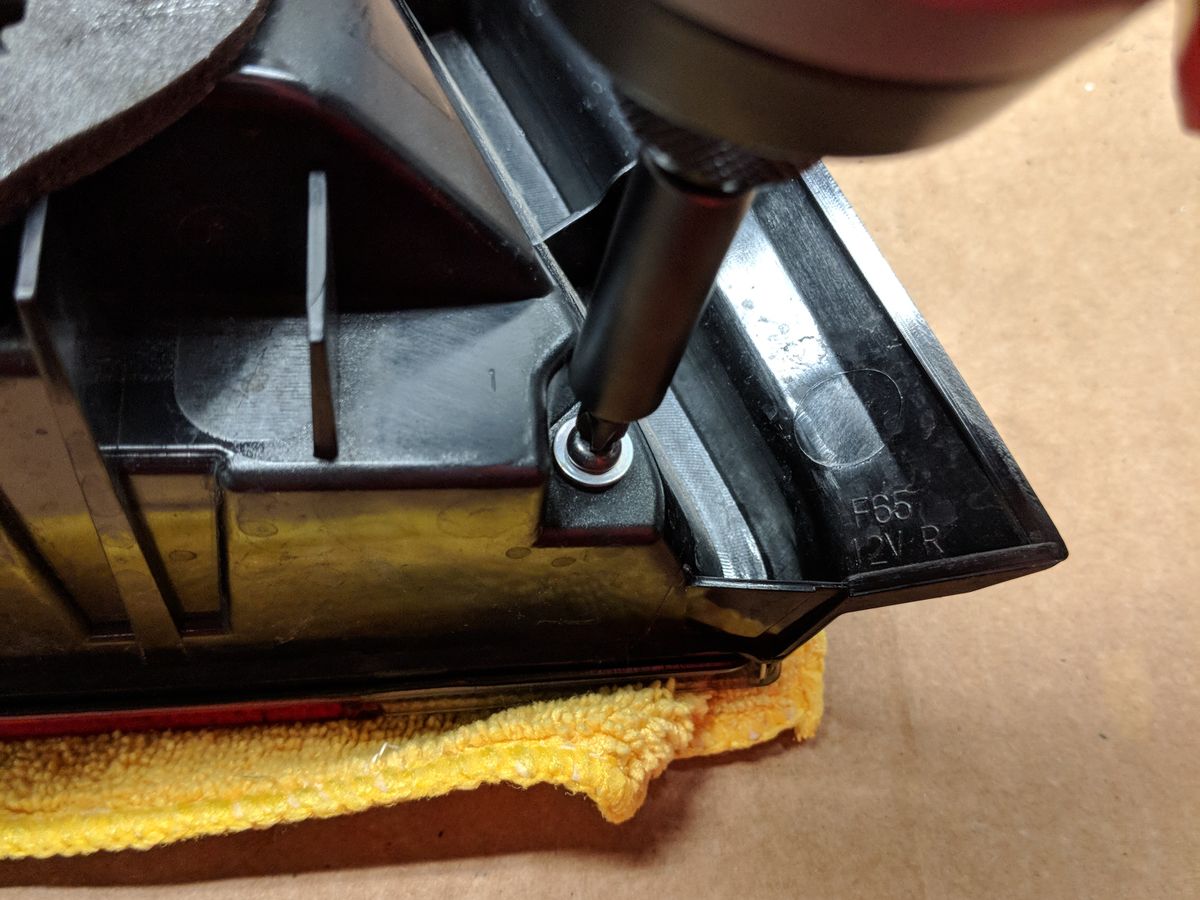
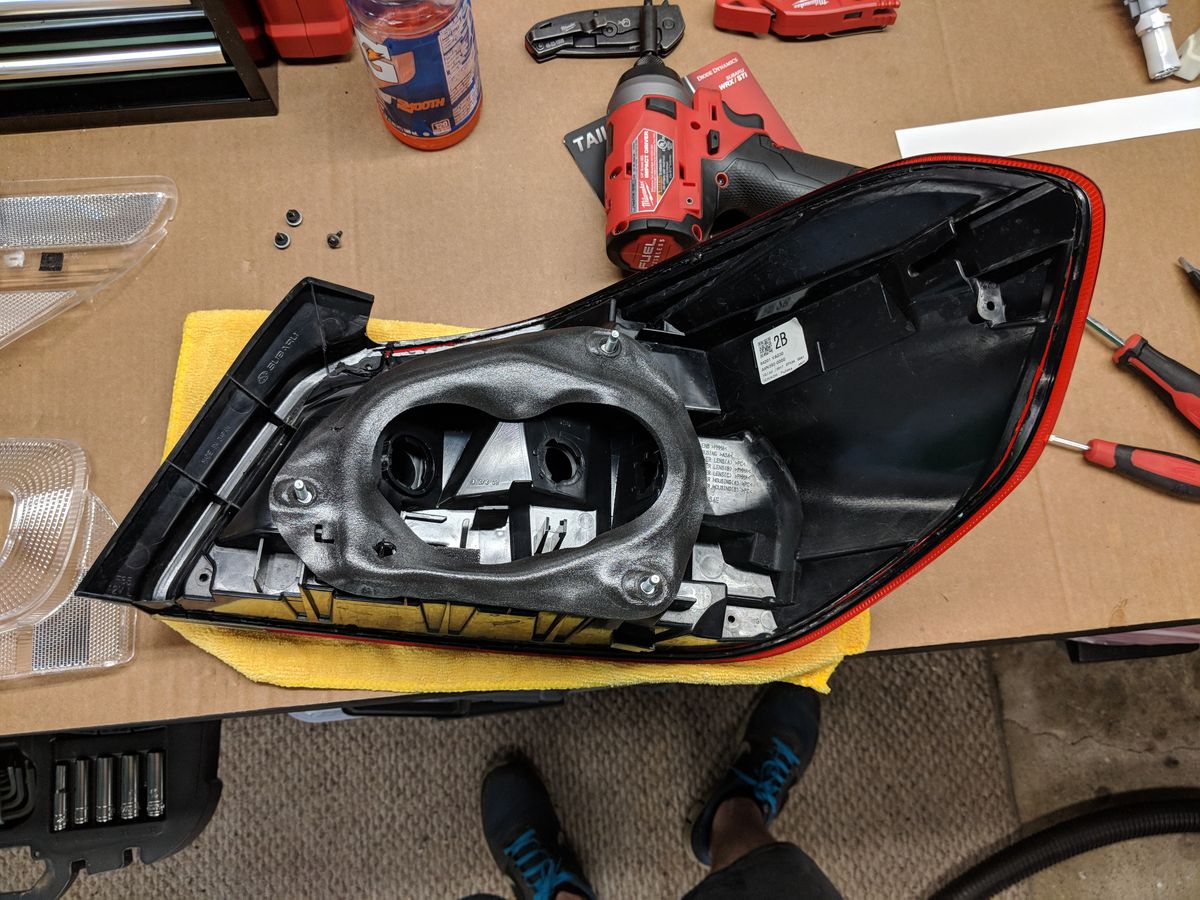
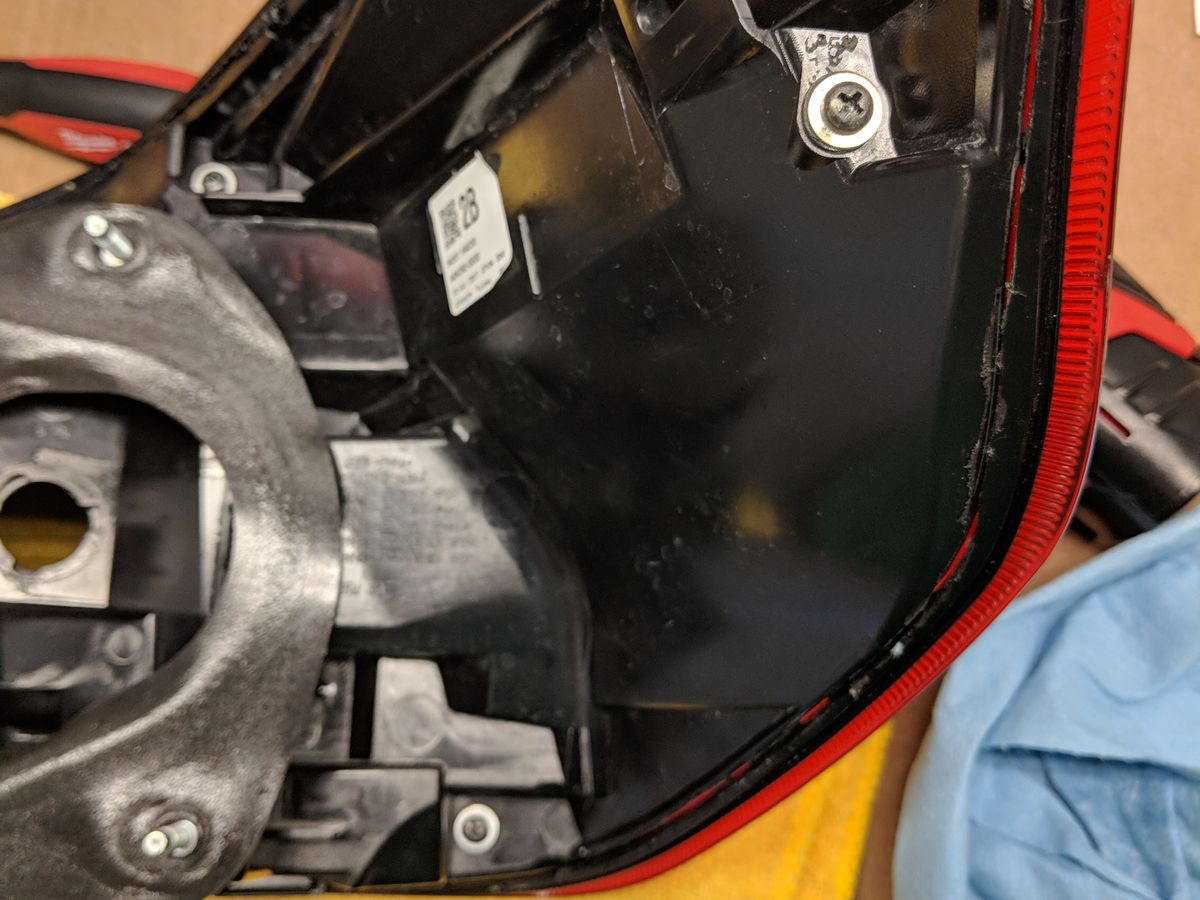
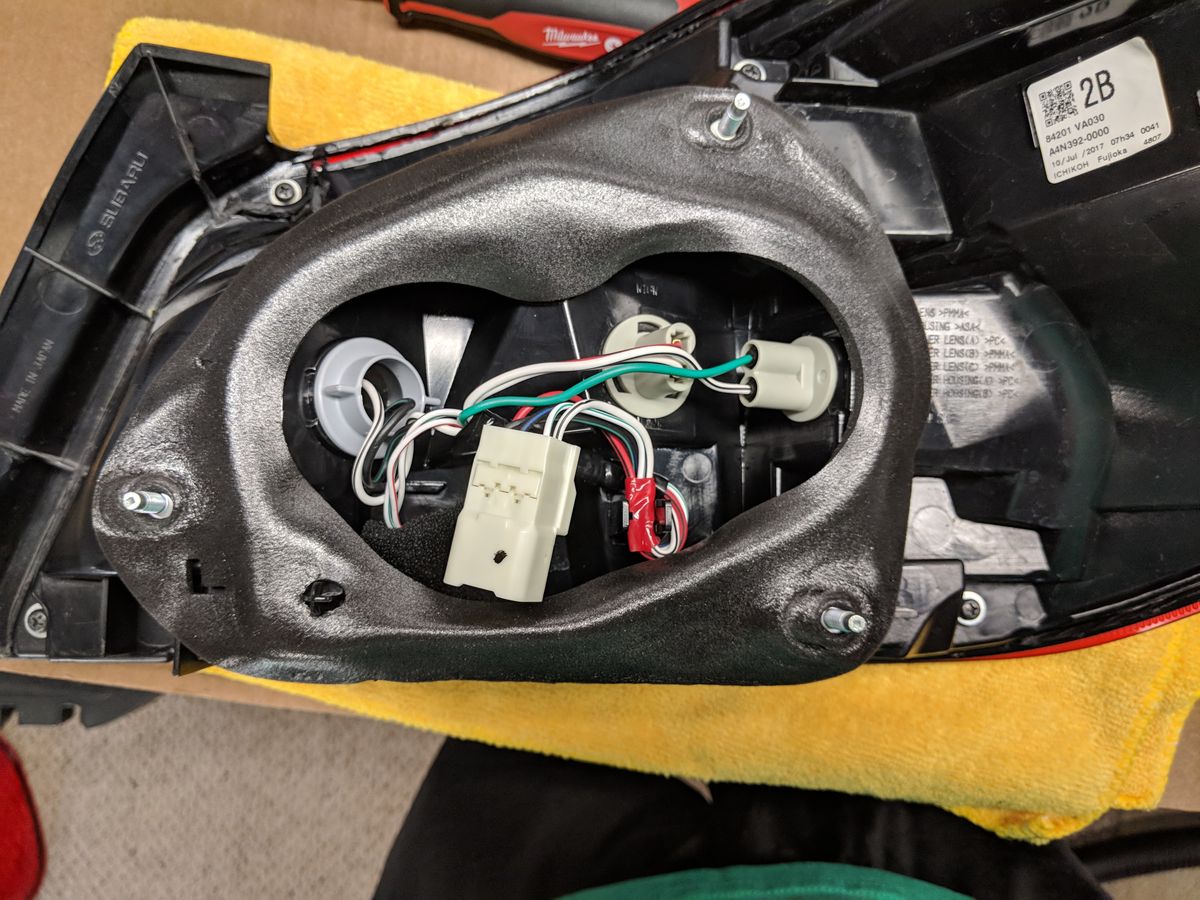
Now that the taillights are uninstalled, there’s five screws that need to be removed from the back side.
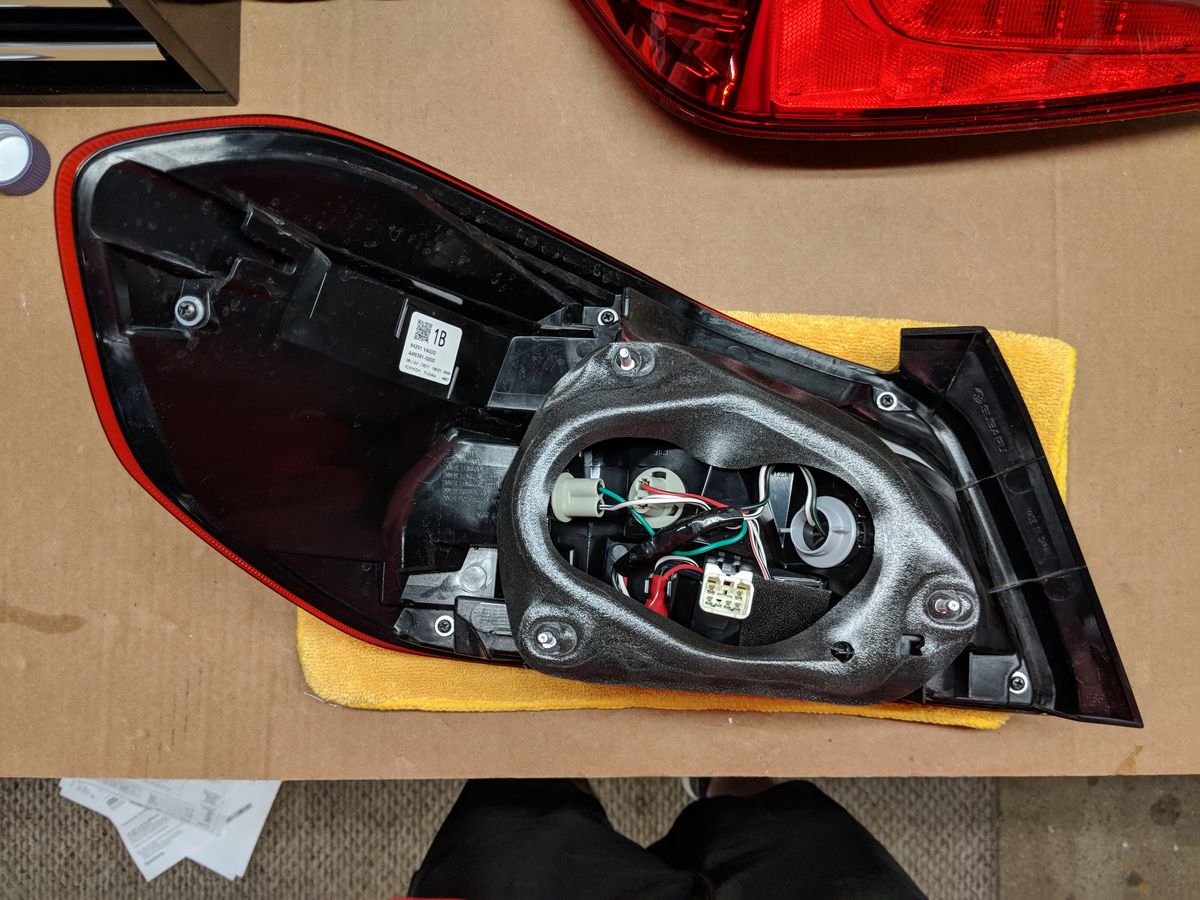
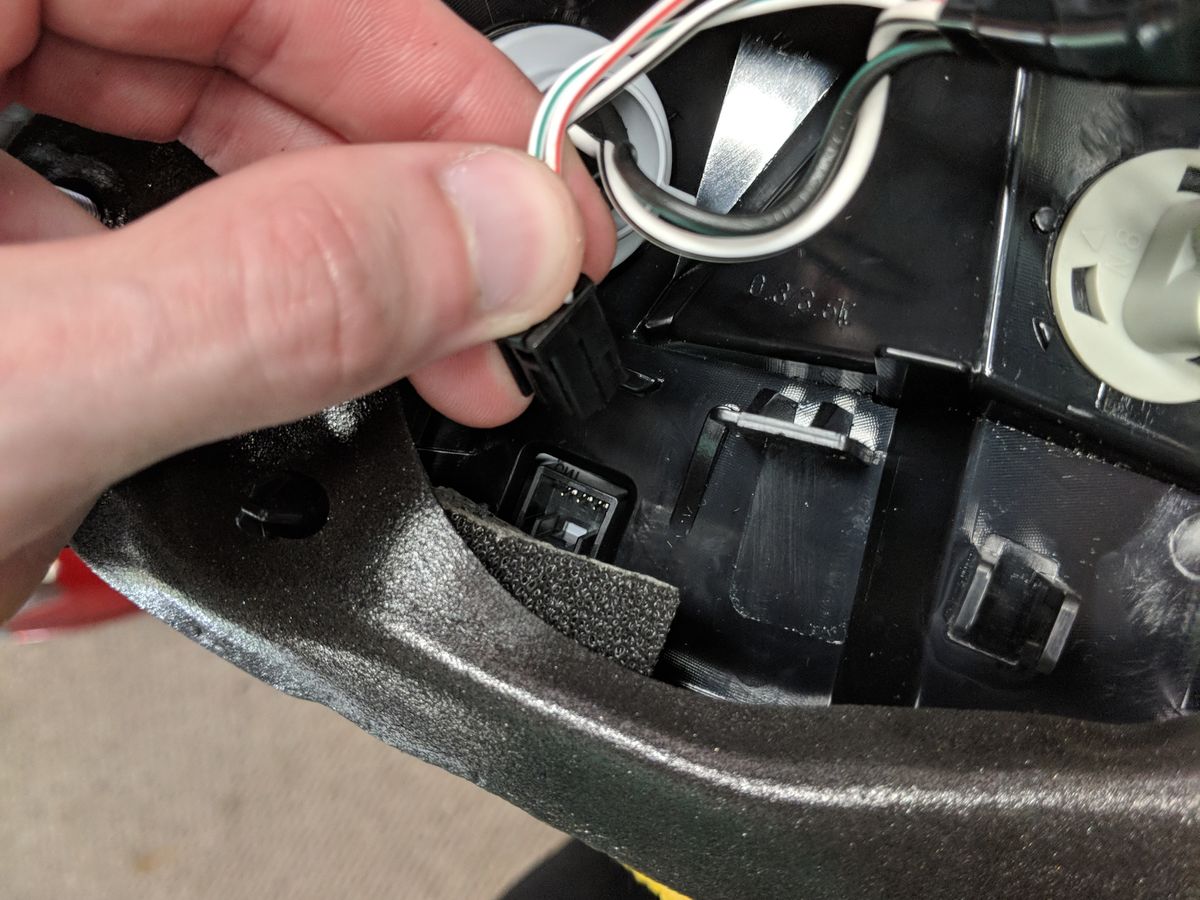
Once those are all out, go ahead and unplug the bulbs and wiring harness from the housing.

Cutting the Taillights Open
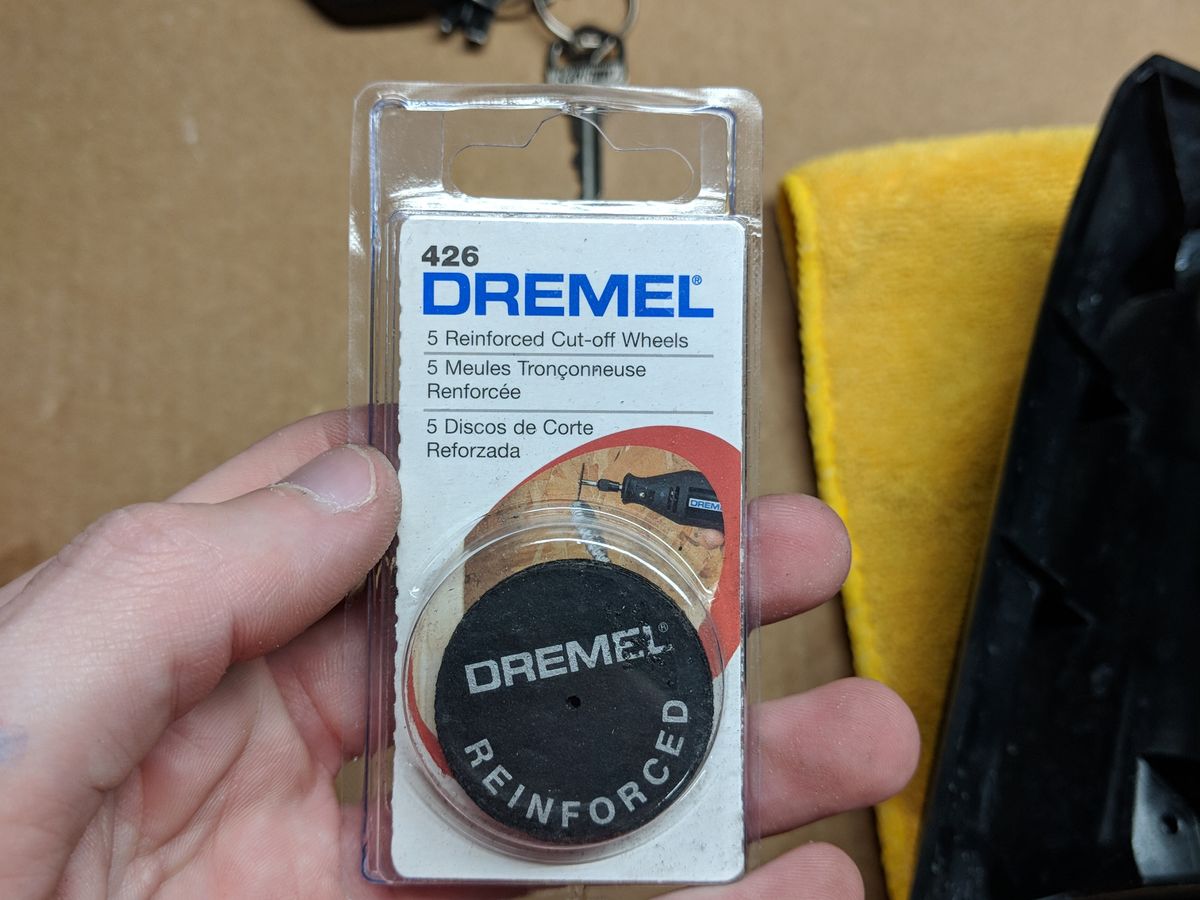
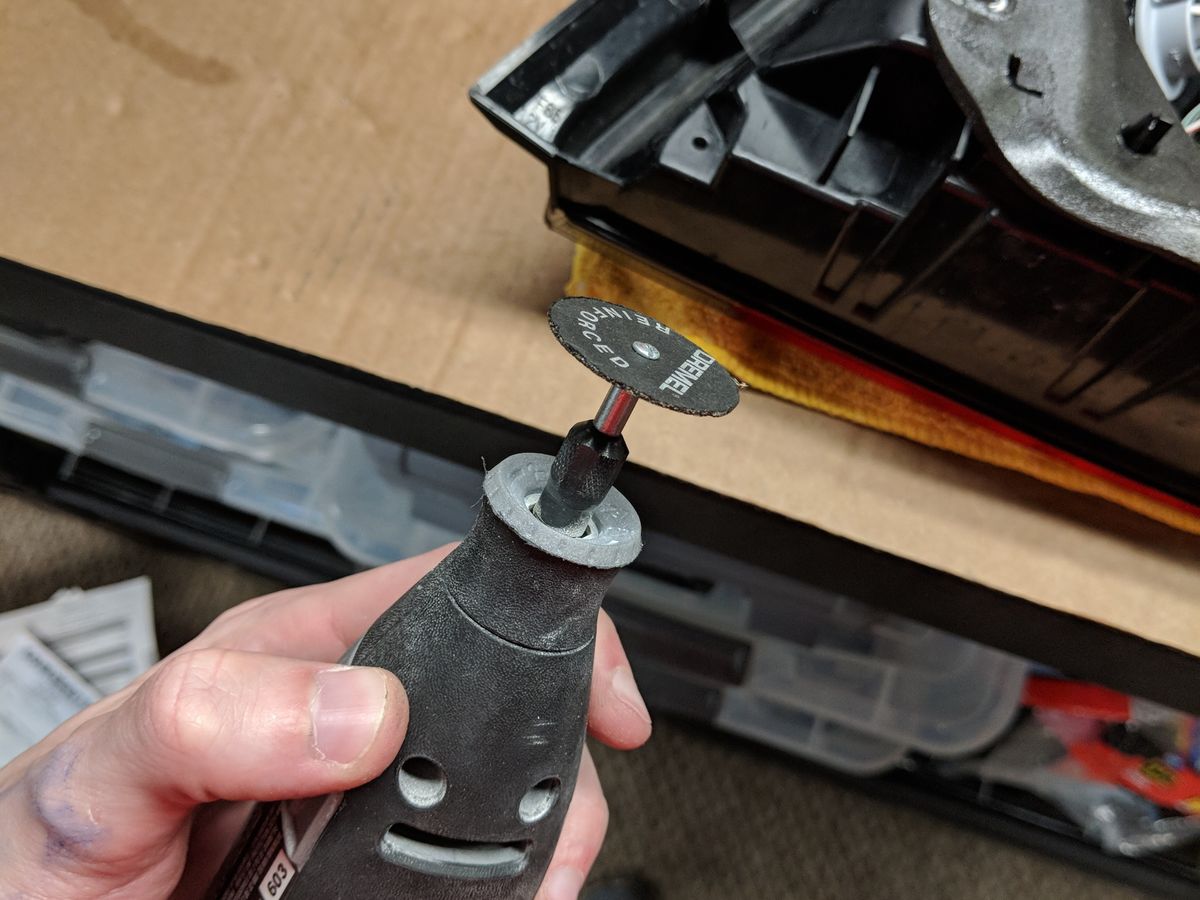
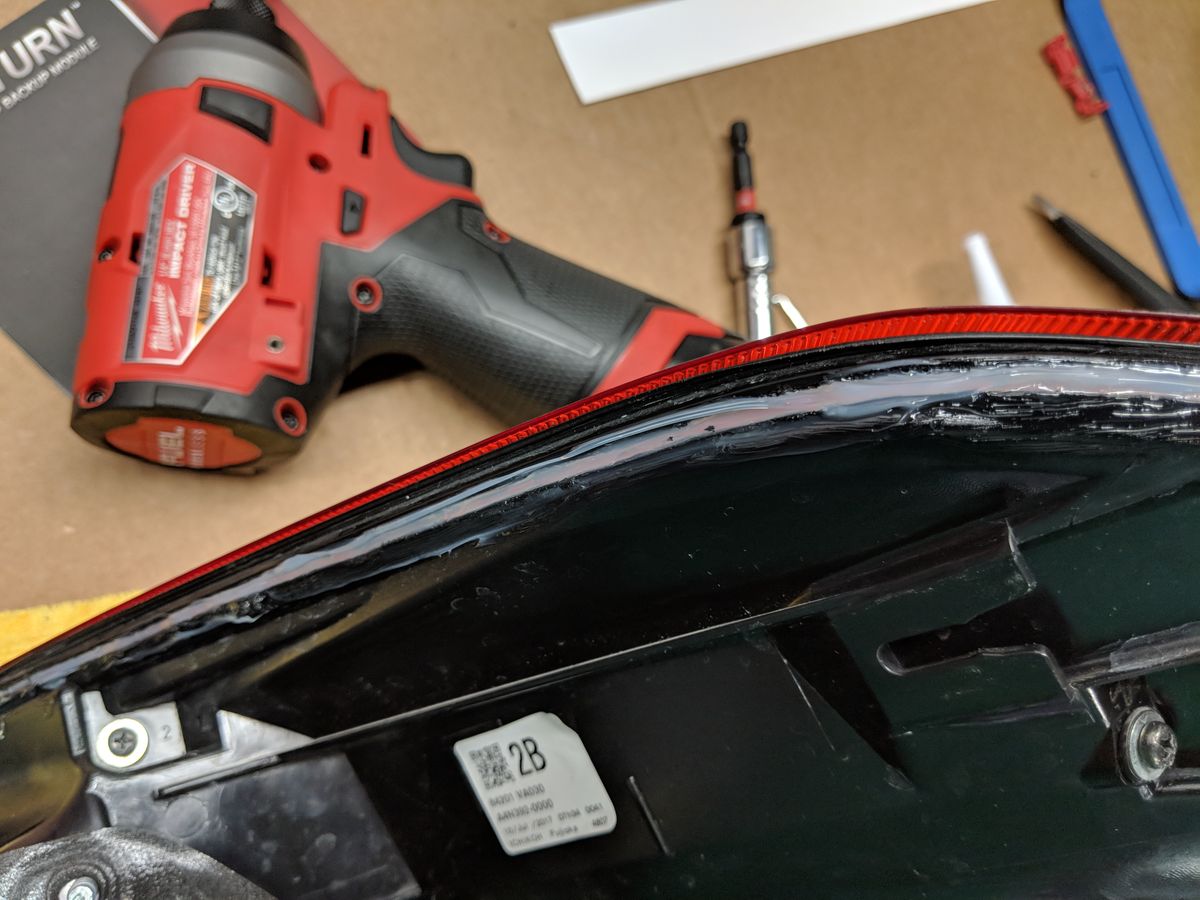
Then it’s time for the trusty Dremel to do its thing! I picked up a set of fresh cutoff wheels to have some spares on-hand, but was able to cut open both taillights with a single disc.
Working your way around the edge of the taillight, take your time and be careful not to cut too deep - there’s not a ton of clearance between the rear housing and the red lens. Below is a few pictures highlighting the route I took with my cuts:
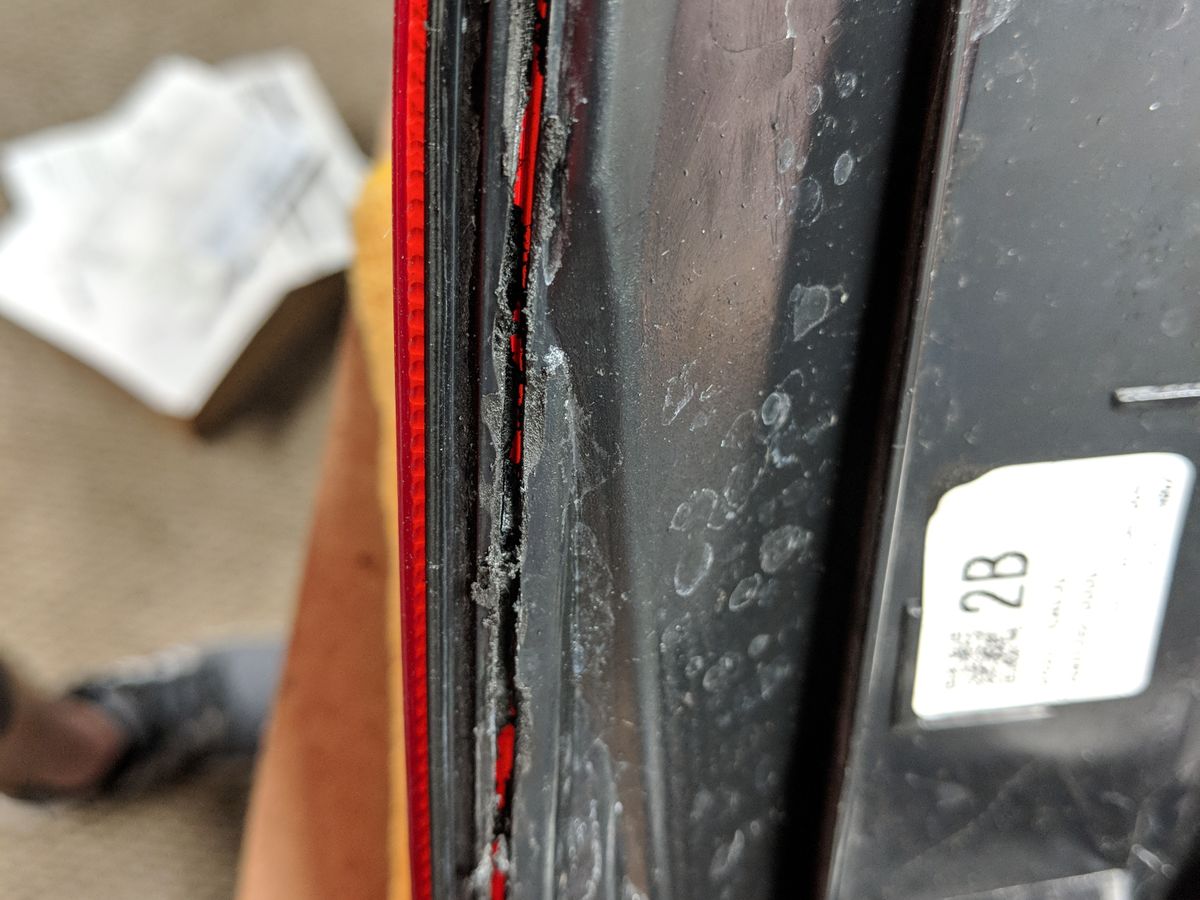
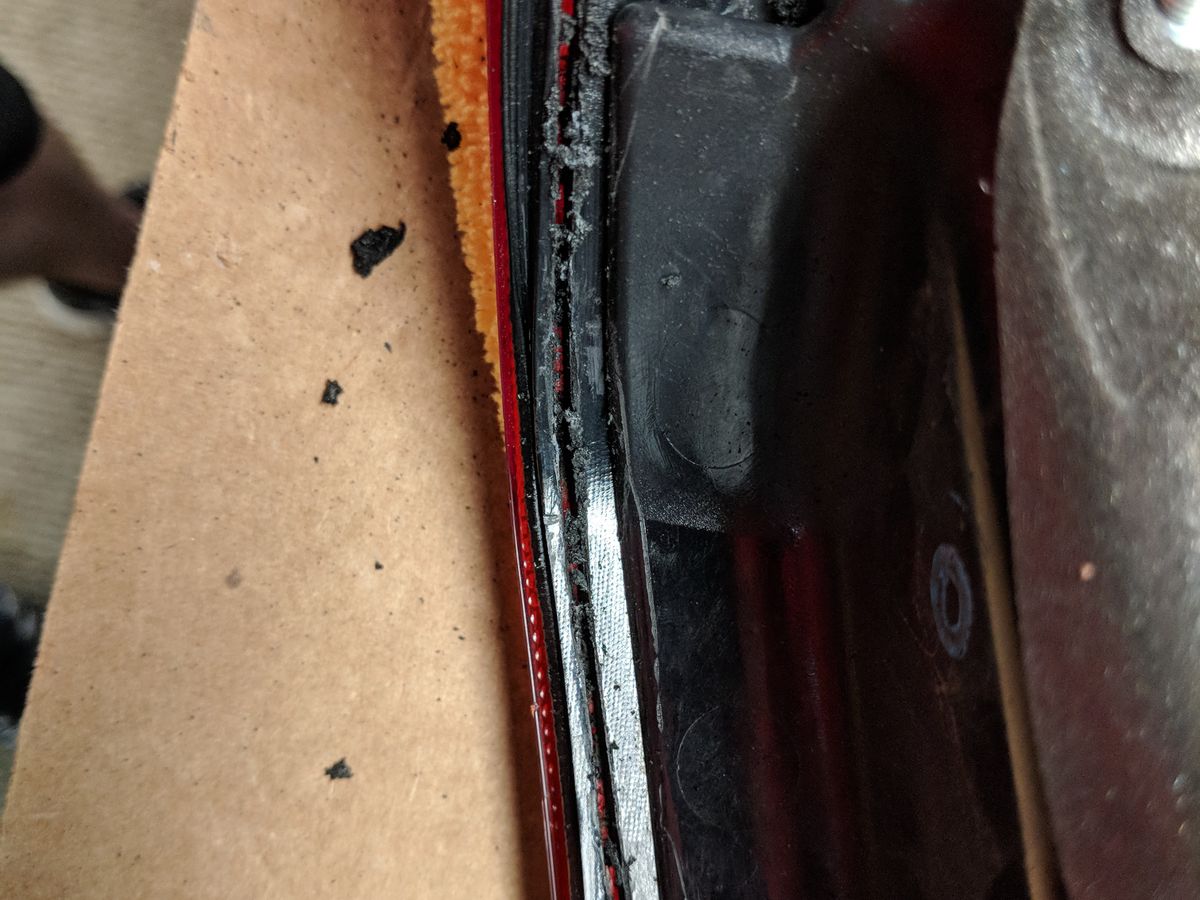
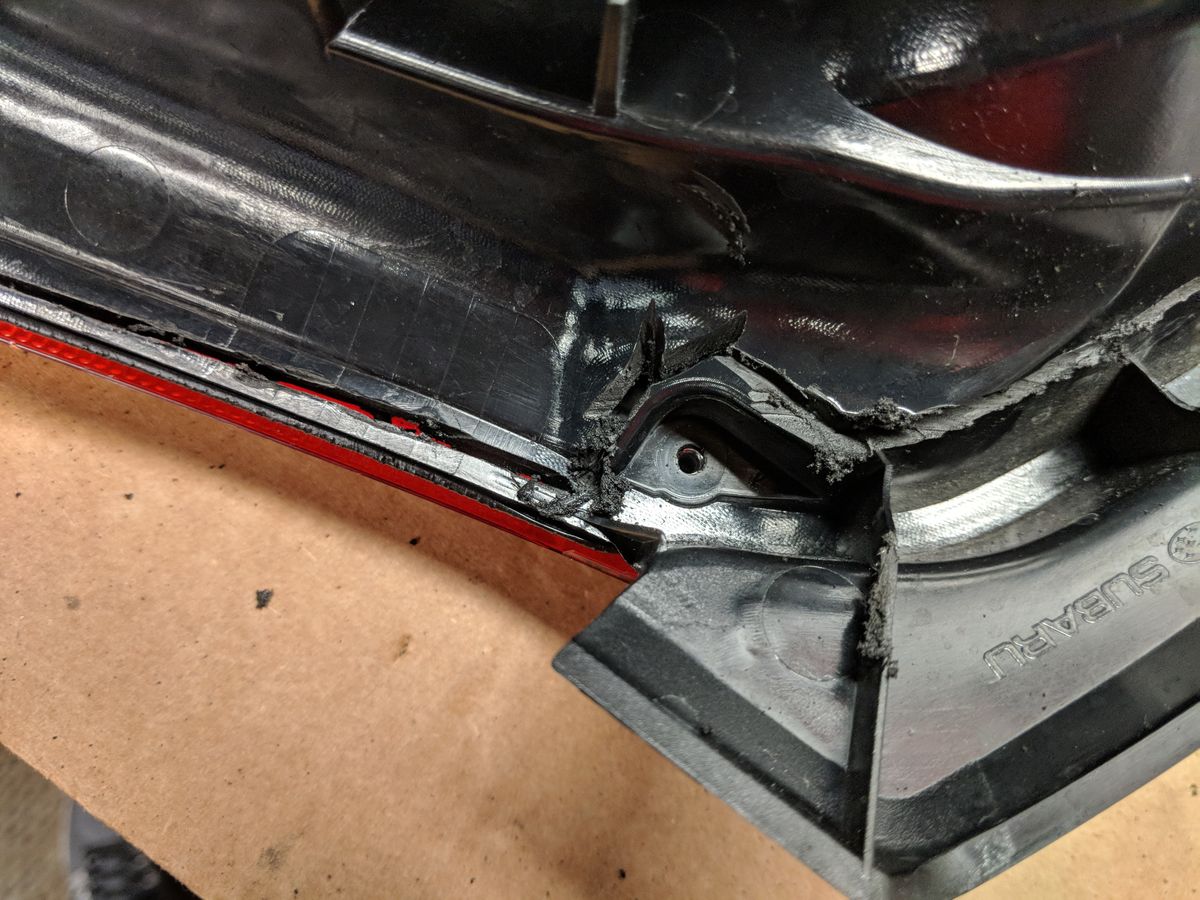
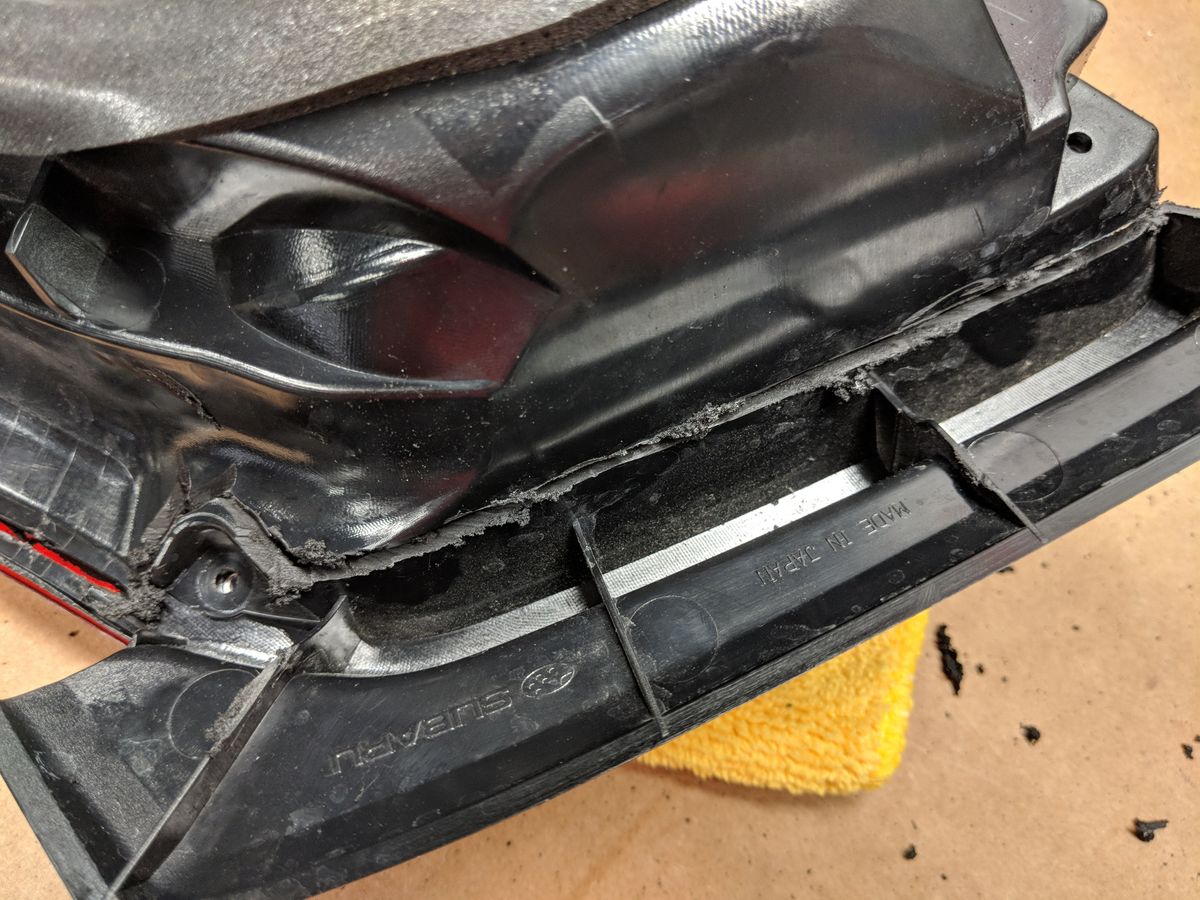
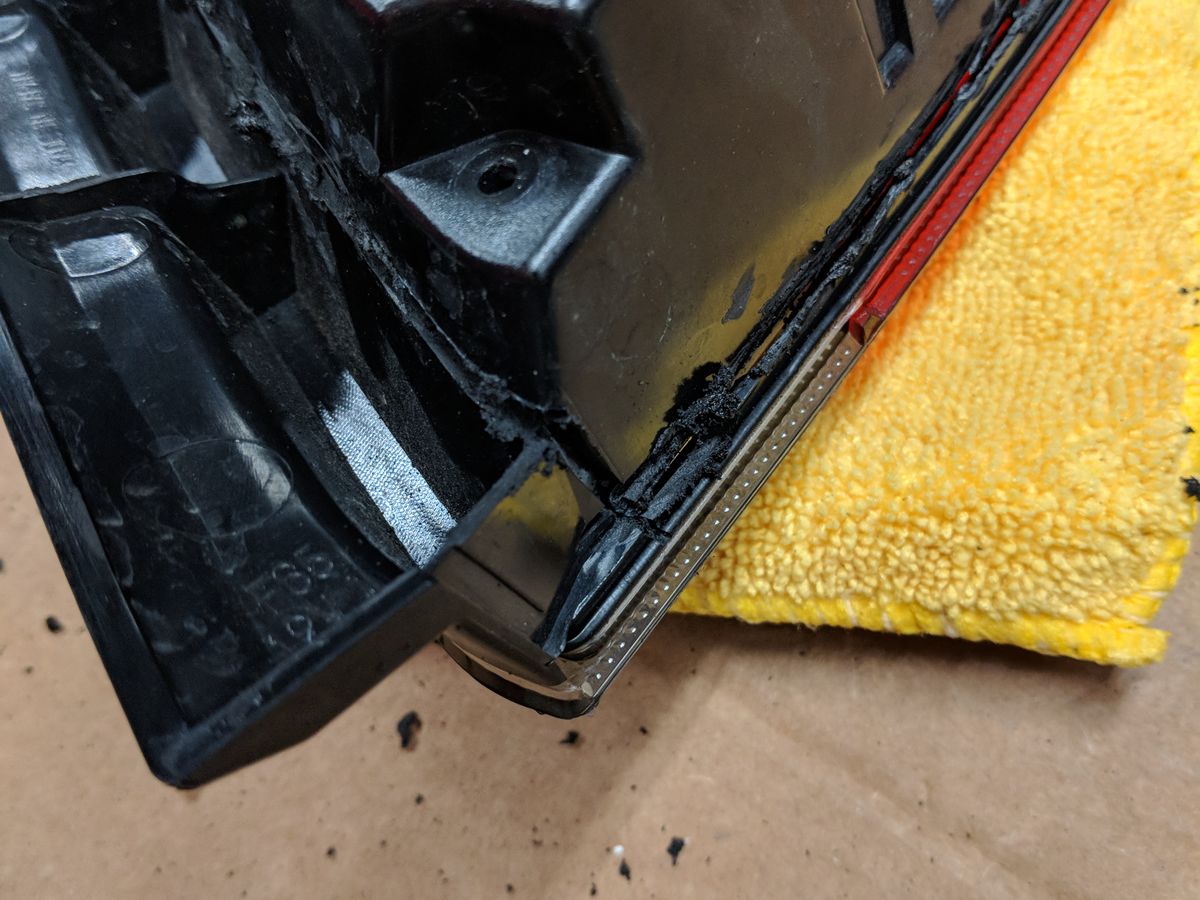
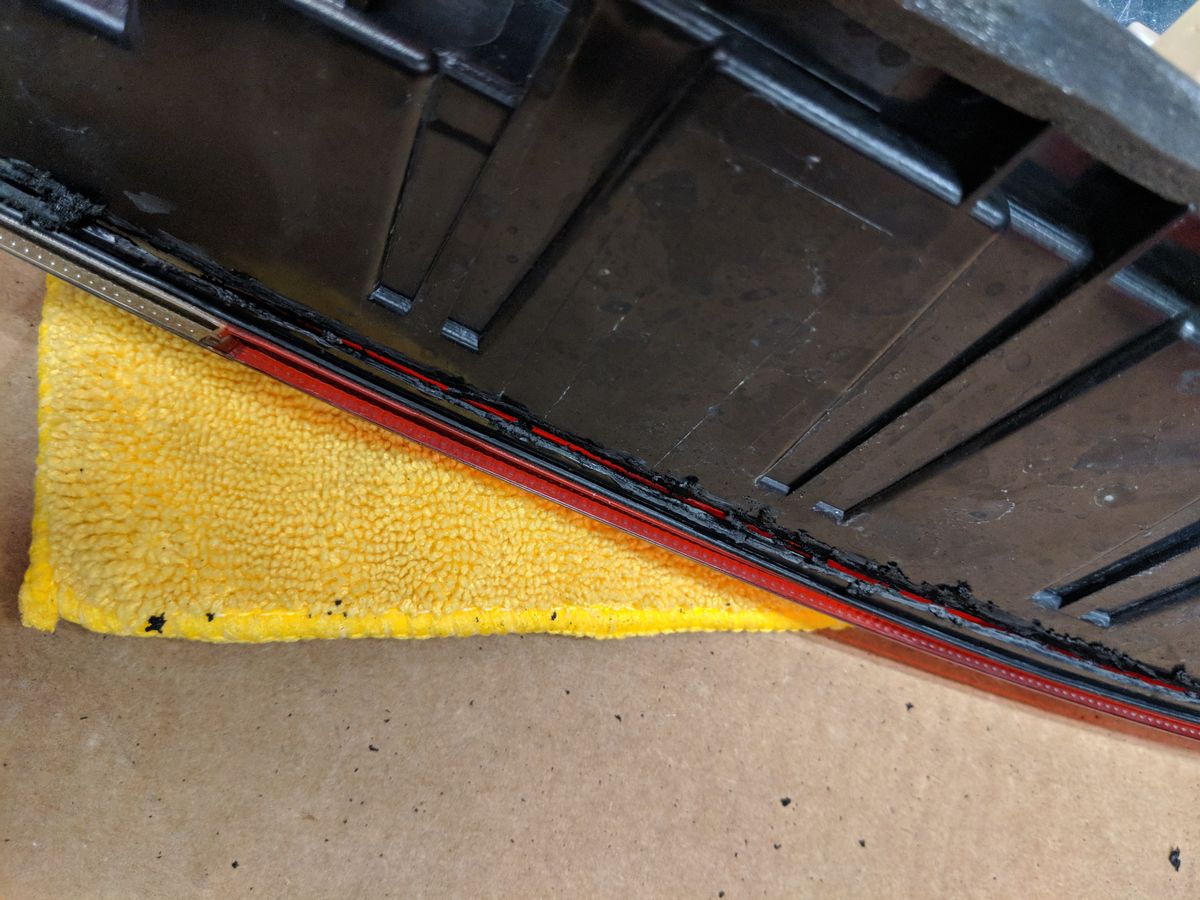
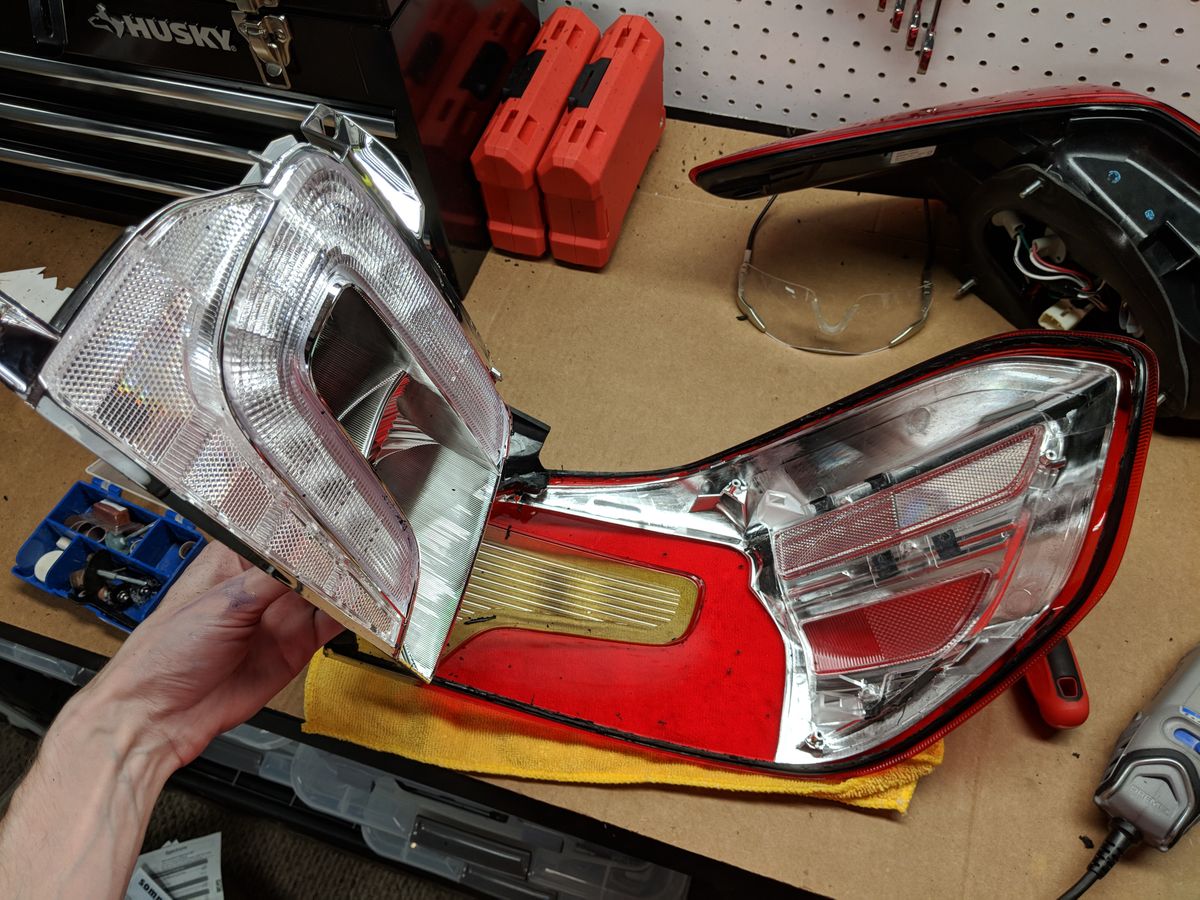
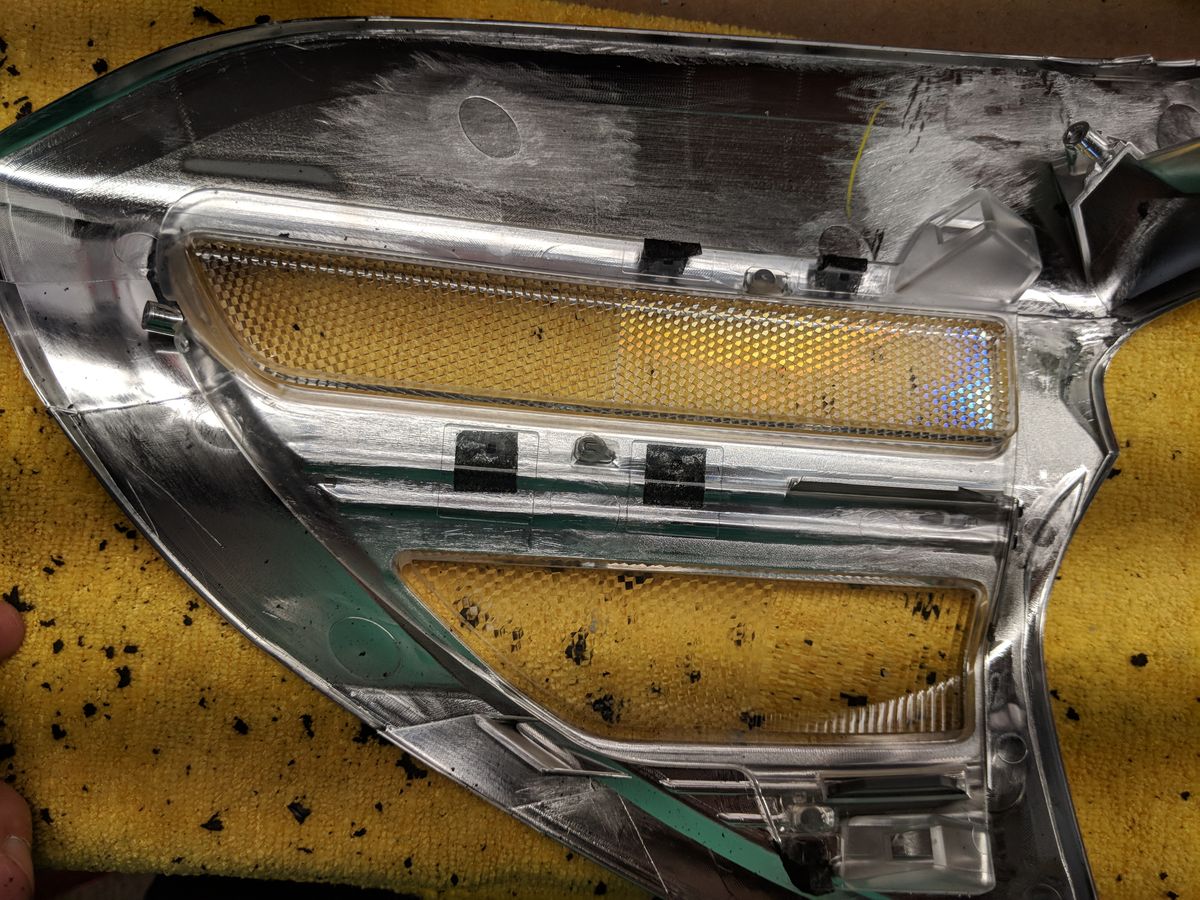
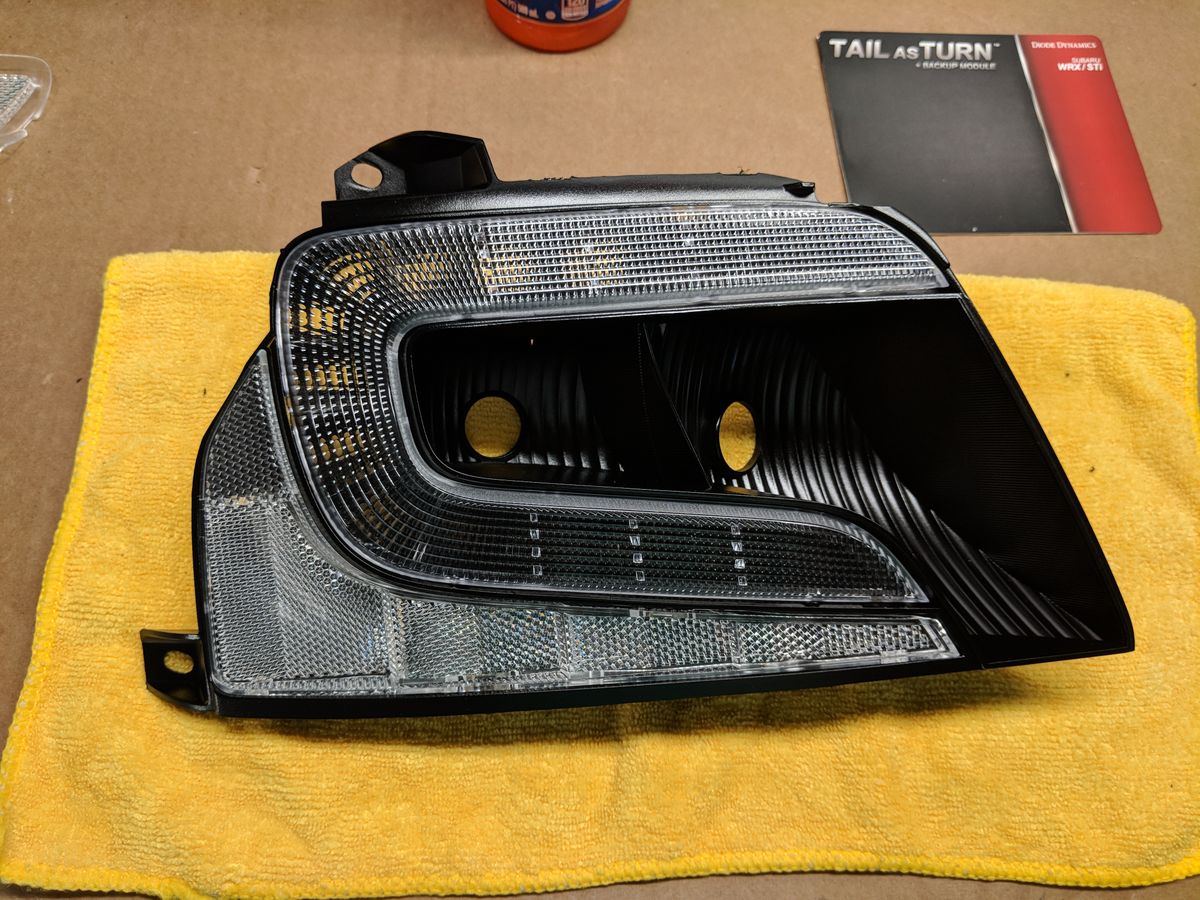
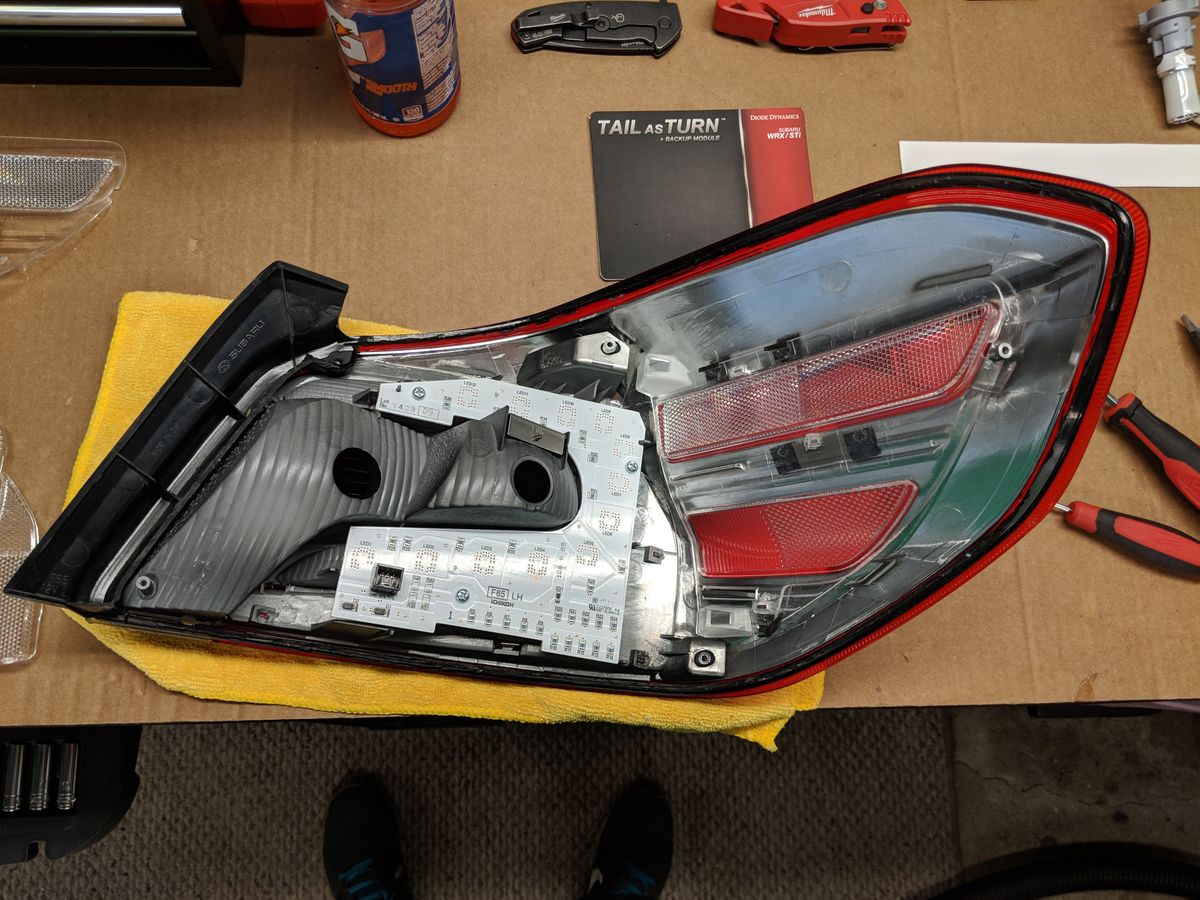
Once you’ve cut all the way around, you should be able to lift the housing off the lens to reveal the innards of the taillight.
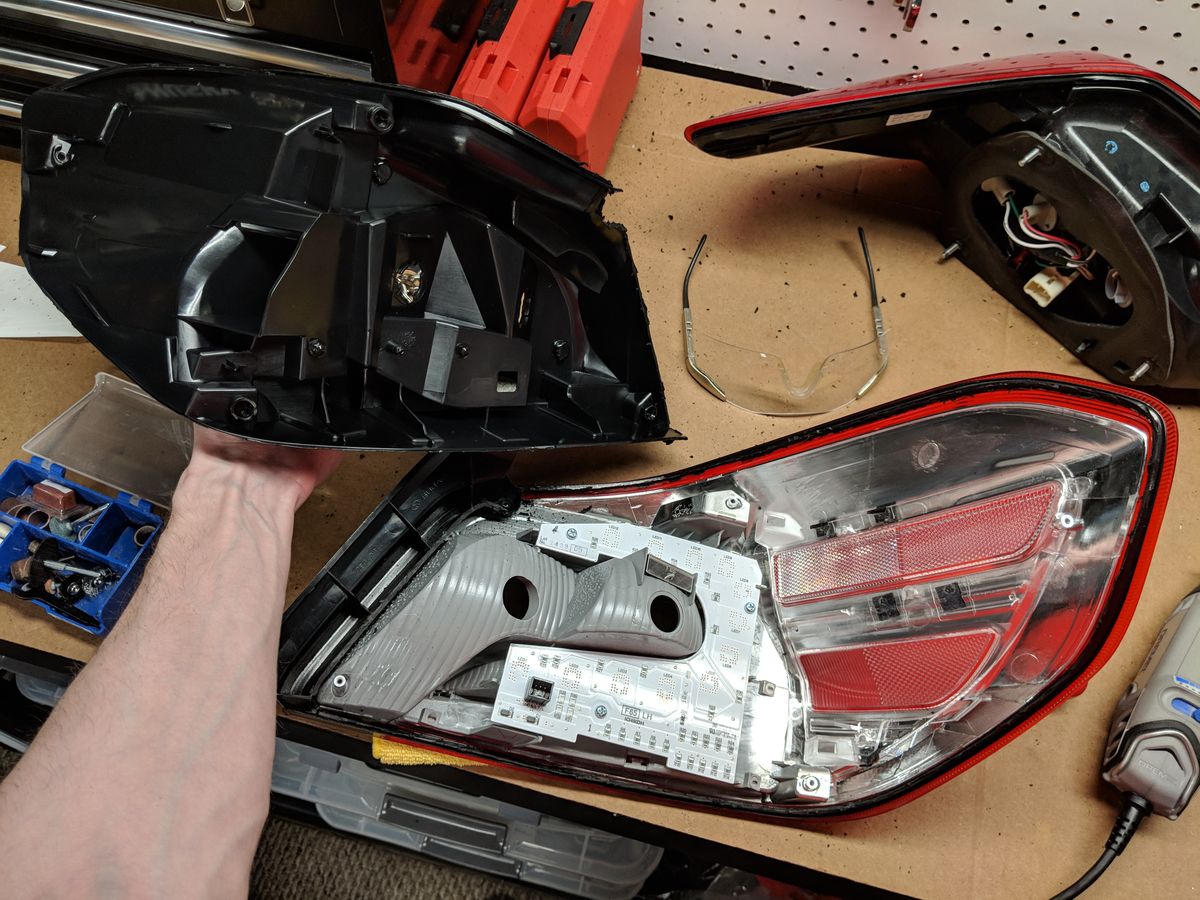
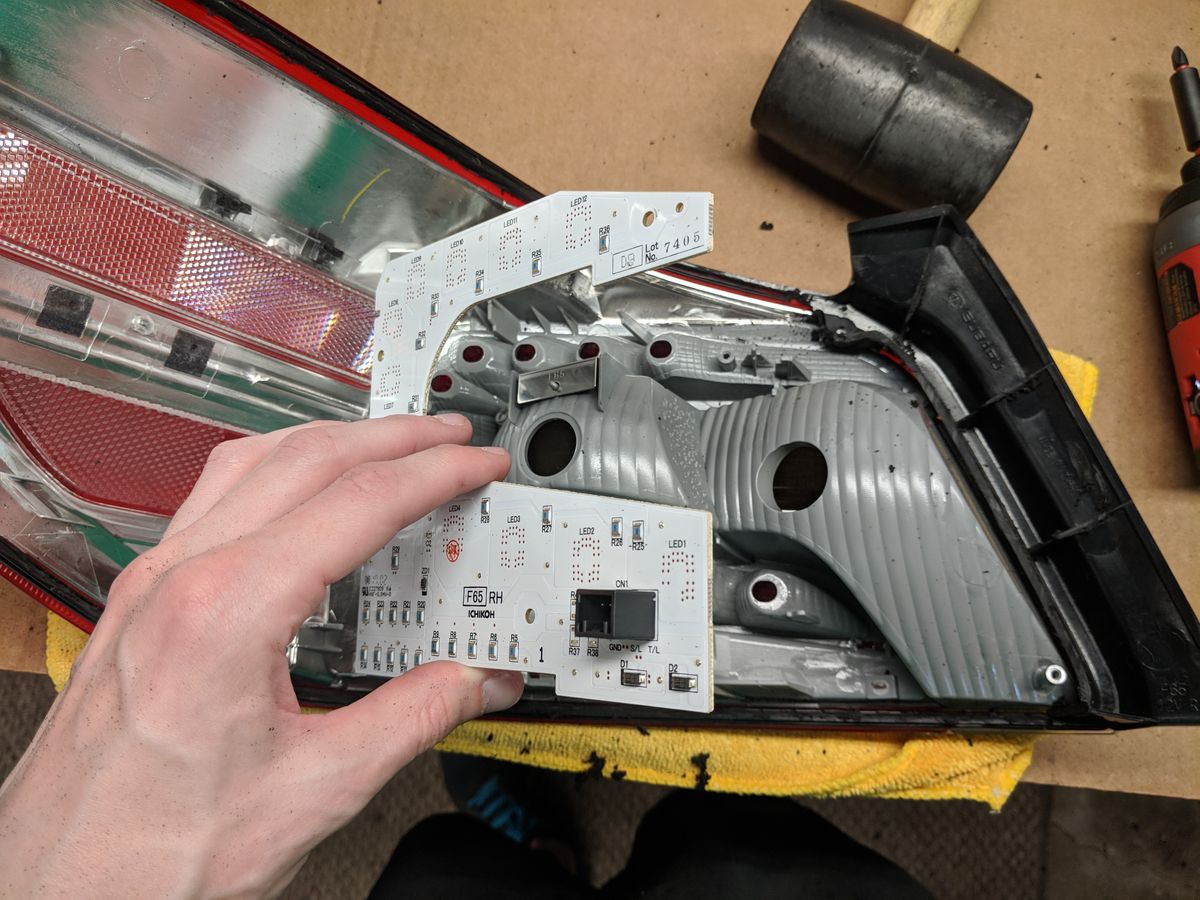
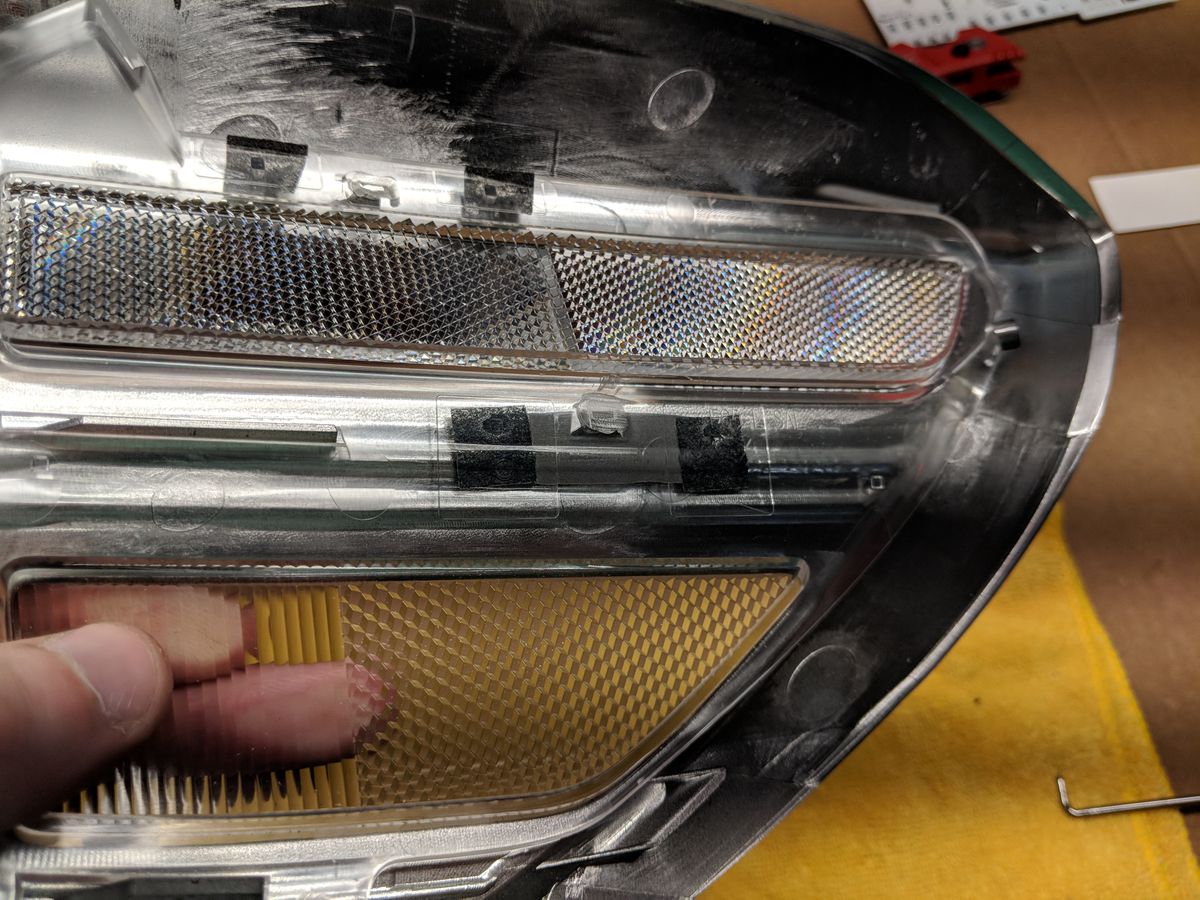
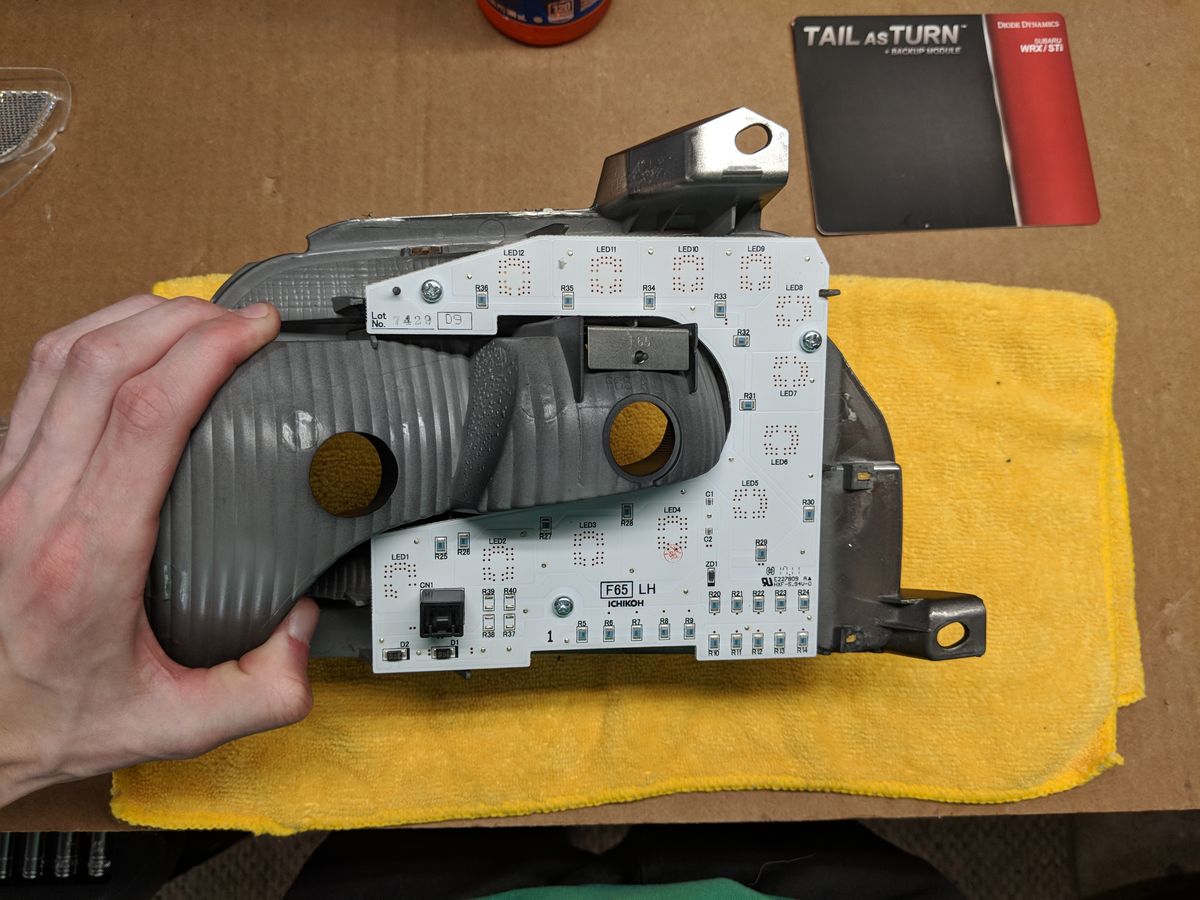
There’s two separate chrome bezels and some reflectors in each. Go ahead and remove both and set lens aside. Unscrew the three screws holding the LED board to the bezel and set that aside as well.
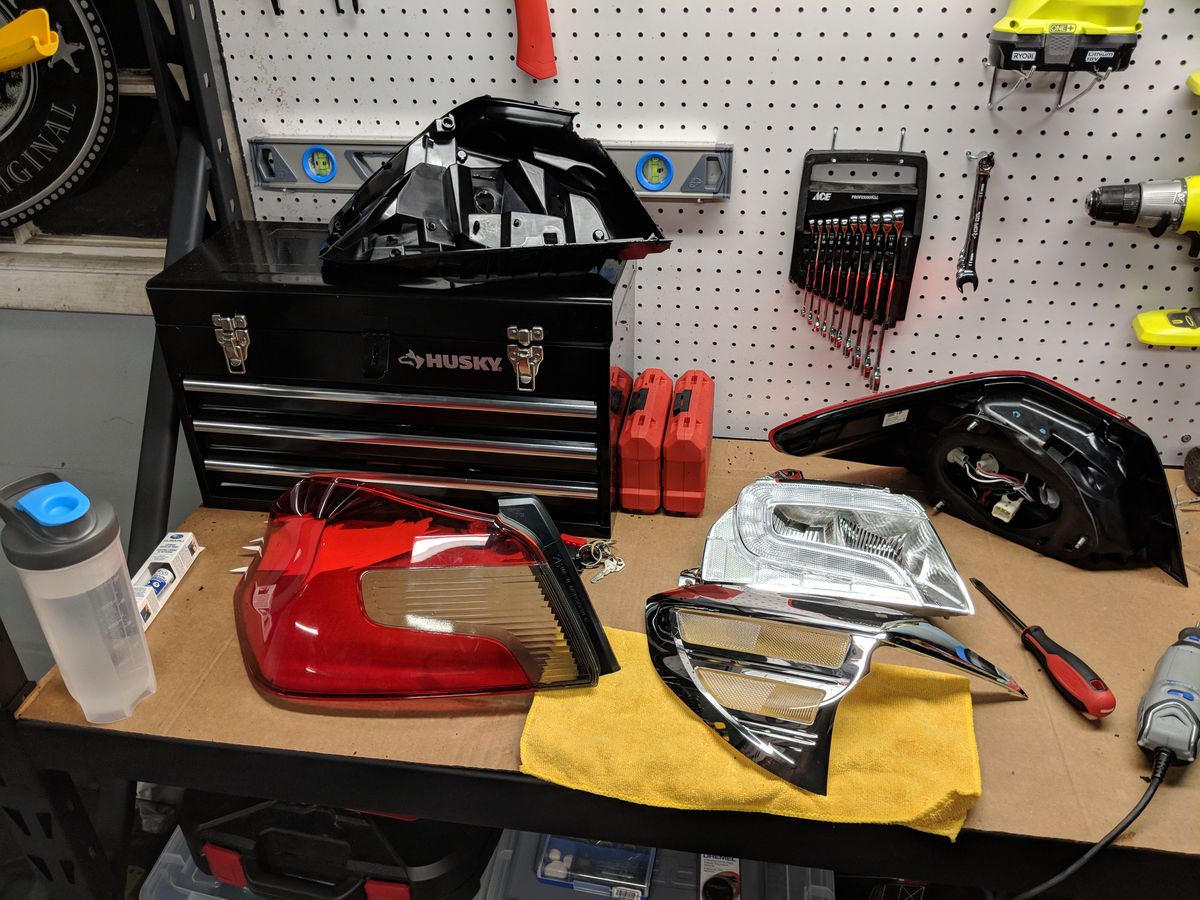
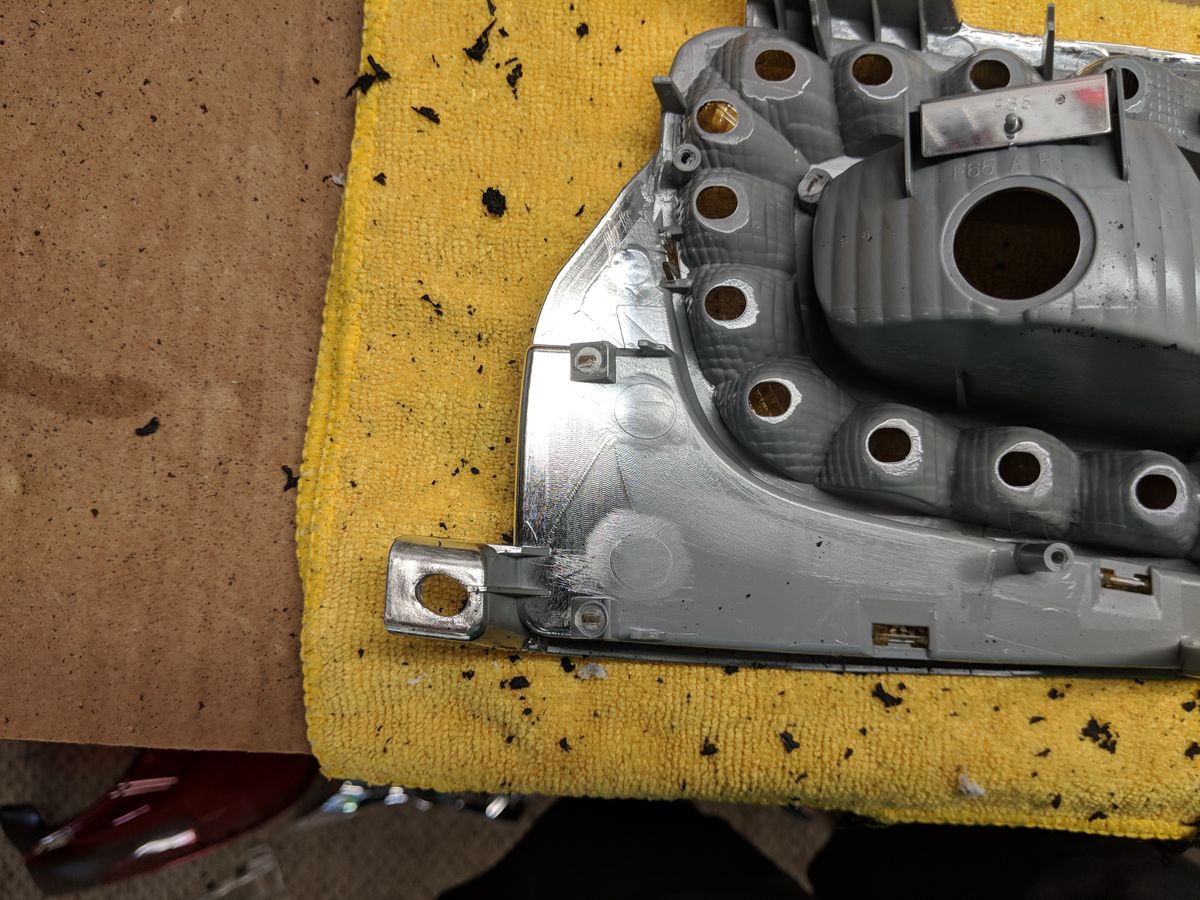
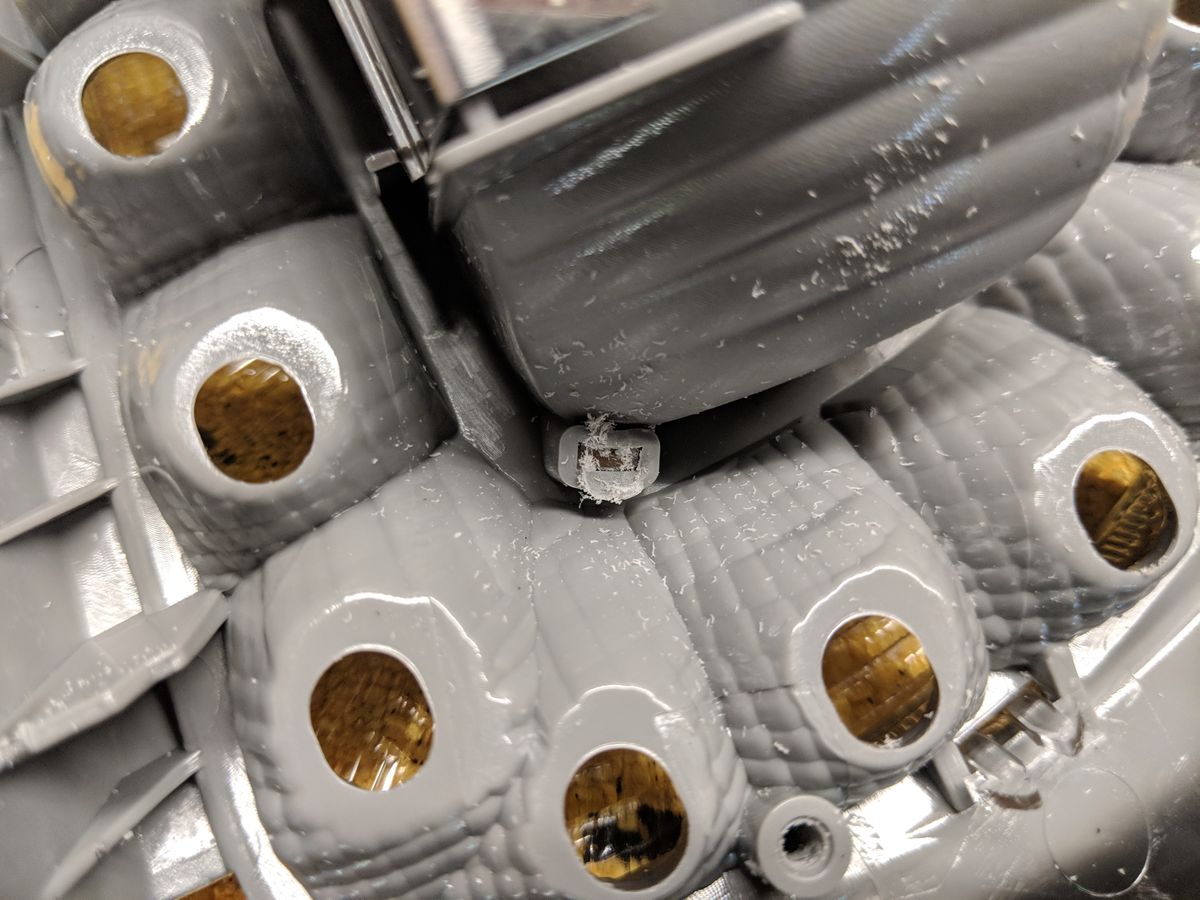
To remove the reflectors, you’ll need to sand down a few areas where the reflector was melted/joined to the bezel. Again, be careful not to sand/cut too deep - you want to remove just enough material to release the two pieces. Once you’ve sanded off all of the melted connections, carefully squeeze the clips holding the other reflector(s) in place and set them all aside.
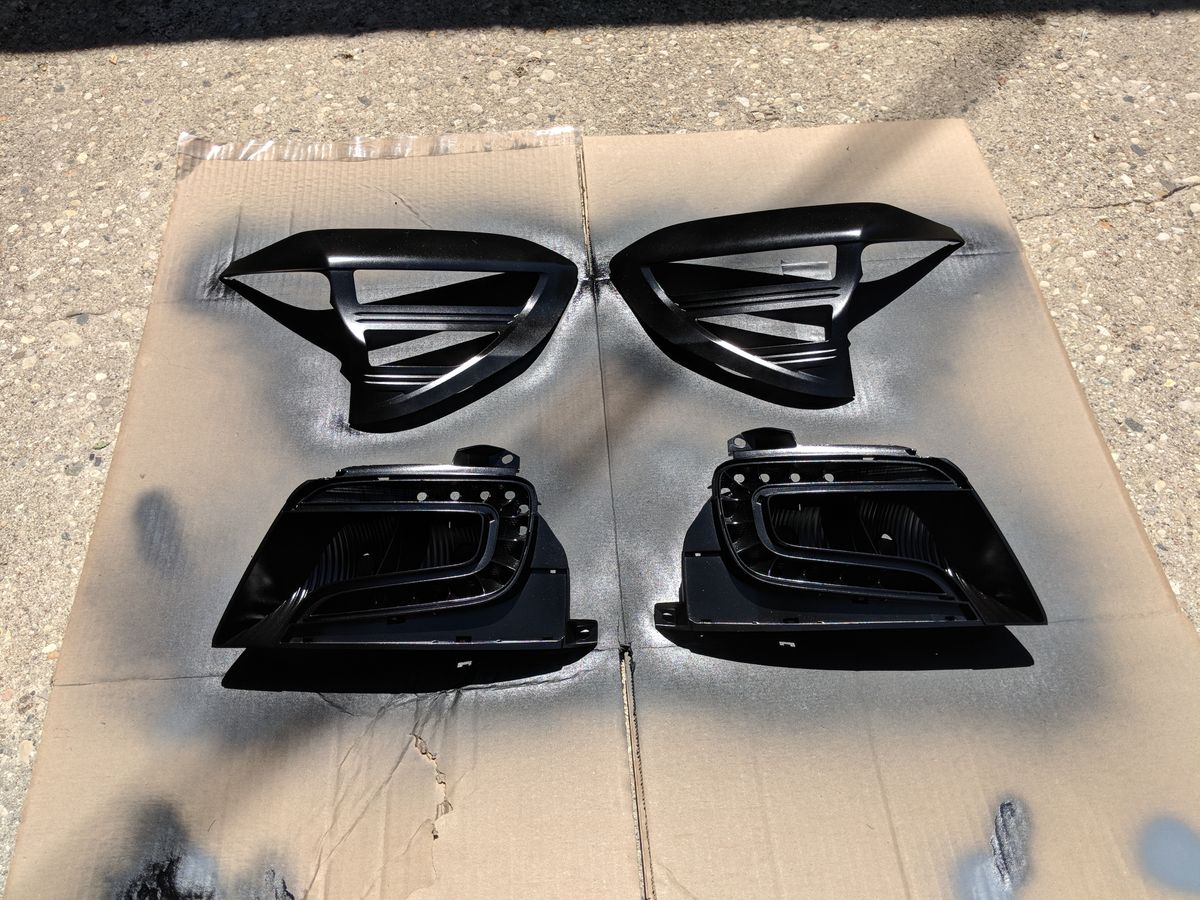
Painting/LEDs
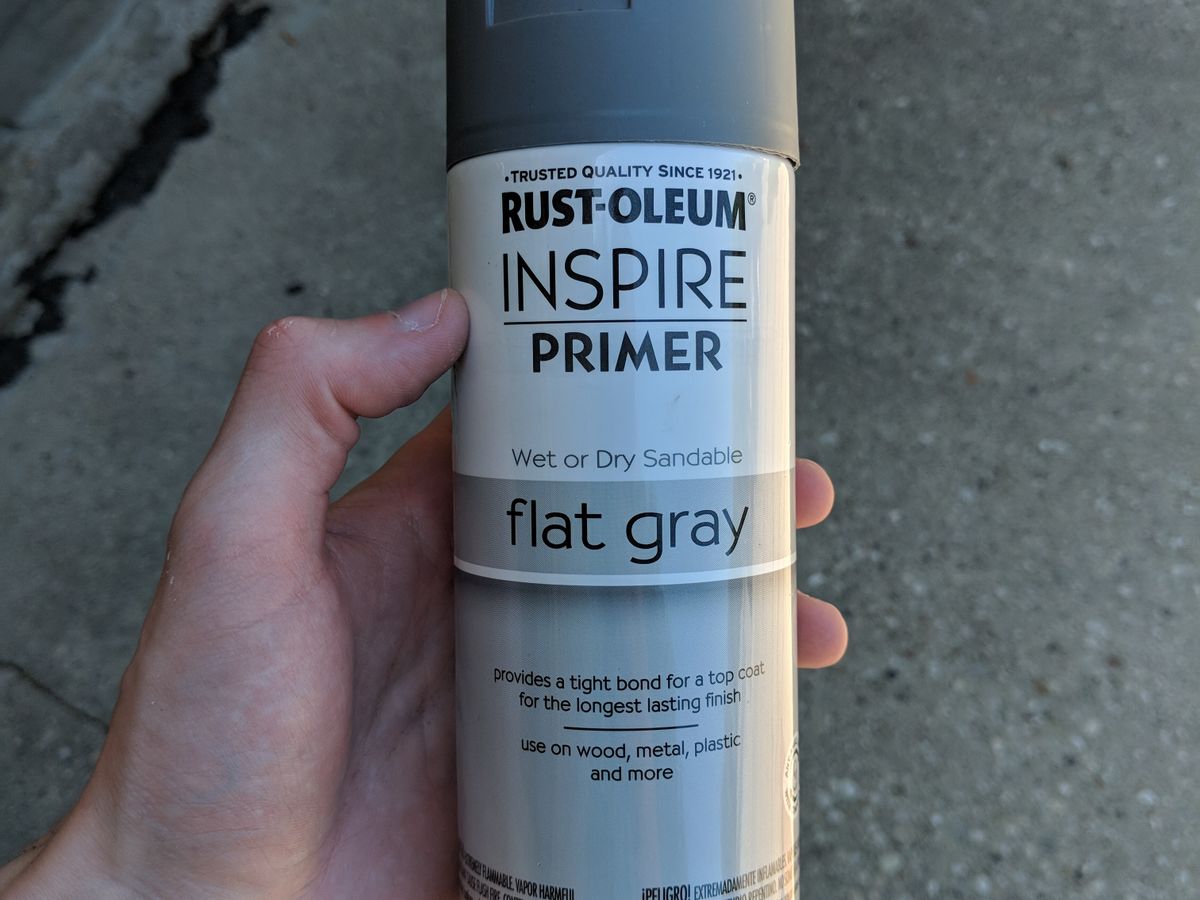
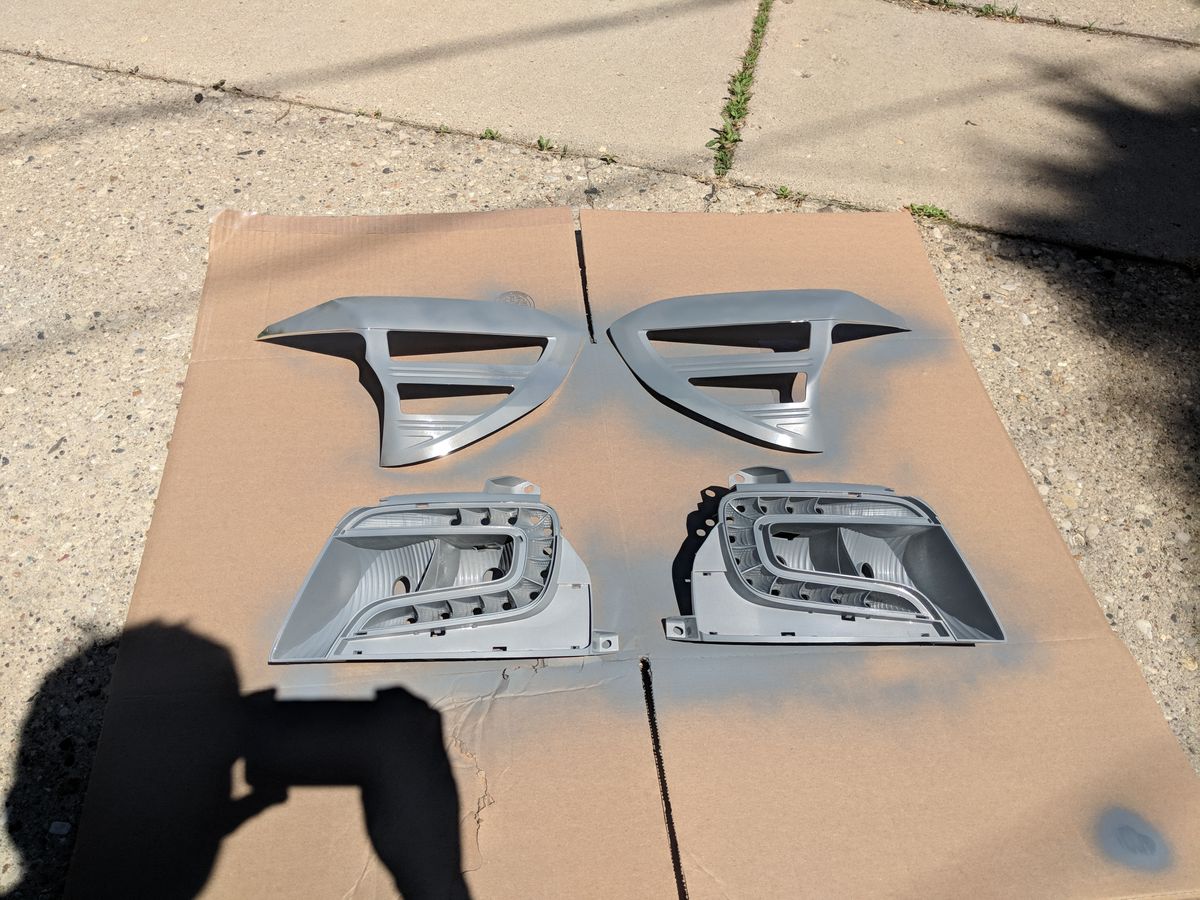
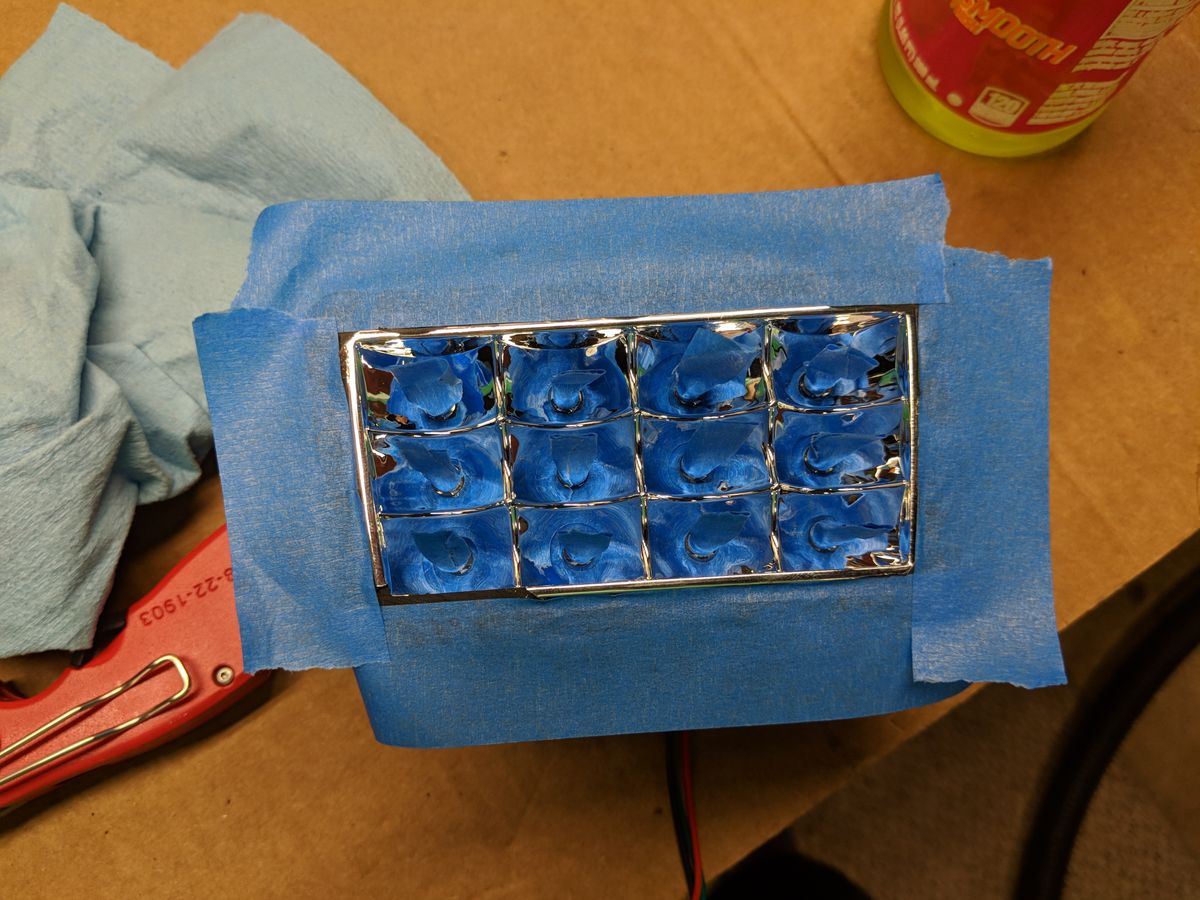
At this point the taillights should be fully disassembled and ready for paint! If there’s any areas of the bezel you want to keep chrome for light reflectivity (the turn/reverse bowls for example) mask them off now. Then, shoot a few layers of plastic primer to prep the pieces for paint.
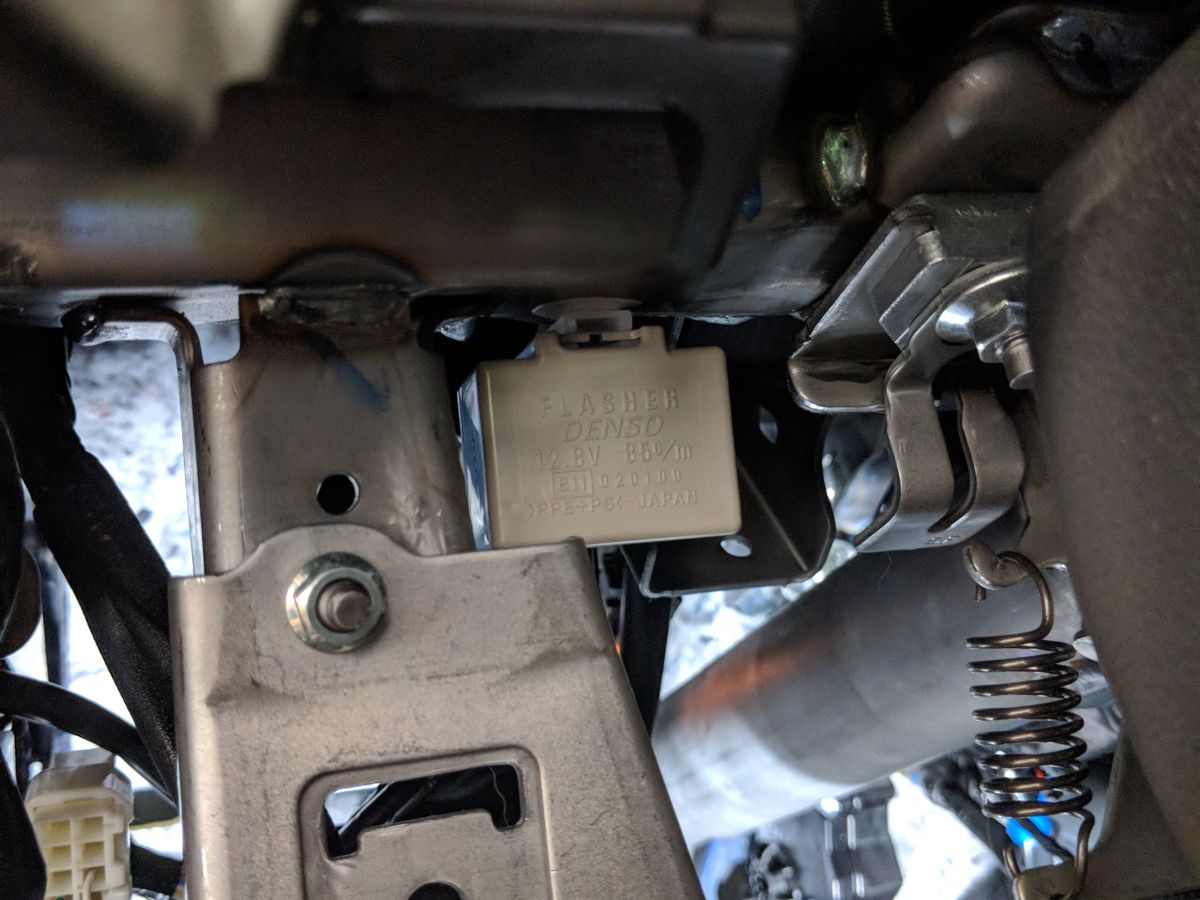
While the primer dries is a great time to tackle replacing the OEM blinker module.
NOTE: This step is optional if you aren’t replacing the OEM halogen bulbs with LEDs and/or running the Tail as Turn module. If you are, you’ll need to replace your OEM blinker module with an LED-compatible one to prevent “hyperblink”. This is caused by your factory wiring not recognizing the lower resistance of the LED bulbs and results in a rapid flashing every time you turn on your turn signal or brake lights.
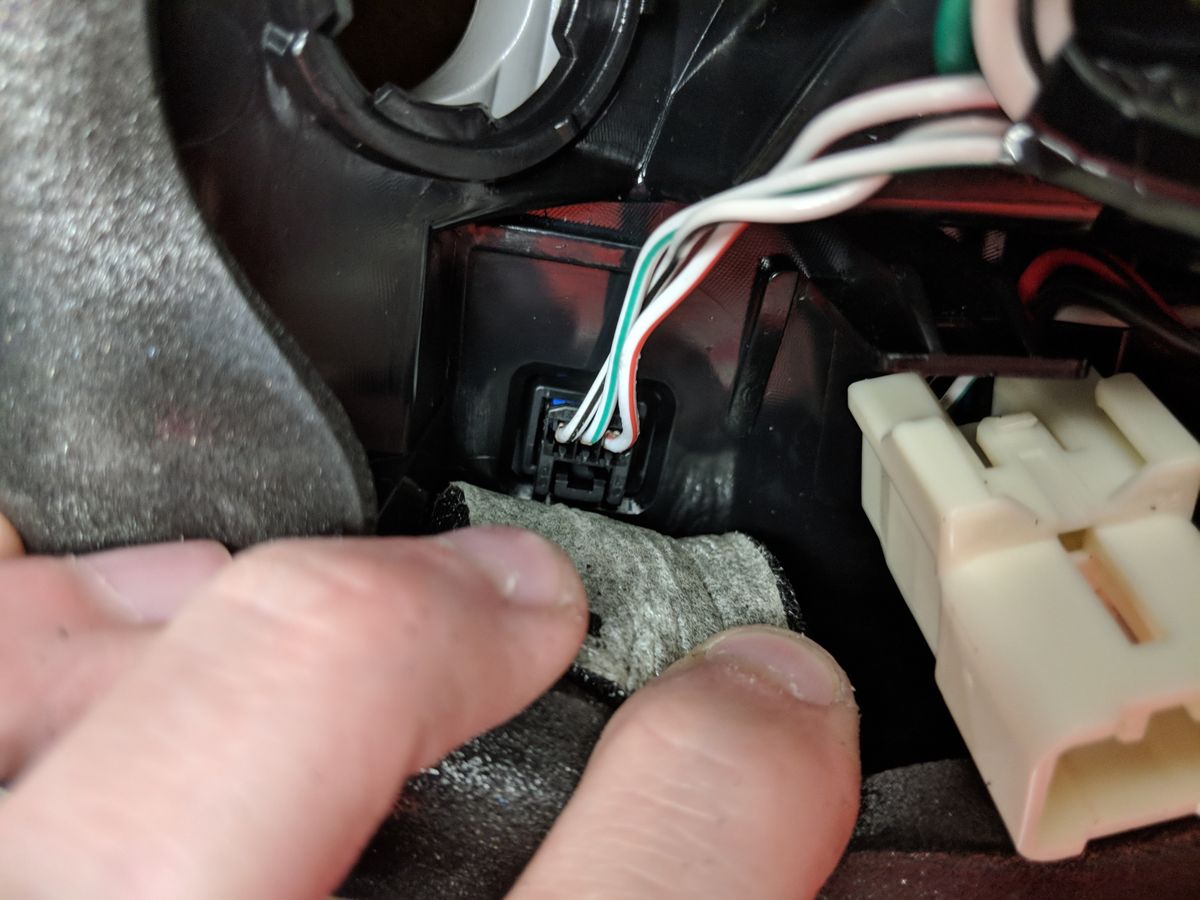
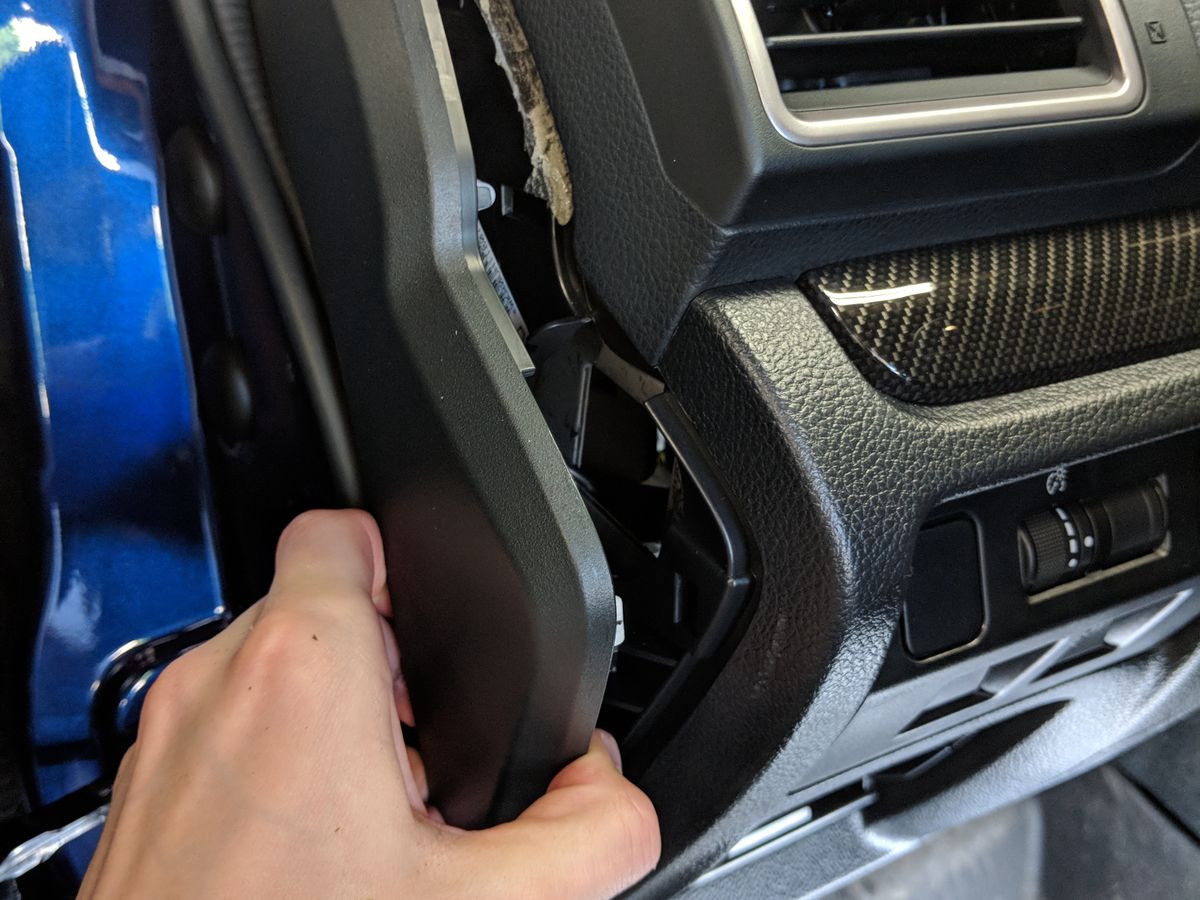
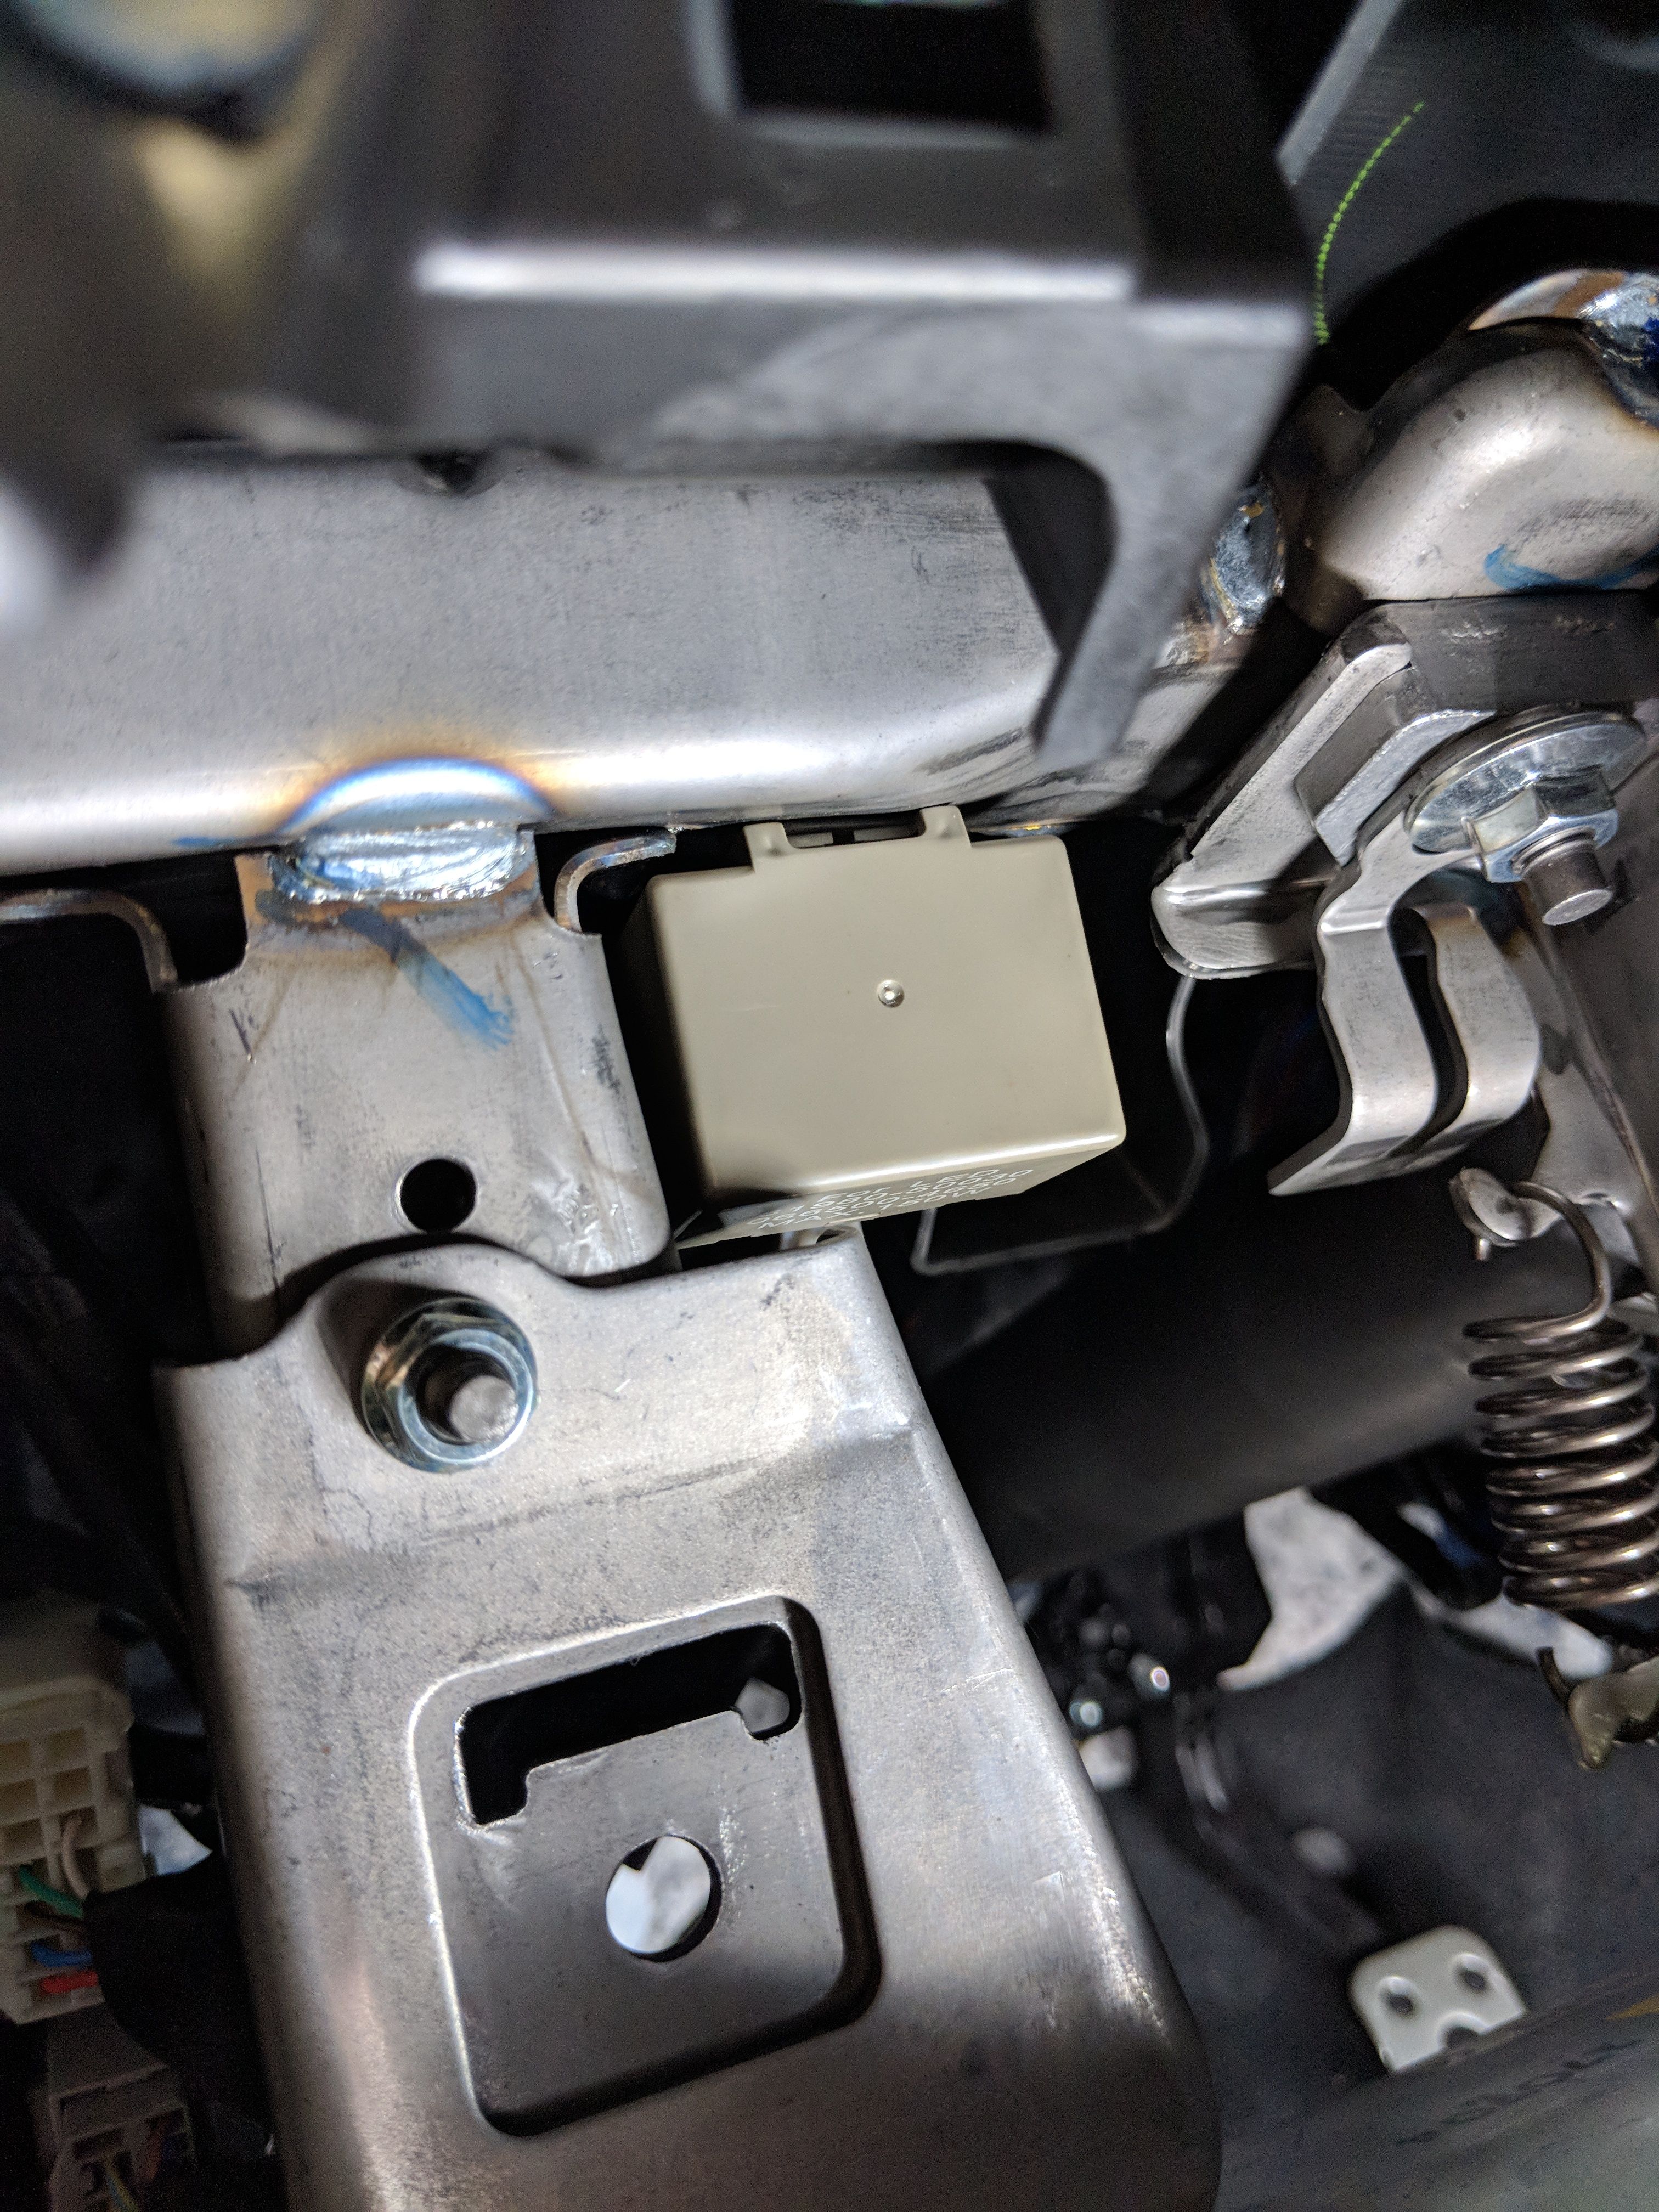
To access the OEM blinker module, you’ll have to disassemble a few trim pieces in the driver’s footwell. I didn’t think it’d be necessary myself, but after contorting myself into a couple of interesting shapes in an attempt to reach it, I concluded it was just easier to pop the trim off.
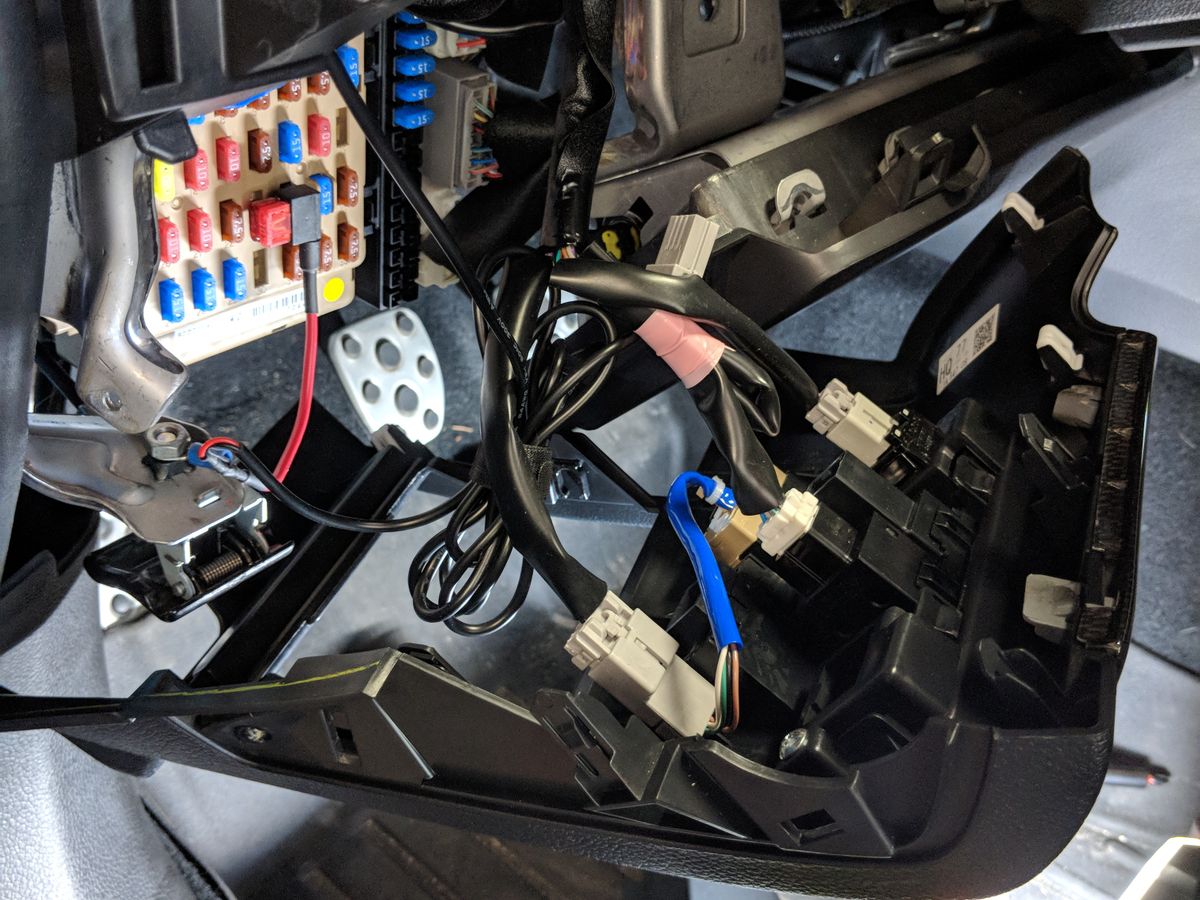
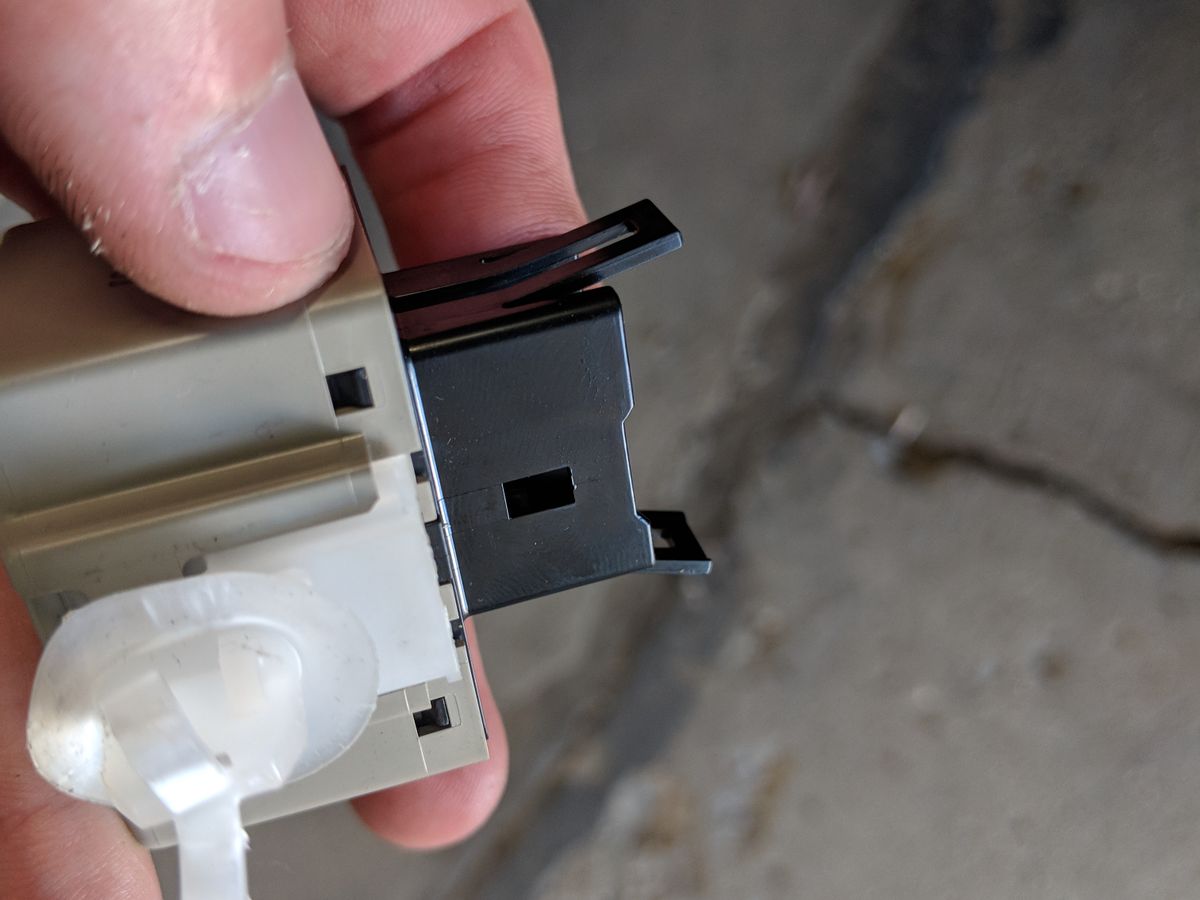
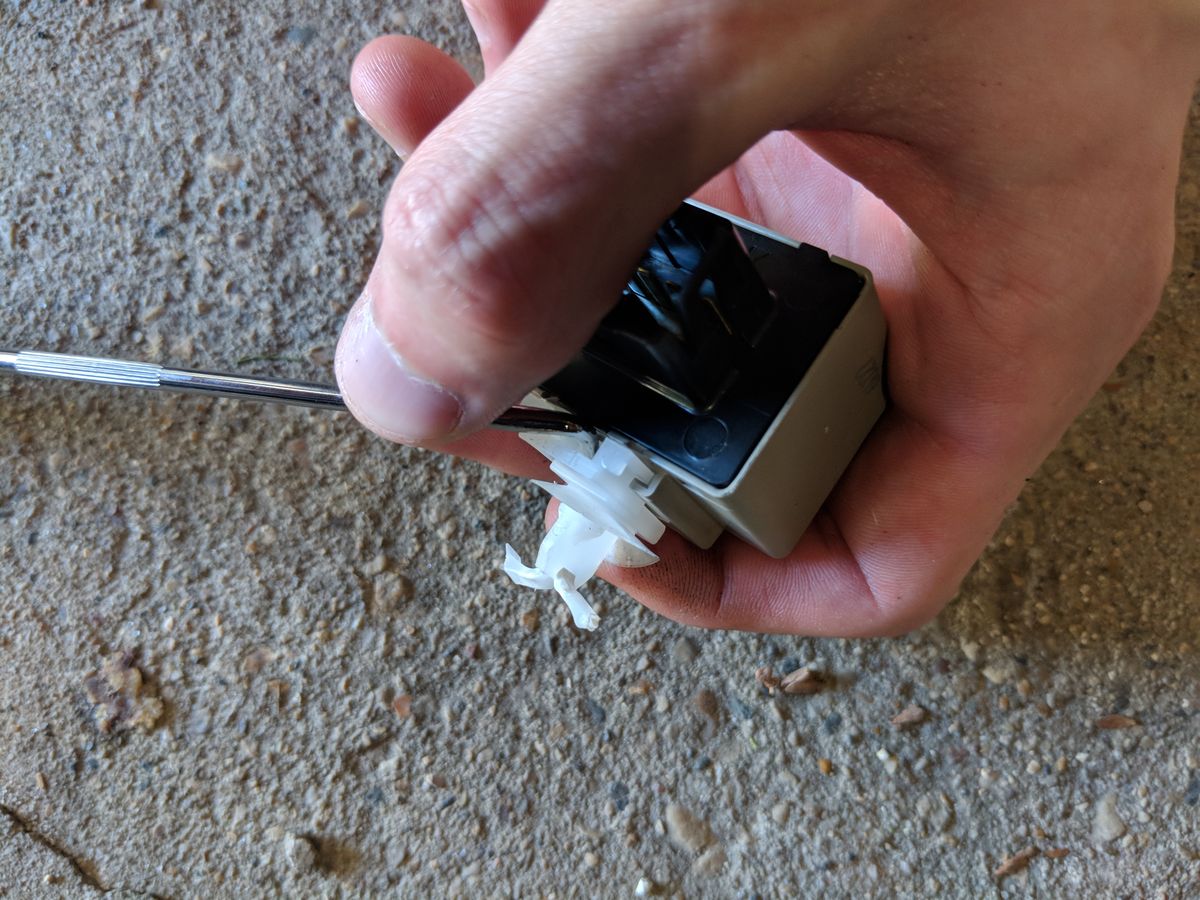
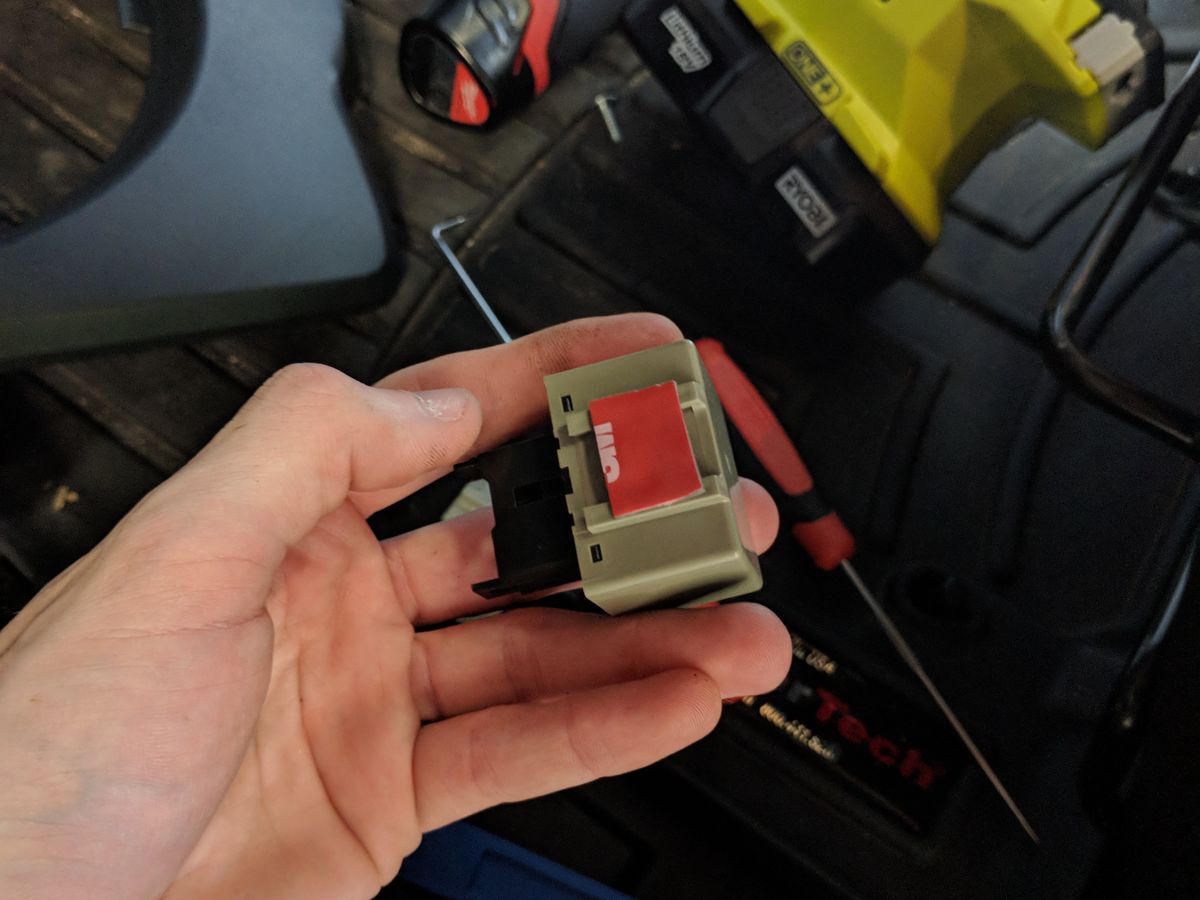
There’s a clear plastic clip holding the OEM module onto the frame. I had little luck extracting this clip without mangling it, so I ended up just double-sided taping the LED module onto the frame after unclipping the OEM one from the harness.
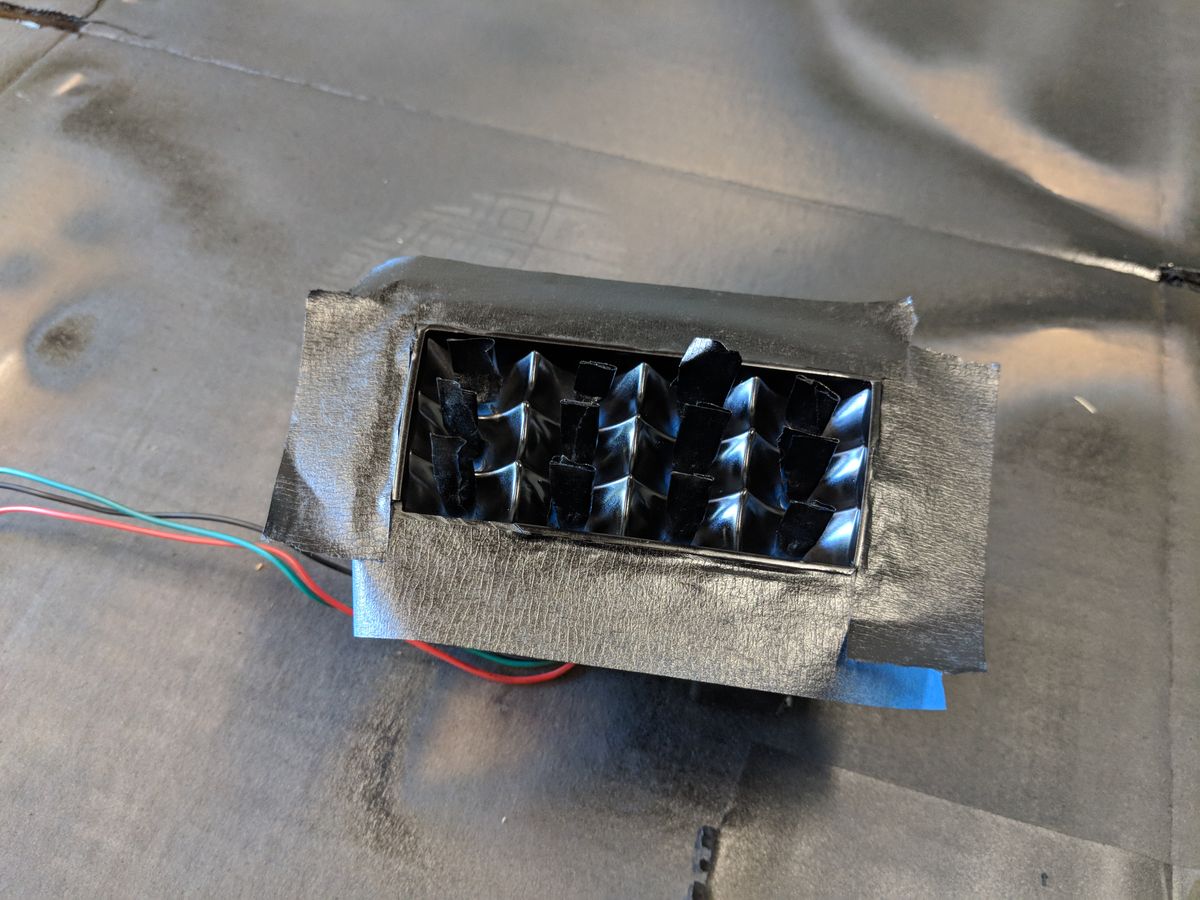
By the time you get everything back together, the primer should be dry and ready for paint. I had some leftover Krylon Fusion satin black spray paint from the headlight project, so I shot a few layers over the primed pieces making sure to use light, even coats.
NOTE: If you’re using the same Krylon yourself, be sure to invert the can and clear the nozzle before storing it - the style nozzle they use clogs extremely easily!
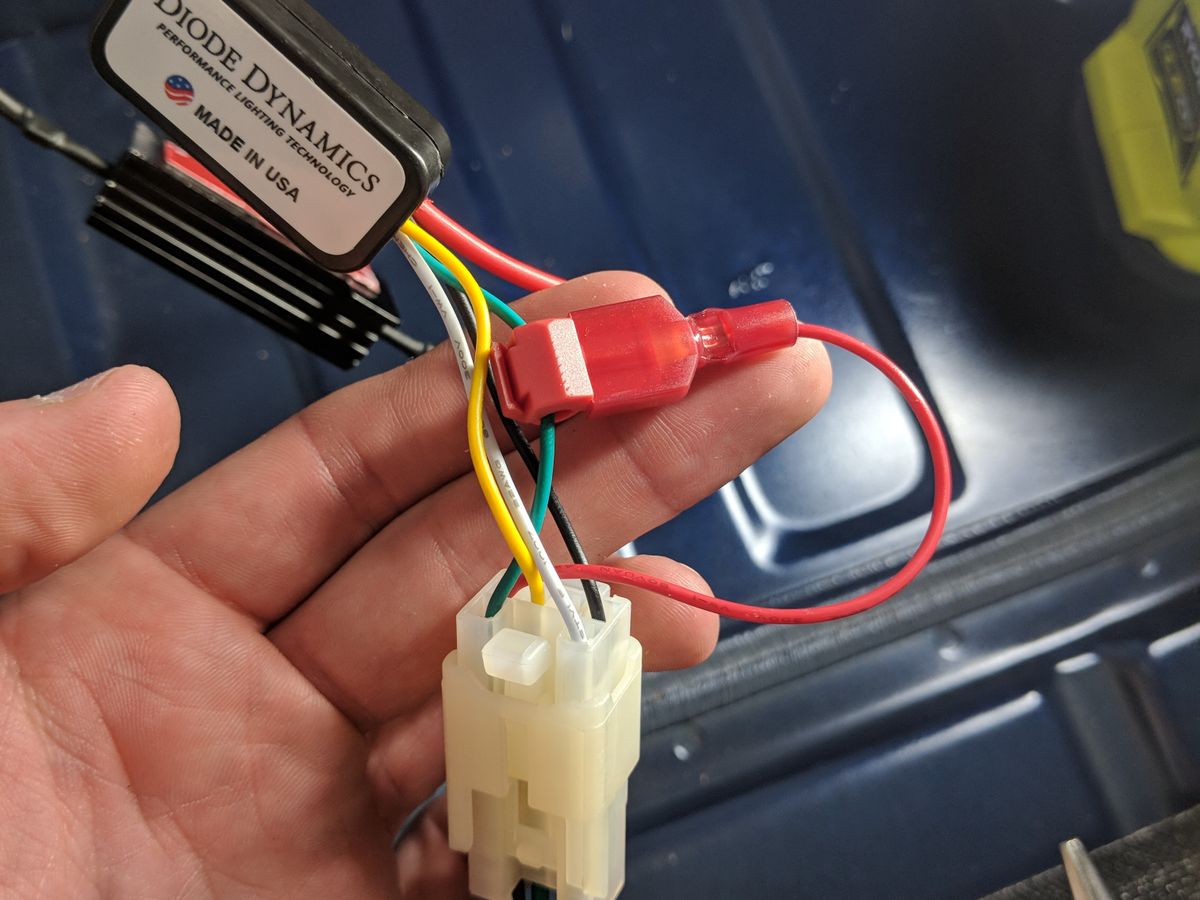
While waiting for the paint to dry, I tackled wiring in the Diode Dynamics Tail as Turn module.
Since I blacked out the turn signal and reverse housings, I wanted to make sure my turn signals were still visible during the day. In addition looking cool as hell, the Tail as Turn also allows you to use your old turn signal as a reverse light for a combined four LEDs out back.
Wiring was super straightforward thanks to their awesome documentation:
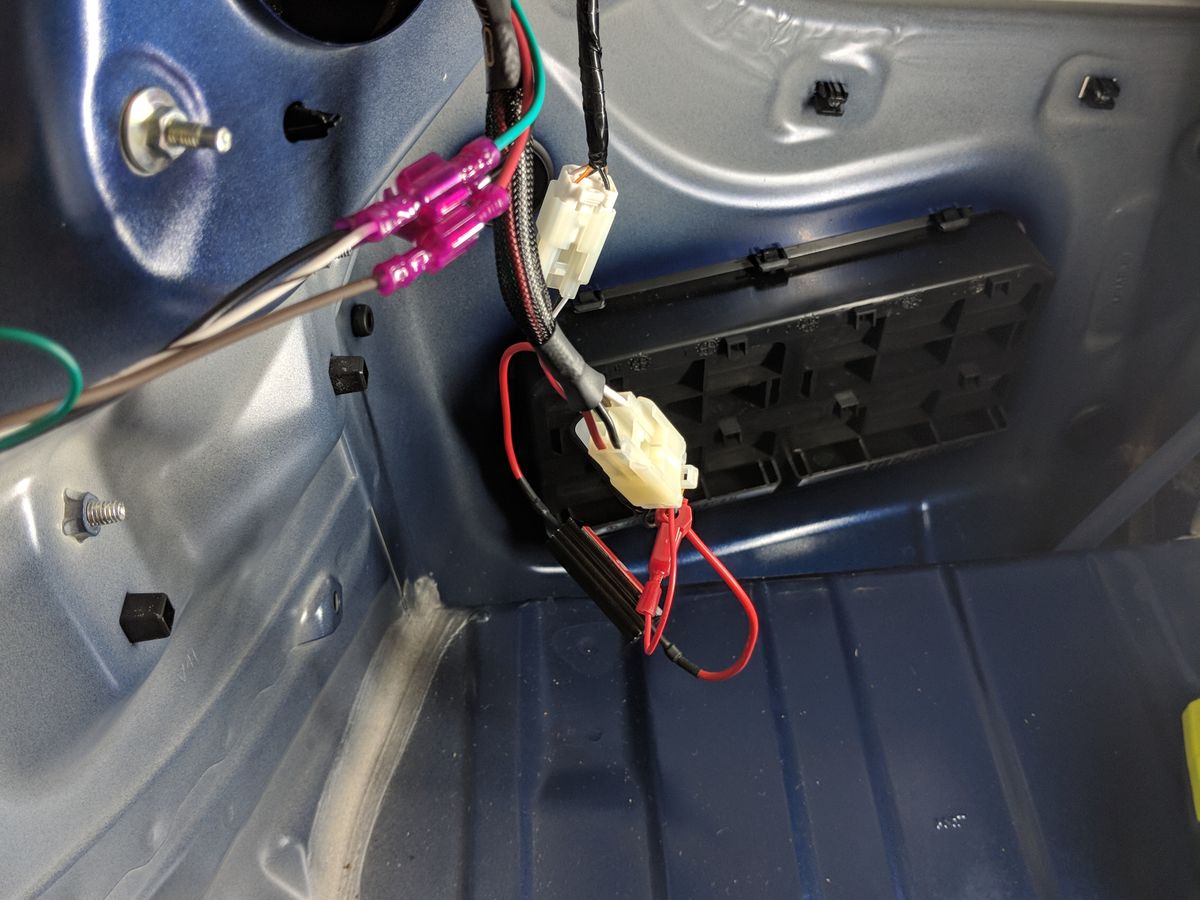
Since I was already running the Subiebros F1 harness off my driver’s side taillight, I ended up installing the Tail as Turn second (F1 harness connected directly to the taillight). With the harnesses in the other order, my F1 light was turning on/off and flashing in tandem with the turn signals!
Reassembly
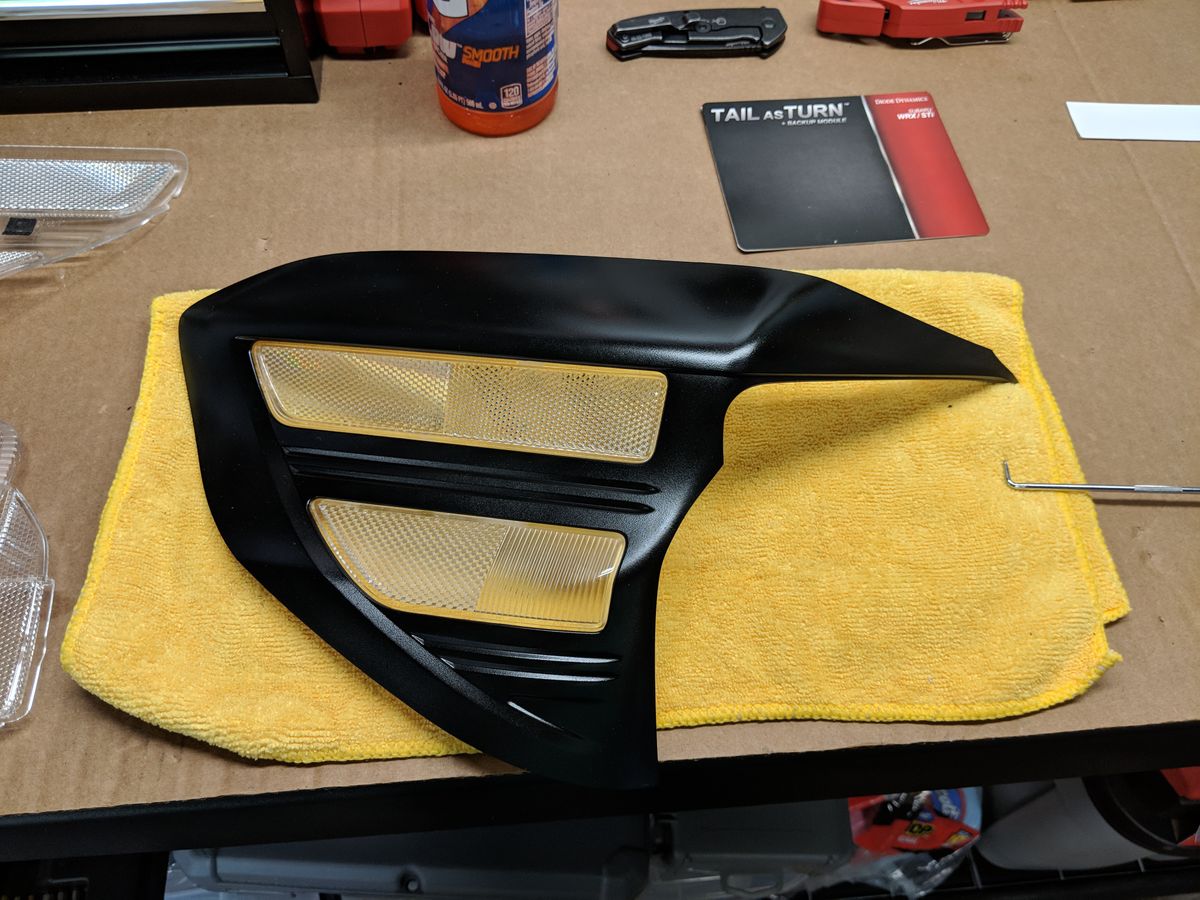
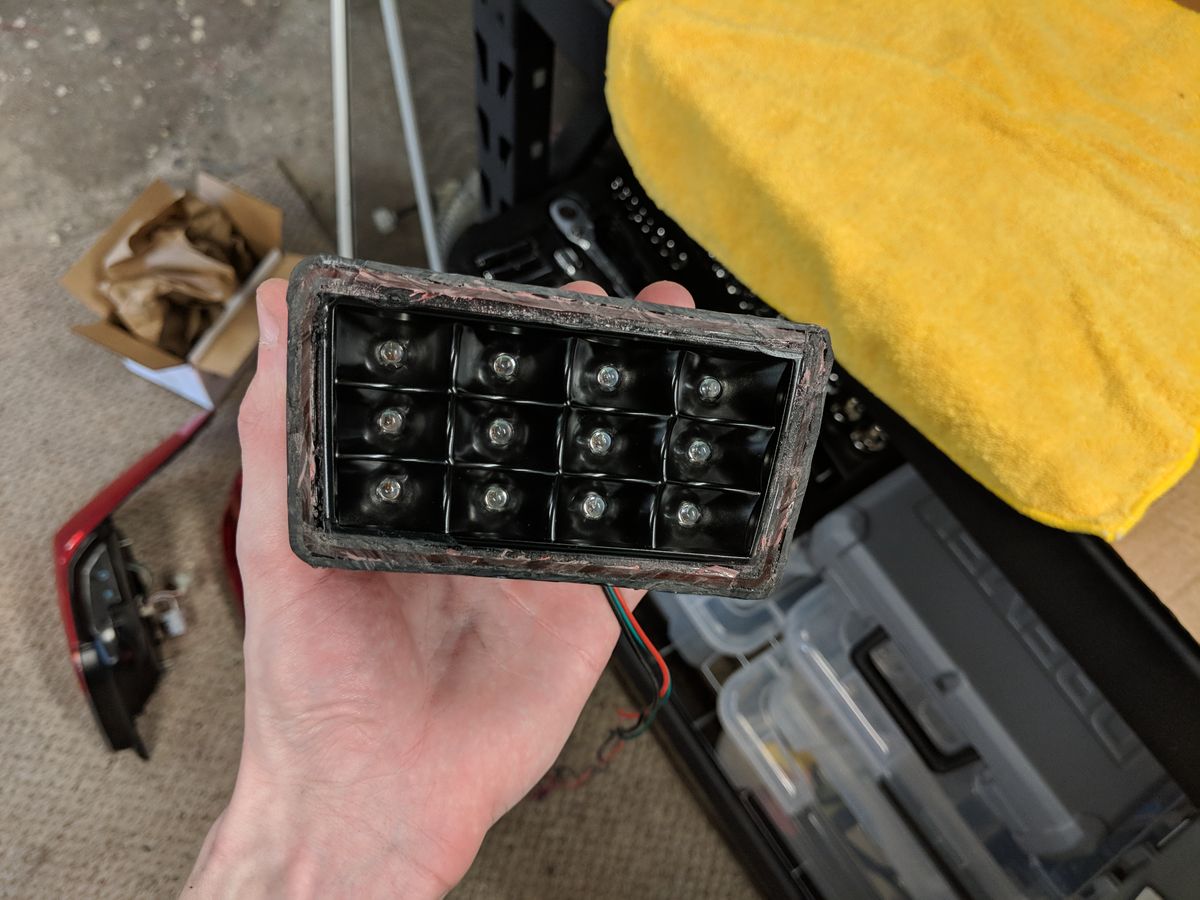
With the paint dried, it was time to re-install the OEM reflectors. Since the outside edge reflector was melted to the bezel (with no clips), I ended up using some double sided tape to secure it back in place. The inner reflectors should pop right back into place and secure with the same retaining clips.
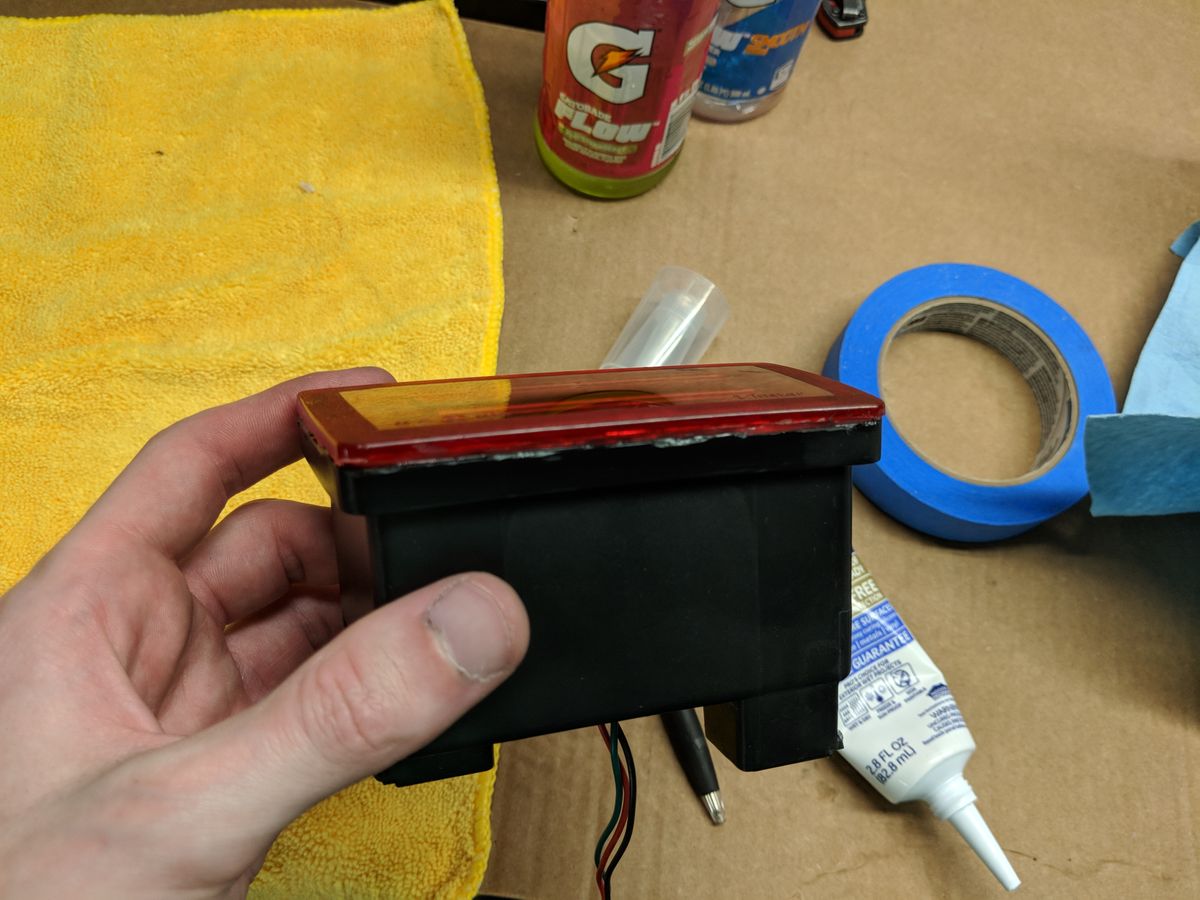
Next, I carefully set the painted bezels and reflectors back into the lens. After reinstalling the LED board, I placed the separated housing back onto the lens and secured it with the screws I removed earlier. The wiring harness and bulbs (replaced with LEDs if you opted to do so) can be reinstalled as well.
The final step is to reseal the housings and lenses. Using the same GE waterproof silicone as my headlight project, I ran a thin bead around the entire edge of the taillight, filling the channel I’d cut earlier. I ran back over some of the wider gaps with a second bead making sure to fill any and all holes. Finally I cleaned up any excess silicone with my finger and left everything to cure for a few hours.

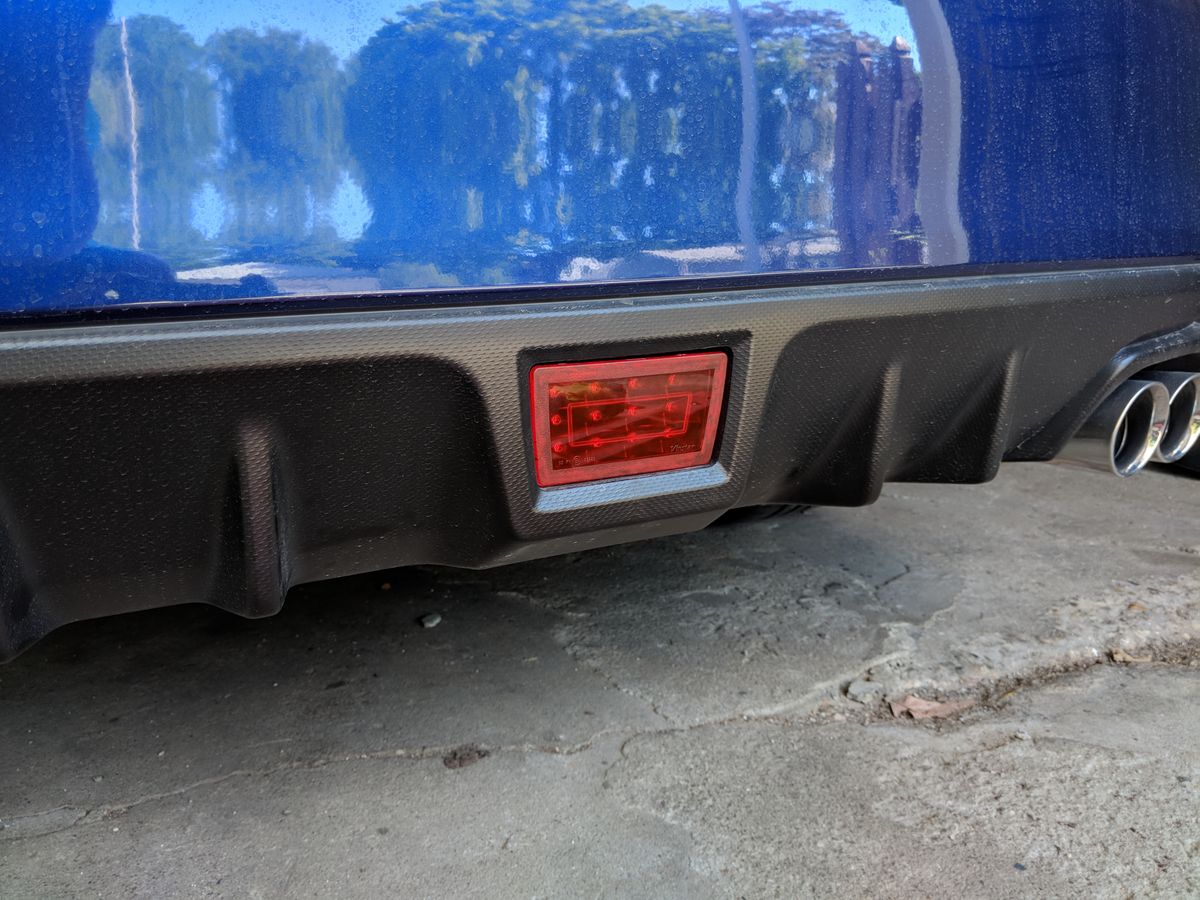
F1 Light
After reinstalling the taillights, I quickly realized the dark red appearance of the lens now clashed with the bright red of the Subiebros F1 light. Since I wanted to keep things clean and consistent, I decided to try cracking open the F1 light and painting the chrome bezel in there as well. I figured if worst came to worst, I could always order up a new black/clear F1 light.
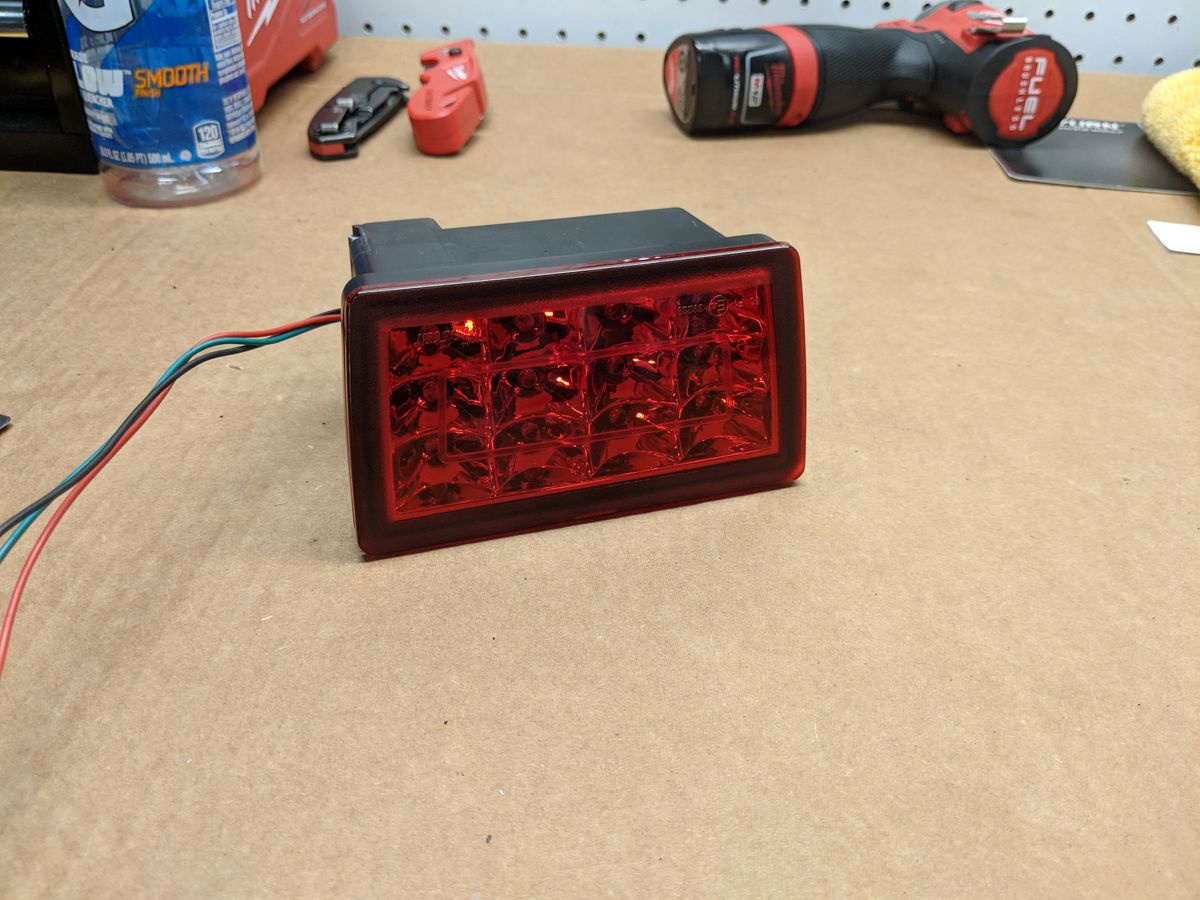
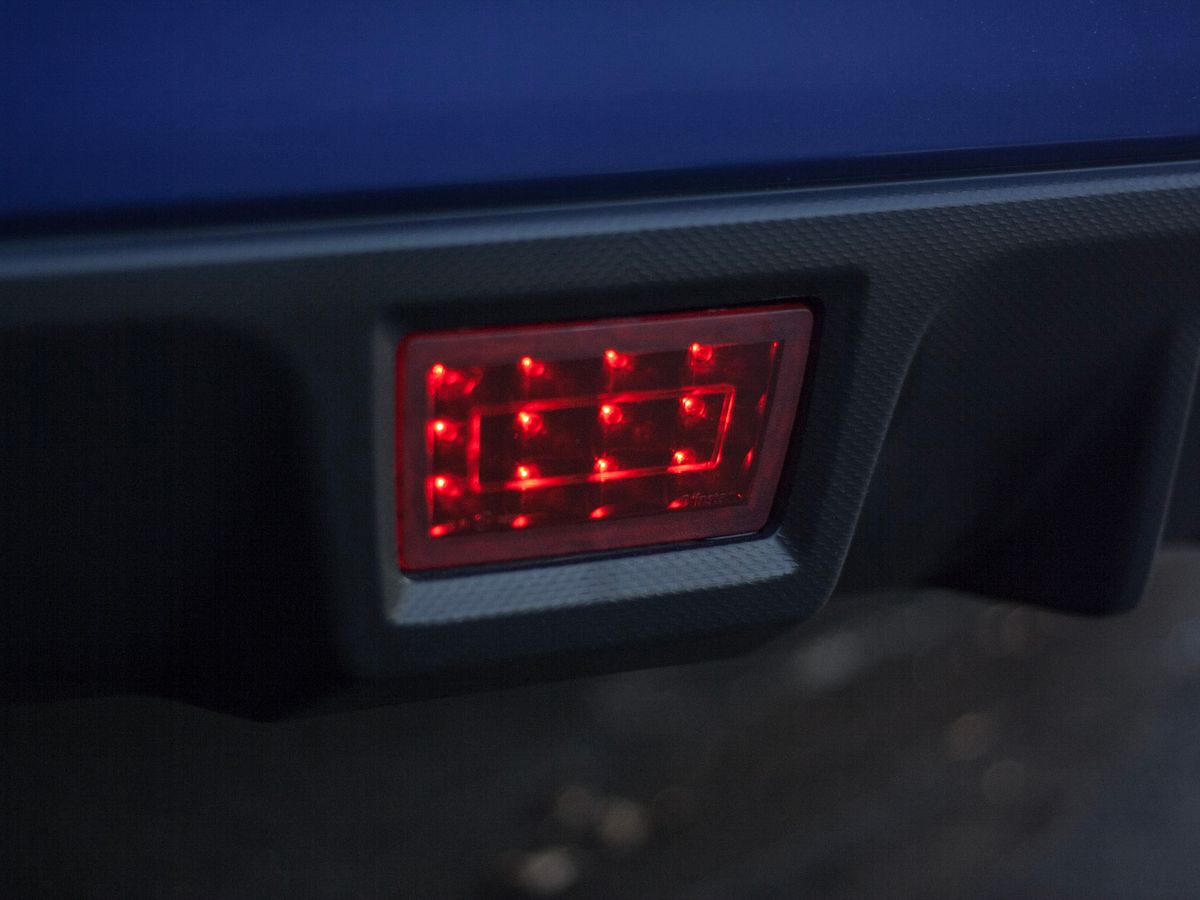
As it turns out, running the dremel cutting wheel around the edge of the F1 light (just behind the red lens) was enough to open it without damaging anything irreversibly. Unfortunately, the chrome bezel seemed to be a single piece combined with the rest of the housing. After some experimentation, I found that the LEDs of the F1 light were the exact same diameter as the button on a pen I had laying in my toolbox. I was able to wrap the button with some painters tape and transfer the tape tube over to an LED on the F1 light!
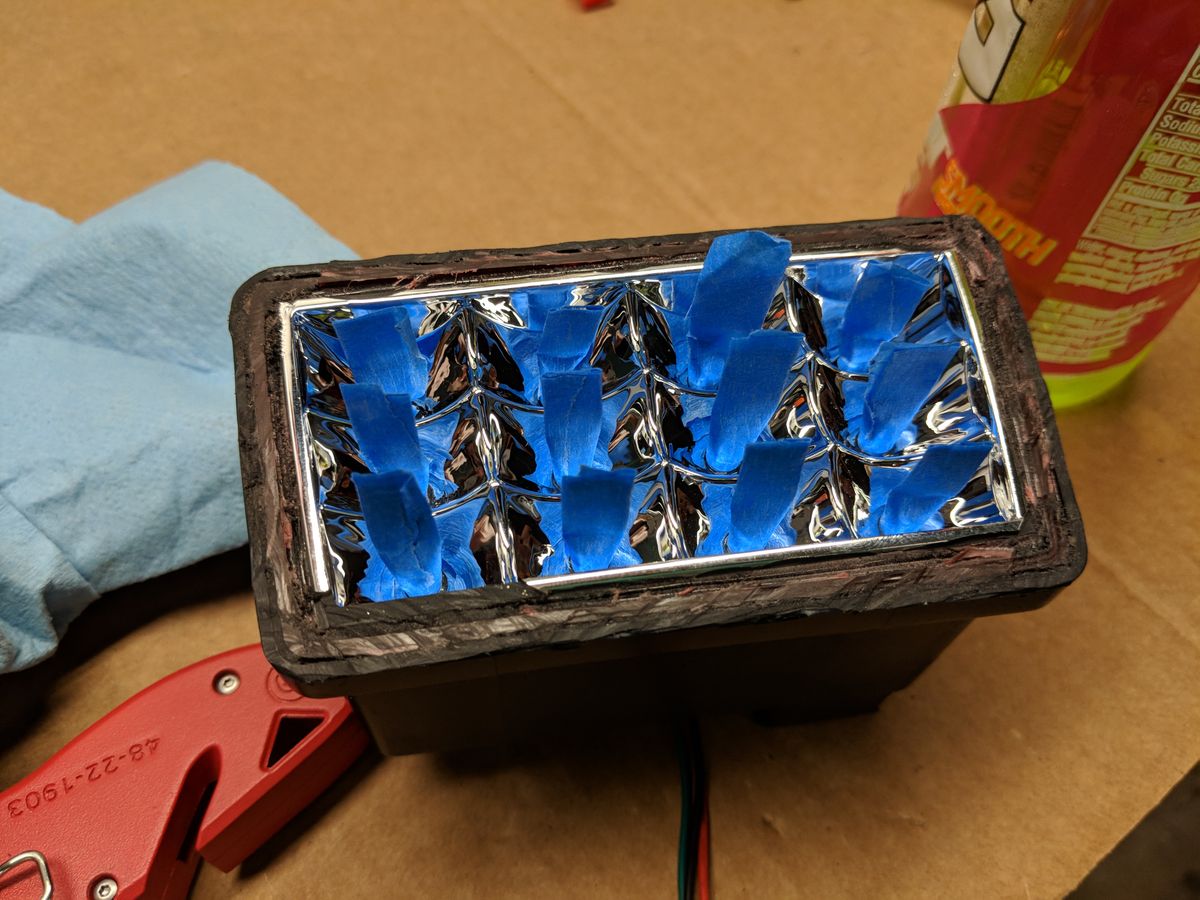
I laid a few coats of primer/paint and pulled the masking off. I was very happily surprised at the result!
I reattached the red lens to the housing with the same silicone as the taillights and let it sit for an hour or so before reinstalling.
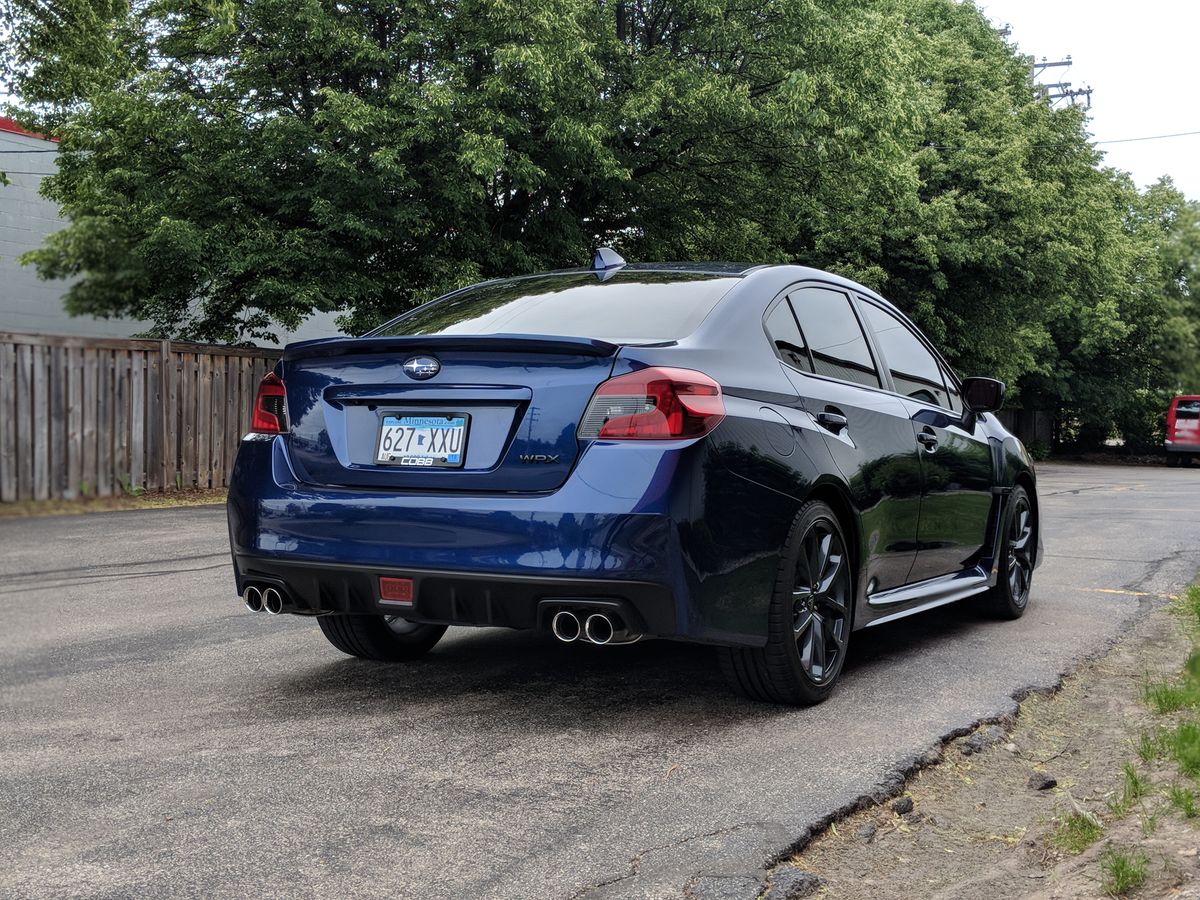
Conclusion
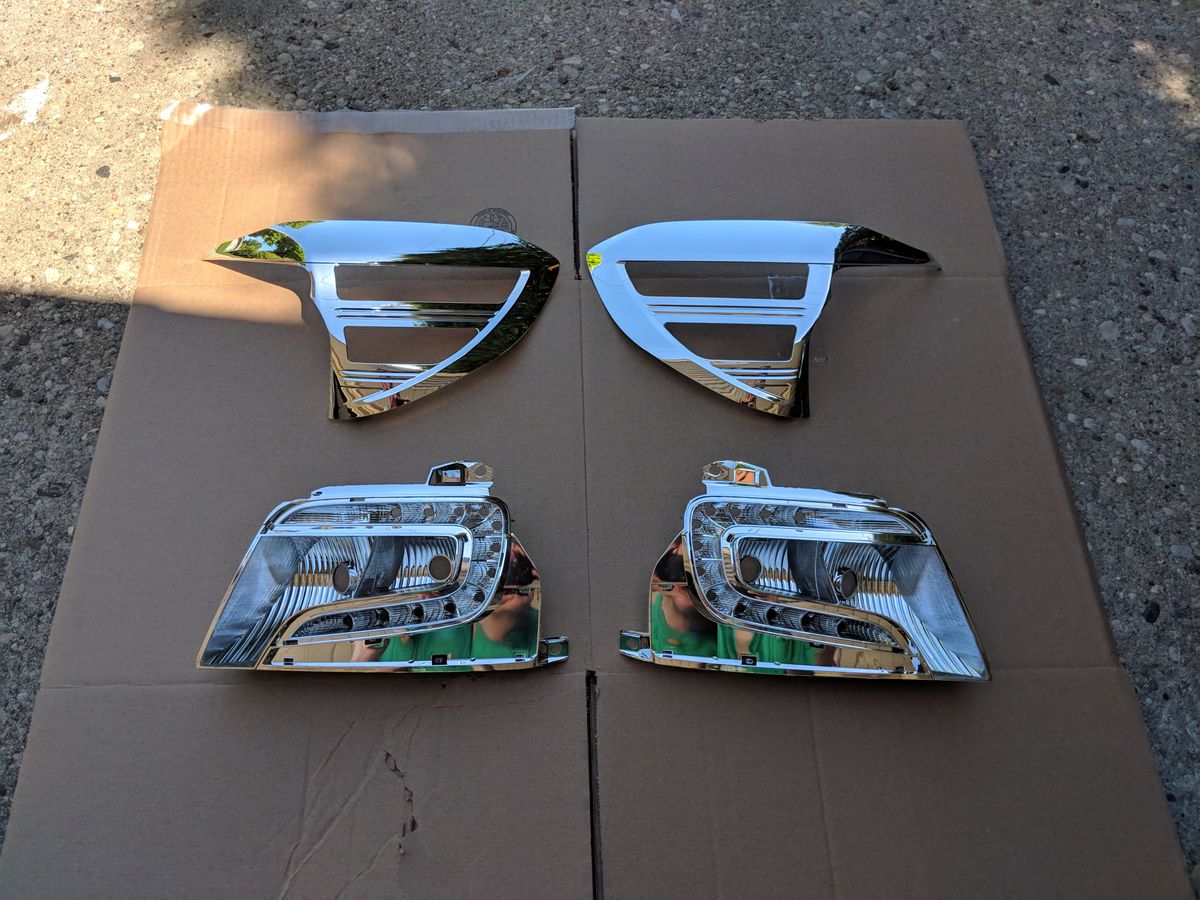
Overall painting the taillights isn’t a complicated project at all. I had just finished the headlight project, so it could be that it just felt easier? Regardless, it’s a super affordable option to add a little style to the back of your WRX/STI! For a few bucks worth of spray paint it totally transforms the rear end!

Feel free to shoot me an email or leave a comment below if you have any questions or just want to chat! Thanks for reading!
Subscribe For More Like This!
Enjoying this post? Get added to the mailing list and I'll let you know whenever I post new content!
Support
If you enjoyed this post, please consider supporting the blog by buying me a virtual coffee!
As a Software Engineer by day and dad by night, this blog is maintained in my free time. Your support is greatly appreciated and helps keep this site 100% ad-free!